Laser Cutting Machines, Laser Engraving Machines, Laser Materials
How To Make A Laser Cut Name Sign | Personalised Acrylic Kids Room Sign
Jun
Personalised name signs are one of the most popular products in the laser cutting industry. Whether they are used in nurseries, children’s bedrooms, playrooms, baby showers, or gifted to new parents, custom name signs create an emotional connection that makes them easy to sell and highly profitable.
Unlike generic décor products, a laser cut name sign is customised specifically for the customer. Parents love products that make their child’s room feel unique, and personalised wall décor continues to be one of the strongest categories for laser business owners.
In this project, we designed and manufactured a custom acrylic kids room name sign using layered acrylic, vector tracing, CorelDRAW, AI-assisted design previews, and precision CO‚ laser cutting.
From selecting fonts and tracing artwork to creating a layered puzzle-style assembly system, this guide shows exactly how the project was created from concept to finished product.
View Laser Cutting Machines Read The Acrylic Guide
What Is A Laser Cut Name Sign?
A laser cut name sign is a personalised decorative sign manufactured from acrylic, wood, or other laser-compatible materials using precision laser cutting technology.
These signs are commonly used for:
- Children’s bedrooms
- Nurseries
- Playrooms
- Baby shower gifts
- Birthday gifts
- Wall décor
- Business branding
By combining custom typography, layered materials, and precision cutting, laser cut name signs create a professional appearance while remaining highly profitable products for laser businesses.
Watch The Project
Watch the complete project video below to see how this personalised acrylic kids room name sign was designed, cut, assembled and finished.
Project Summary
| Detail | Project Information |
|---|---|
| Project Type | Layered Acrylic Name Sign |
| Client Type | Kids Room / Nursery |
| Design Style | Personalised Layered Kids Room Sign |
| Materials Used | 3-layer coloured cast acrylic (specific colours TBD) |
| Laser Settings | Air Assist Off • 15mm/s • 75% Power |
| Cutting Time | ~17 minutes total (Layer 1: 2 min, Layer 2: 9 min, Layer 3: 6 min) |
| Software Used | CorelDRAW |
| Machine Used | Thunder Laser Nova 35 Plus |
| Difficulty Level | Intermediate |
| Assembly Method | Layered acrylic construction with puzzle-fit framework |
Why Laser Cut Name Signs Are So Popular
Parents naturally connect with products that are personalised for their children.
A custom name sign transforms a standard bedroom into a personalised space and creates a decorative feature that often remains on display for years.
Popular reasons customers buy laser cut name signs include:
- Nursery decoration
- Baby shower gifts
- Birthday gifts
- Bedroom makeovers
- Personalised wall décor
- Special milestone gifts
Because every order is customised, customers generally place more value on the finished product than they would on standard wall décor.
The Project Overview
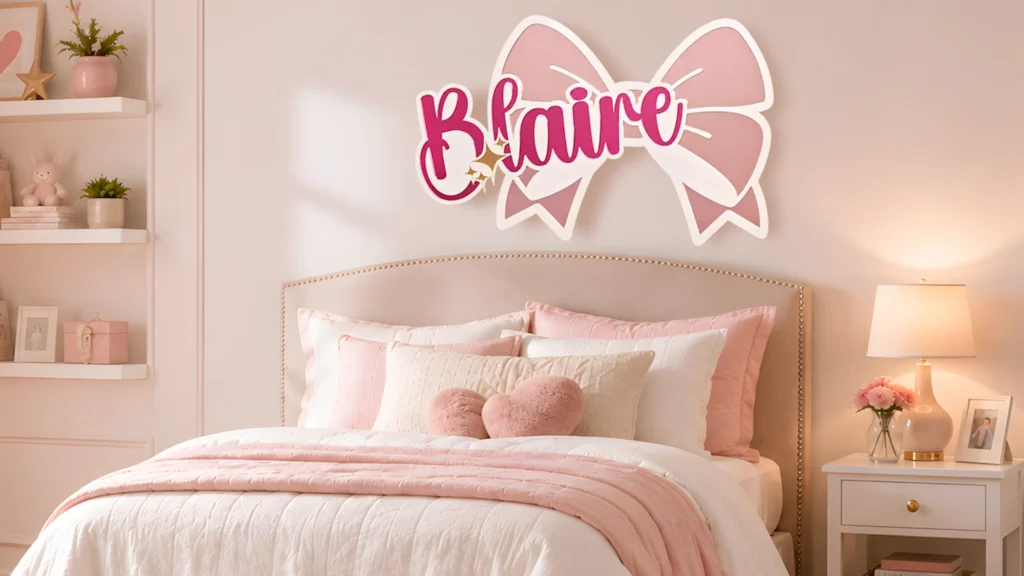
For this project, we created a layered acrylic name sign inspired by Barbie-themed colours and styling.
The design combined:
- Custom typography
- Layered acrylic construction
- Decorative vector artwork
- Puzzle-style assembly techniques
- Precision laser cutting
The goal was to create a colourful, professional-looking name sign that would stand out in a child’s bedroom while remaining simple and repeatable to manufacture.
From Concept To Production-Ready Artwork
Creating a professional name sign involves much more than simply cutting a name out of acrylic.
The design process focused on creating a framework that would allow multiple acrylic layers to fit together accurately during assembly.
Using CorelDRAW, each design element was converted into production-ready artwork and organised so the individual pieces could be assembled like a puzzle.
This approach significantly improves alignment and reduces assembly time.
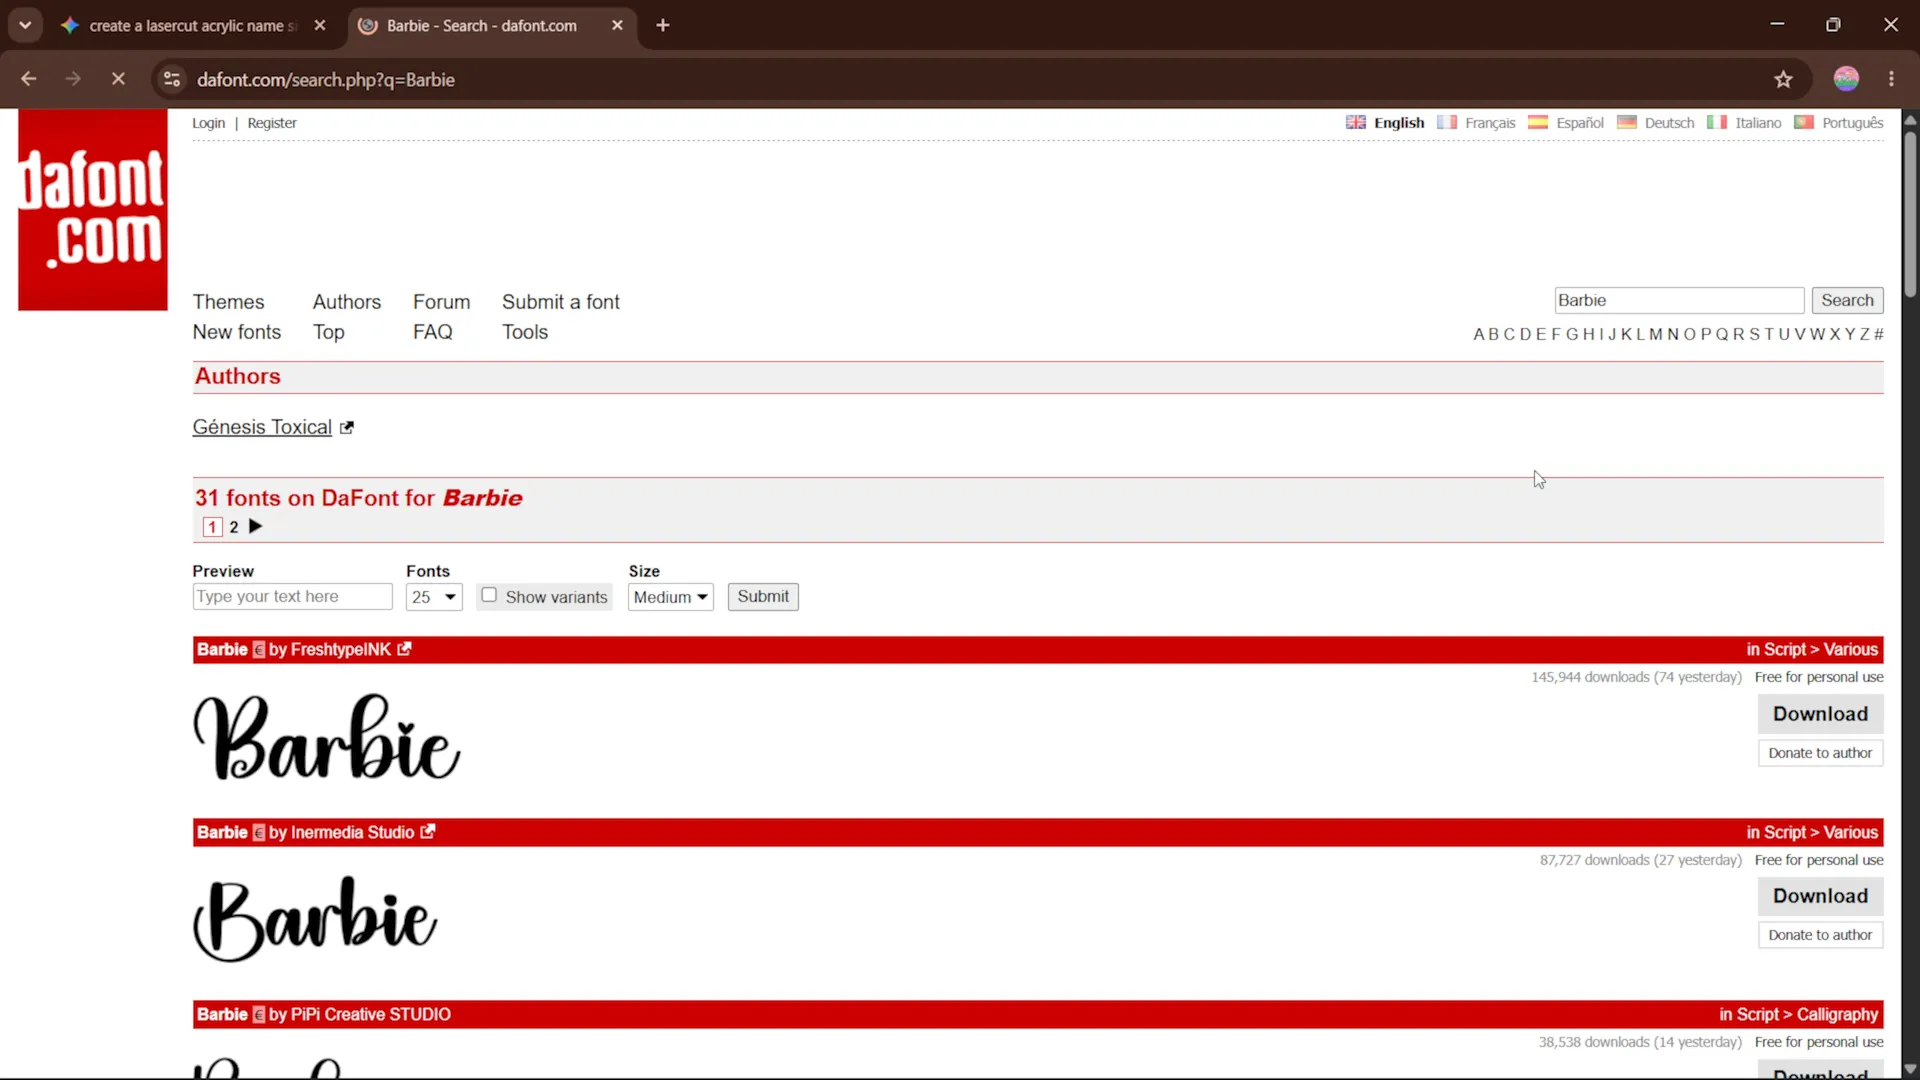
The first stage of the project was selecting a font.
Because the sign was designed for a girl’s room, a playful and feminine style was required.
Using DaFont, several options were reviewed before selecting a font that matched the Barbie-inspired theme of the project.
Choosing the right font is critical because it directly affects:
- Readability
- Visual appeal
- Production complexity
- Assembly requirements
Fonts with flowing script styles often create attractive finished products but require additional preparation before cutting.
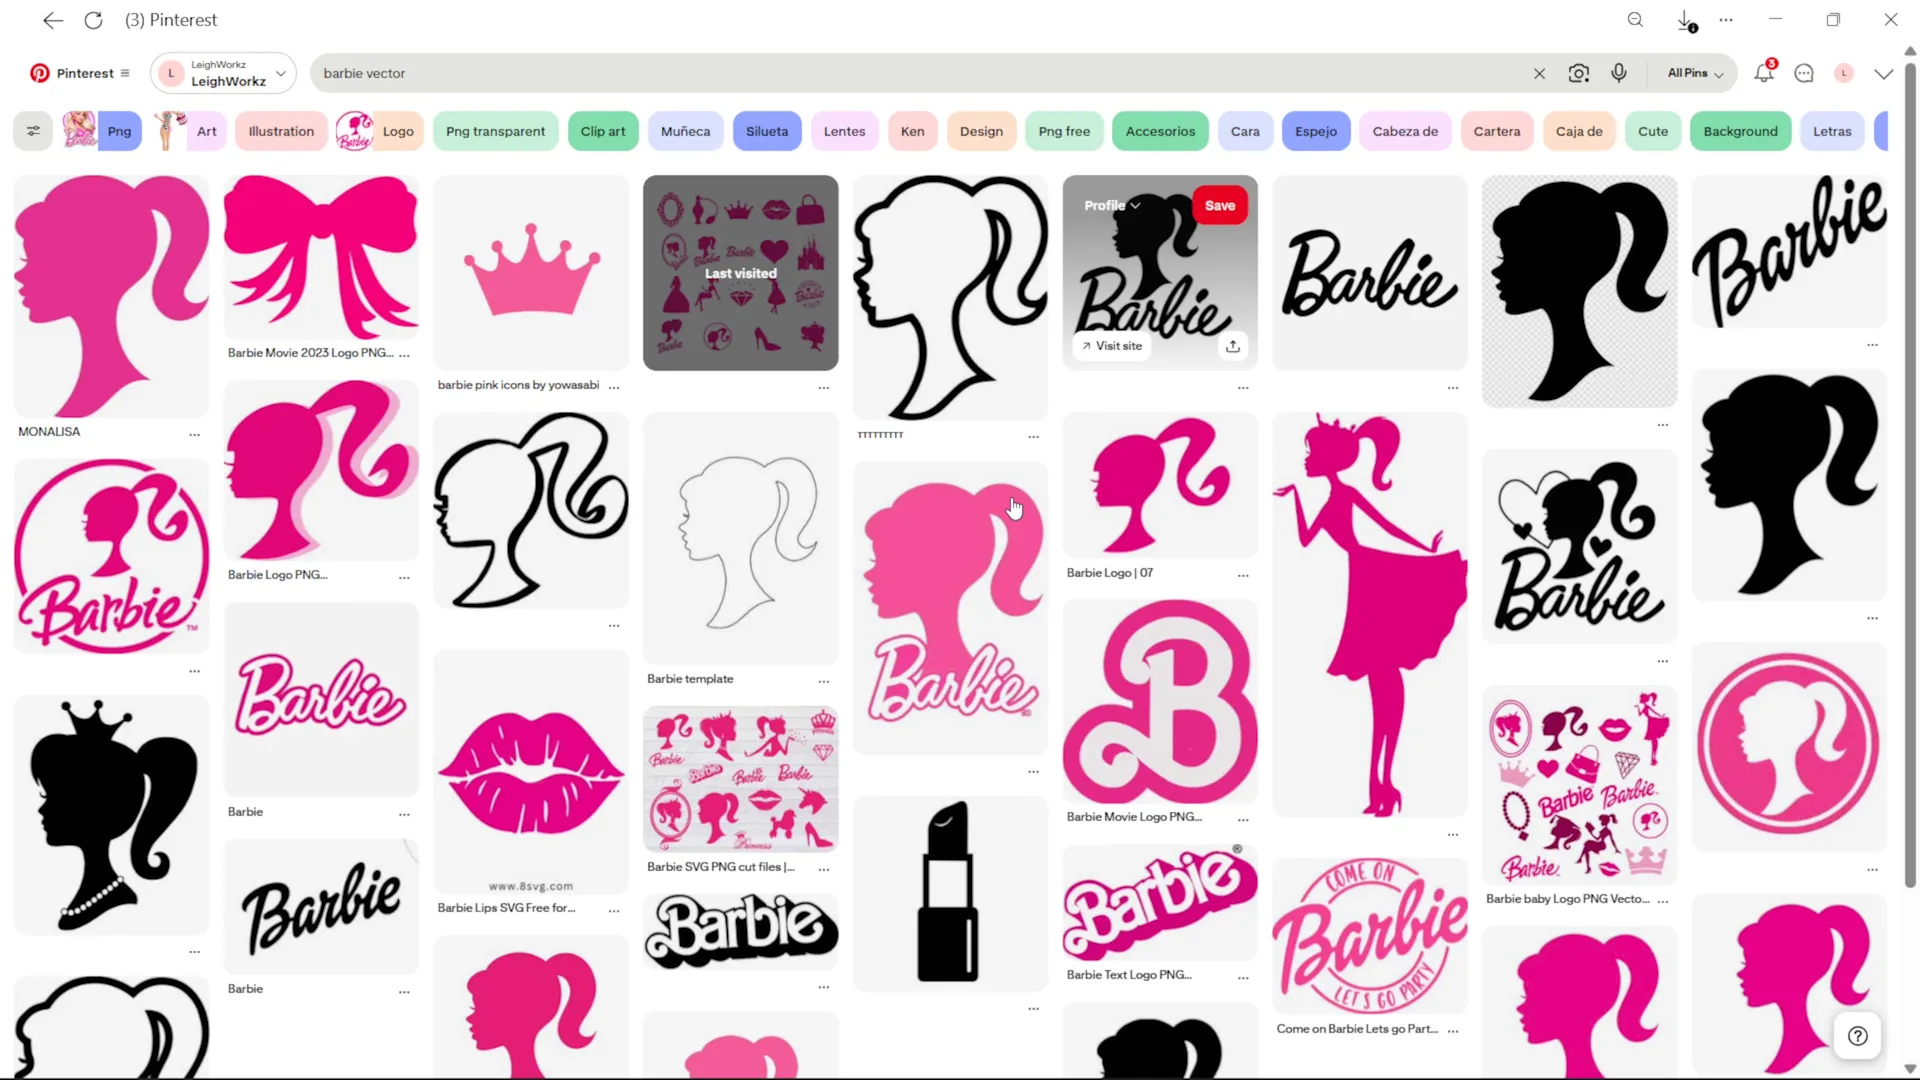
Once the font was selected, additional decorative elements were sourced.
Pinterest was used to find vector artwork that complemented the overall theme.
The selected artwork included decorative shapes and icons that would later be integrated into the layered sign design.
Using inspiration references helps speed up the design process while providing ideas for layout, composition, and styling.
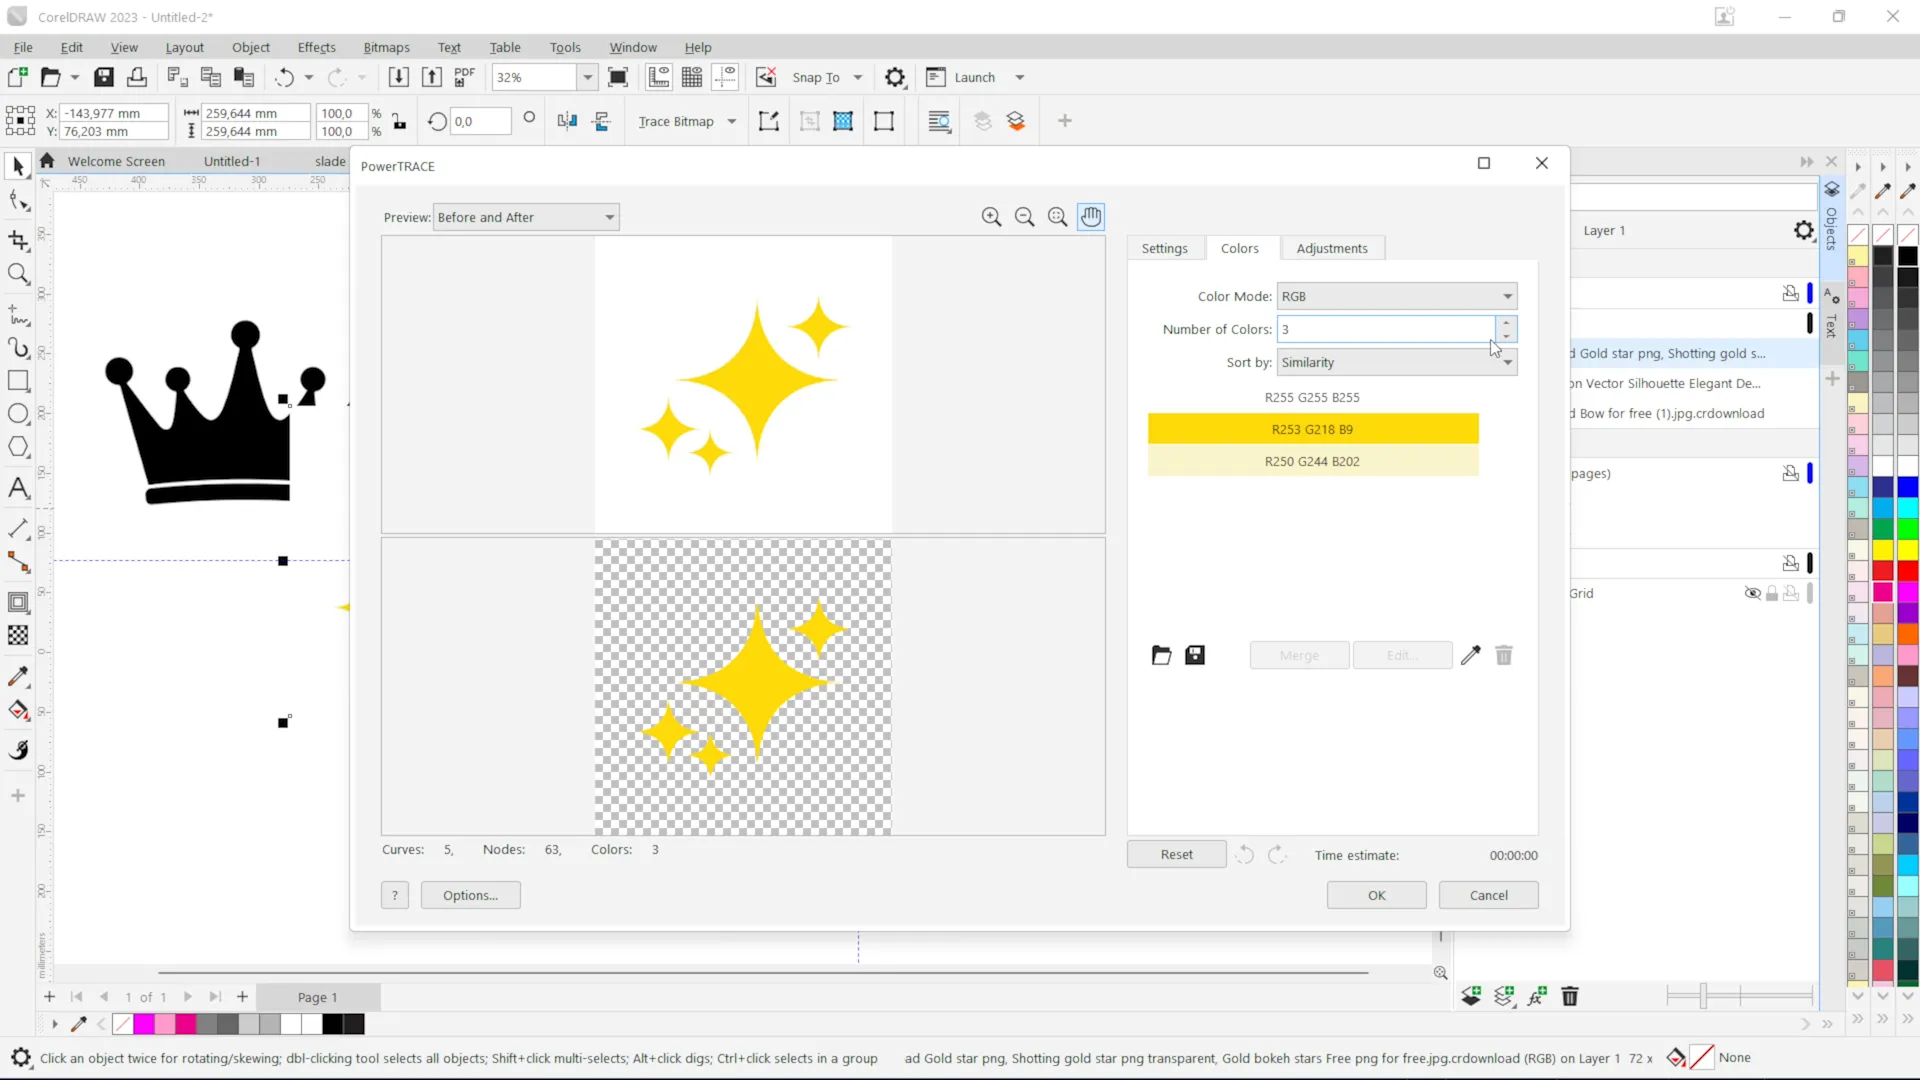
The imported graphics were converted into editable vector artwork using CorelDRAW’s Outline Trace feature.
Each image was traced individually and converted into clean vector shapes suitable for laser cutting.
This process allowed every element to be:
- Resized
- Edited
- Welded
- Combined
- Prepared for production
Vector artwork is essential because laser machines require vector paths to accurately cut materials.
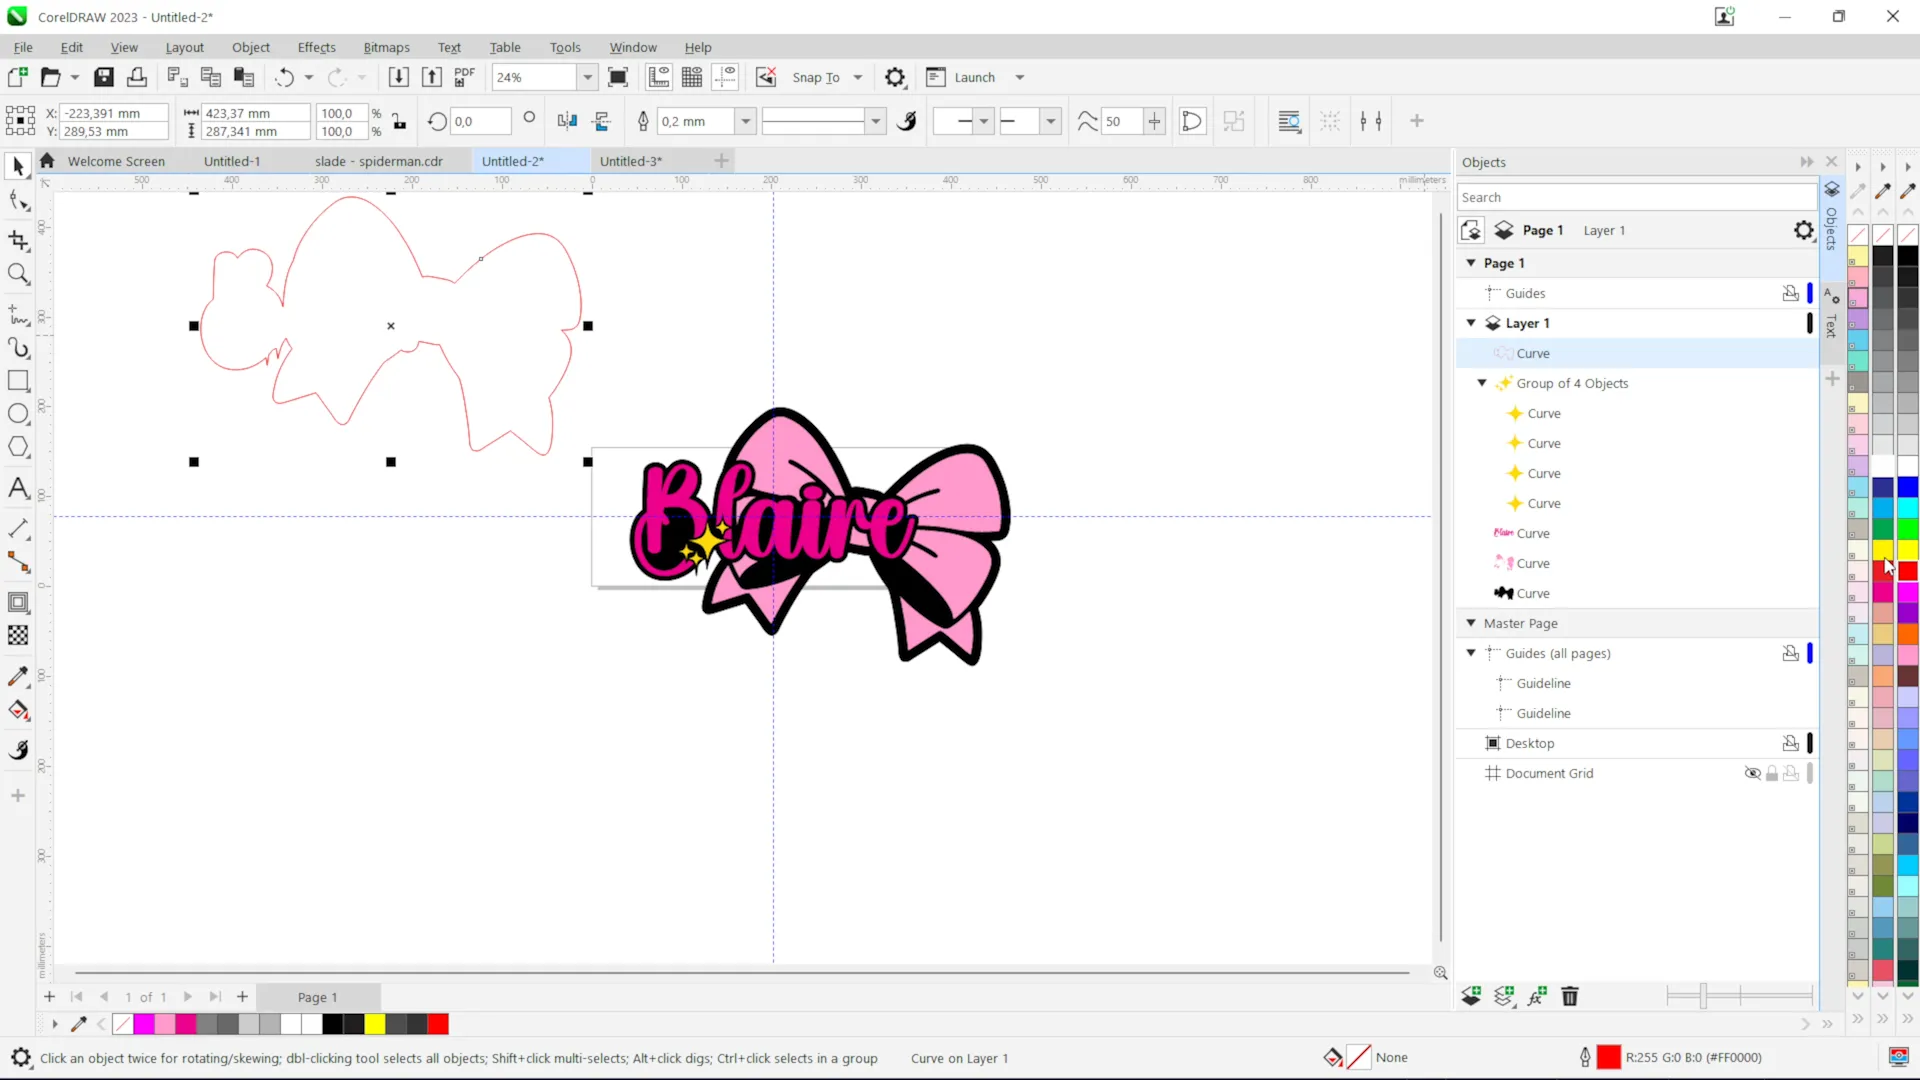
The chosen name was added to the design and positioned in the centre of the artwork.
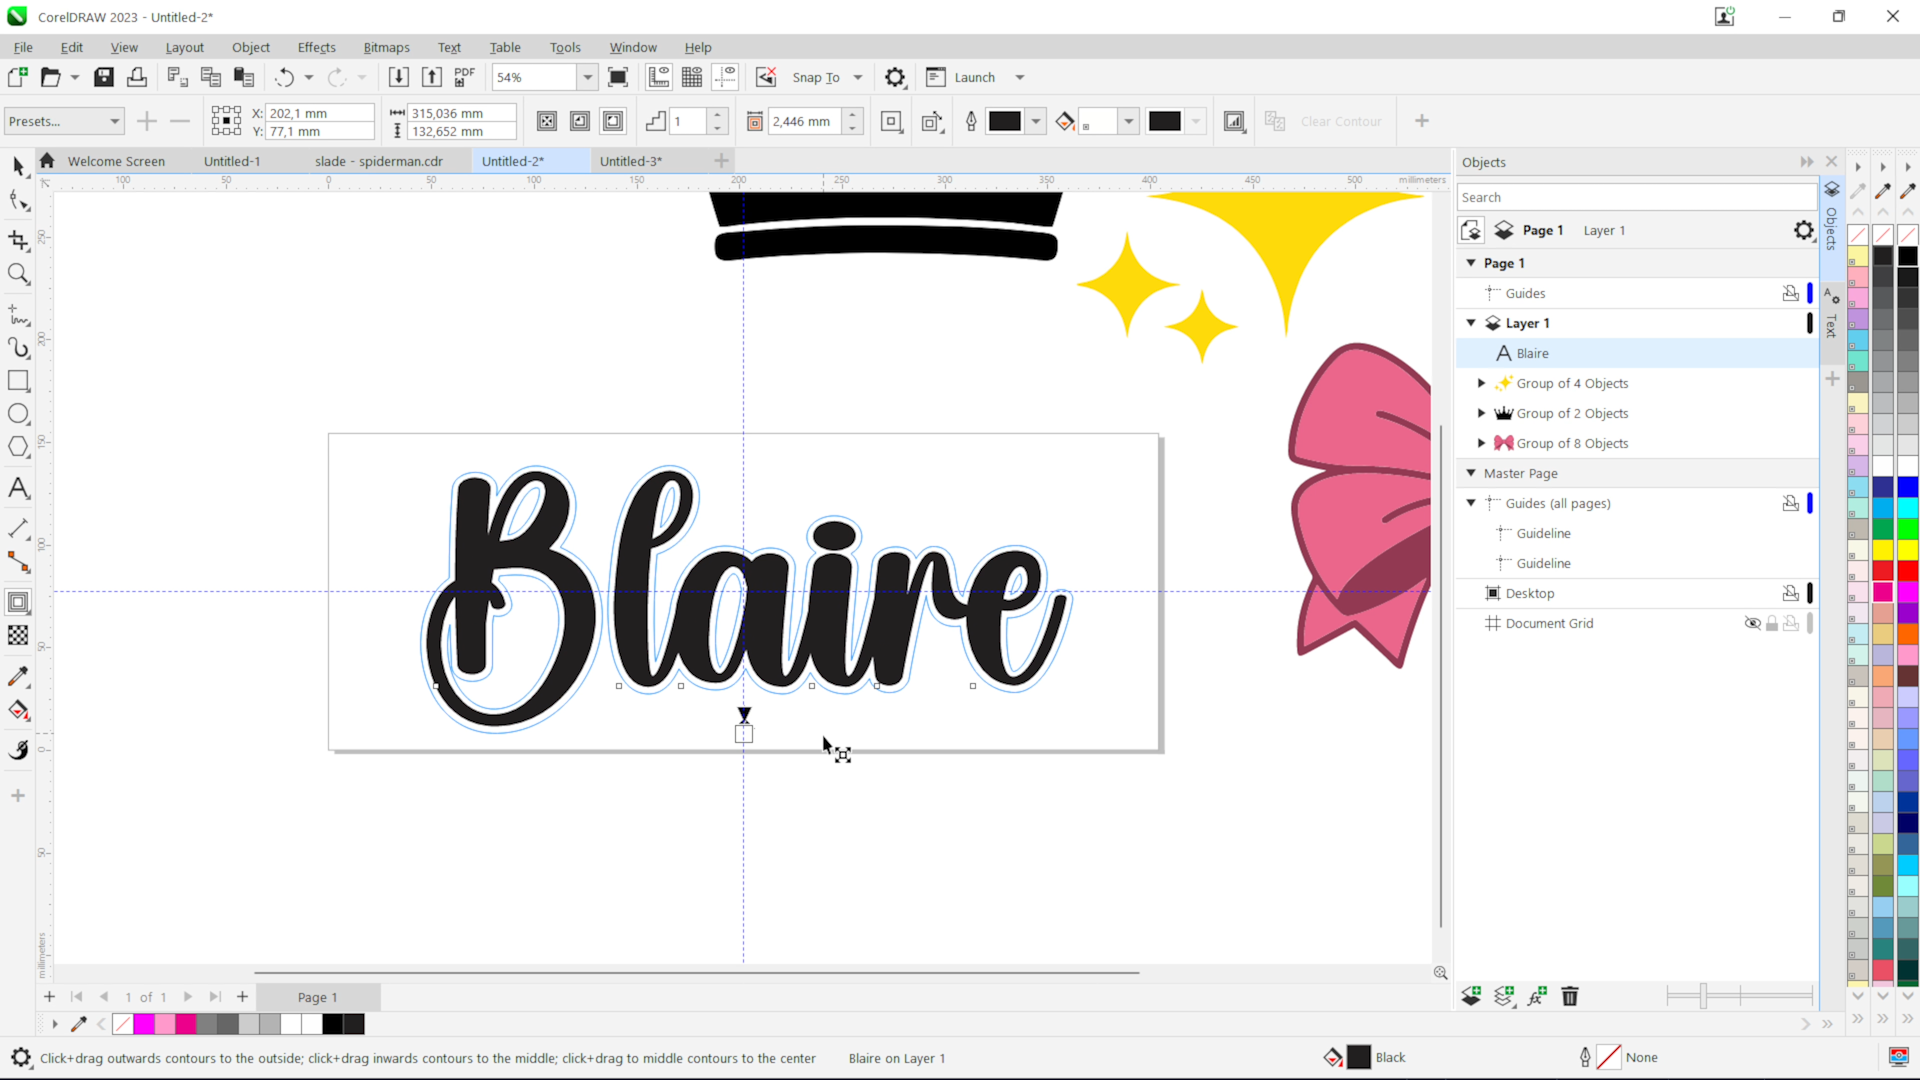
After selecting the final font, a contour was created around the text.
This contour would later form part of the base structure used for assembly.
The inner cut-outs were removed so the contour became one solid shape rather than multiple separate sections.
Additional node editing was then performed to smooth curves and improve the overall appearance.
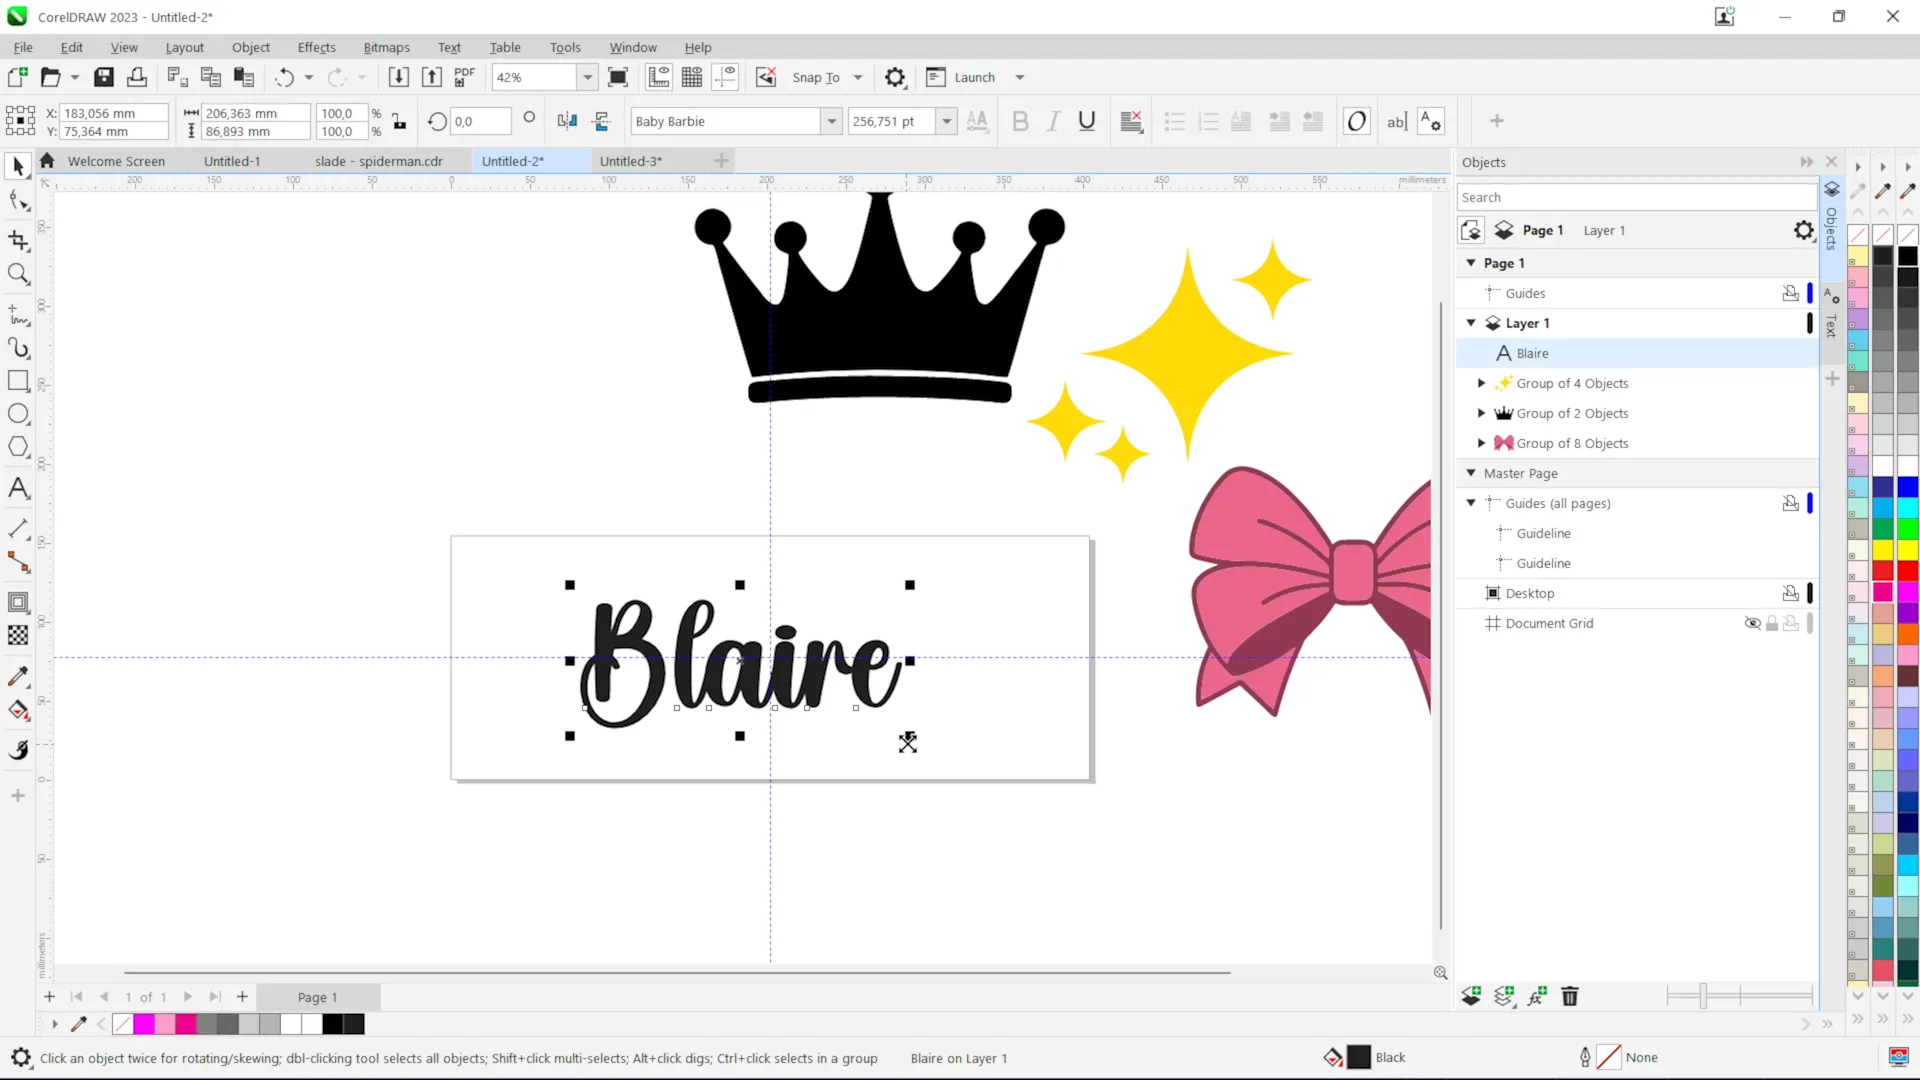
Once the text was complete, the decorative artwork was arranged around the name.
Each design element received its own contour outline.
These contours would later become part of the assembly framework that allows all pieces to fit together accurately.
At this stage:
- Layout was refined
- Node editing was completed
- Shapes were cleaned up
- Spacing was adjusted
The result was a balanced composition ready for production.
Before cutting, the script text required additional preparation.
Although script fonts appear connected visually, overlapping areas often remain hidden within the artwork.
If left untreated, the laser may cut these hidden overlaps individually.
To prevent this:
- Text was converted to curves
- Curves were broken apart
- Letters were welded together
- Inner cut-outs were combined
- Shapes were trimmed correctly
This produced a single solid text layer that could be cut cleanly and assembled easily.
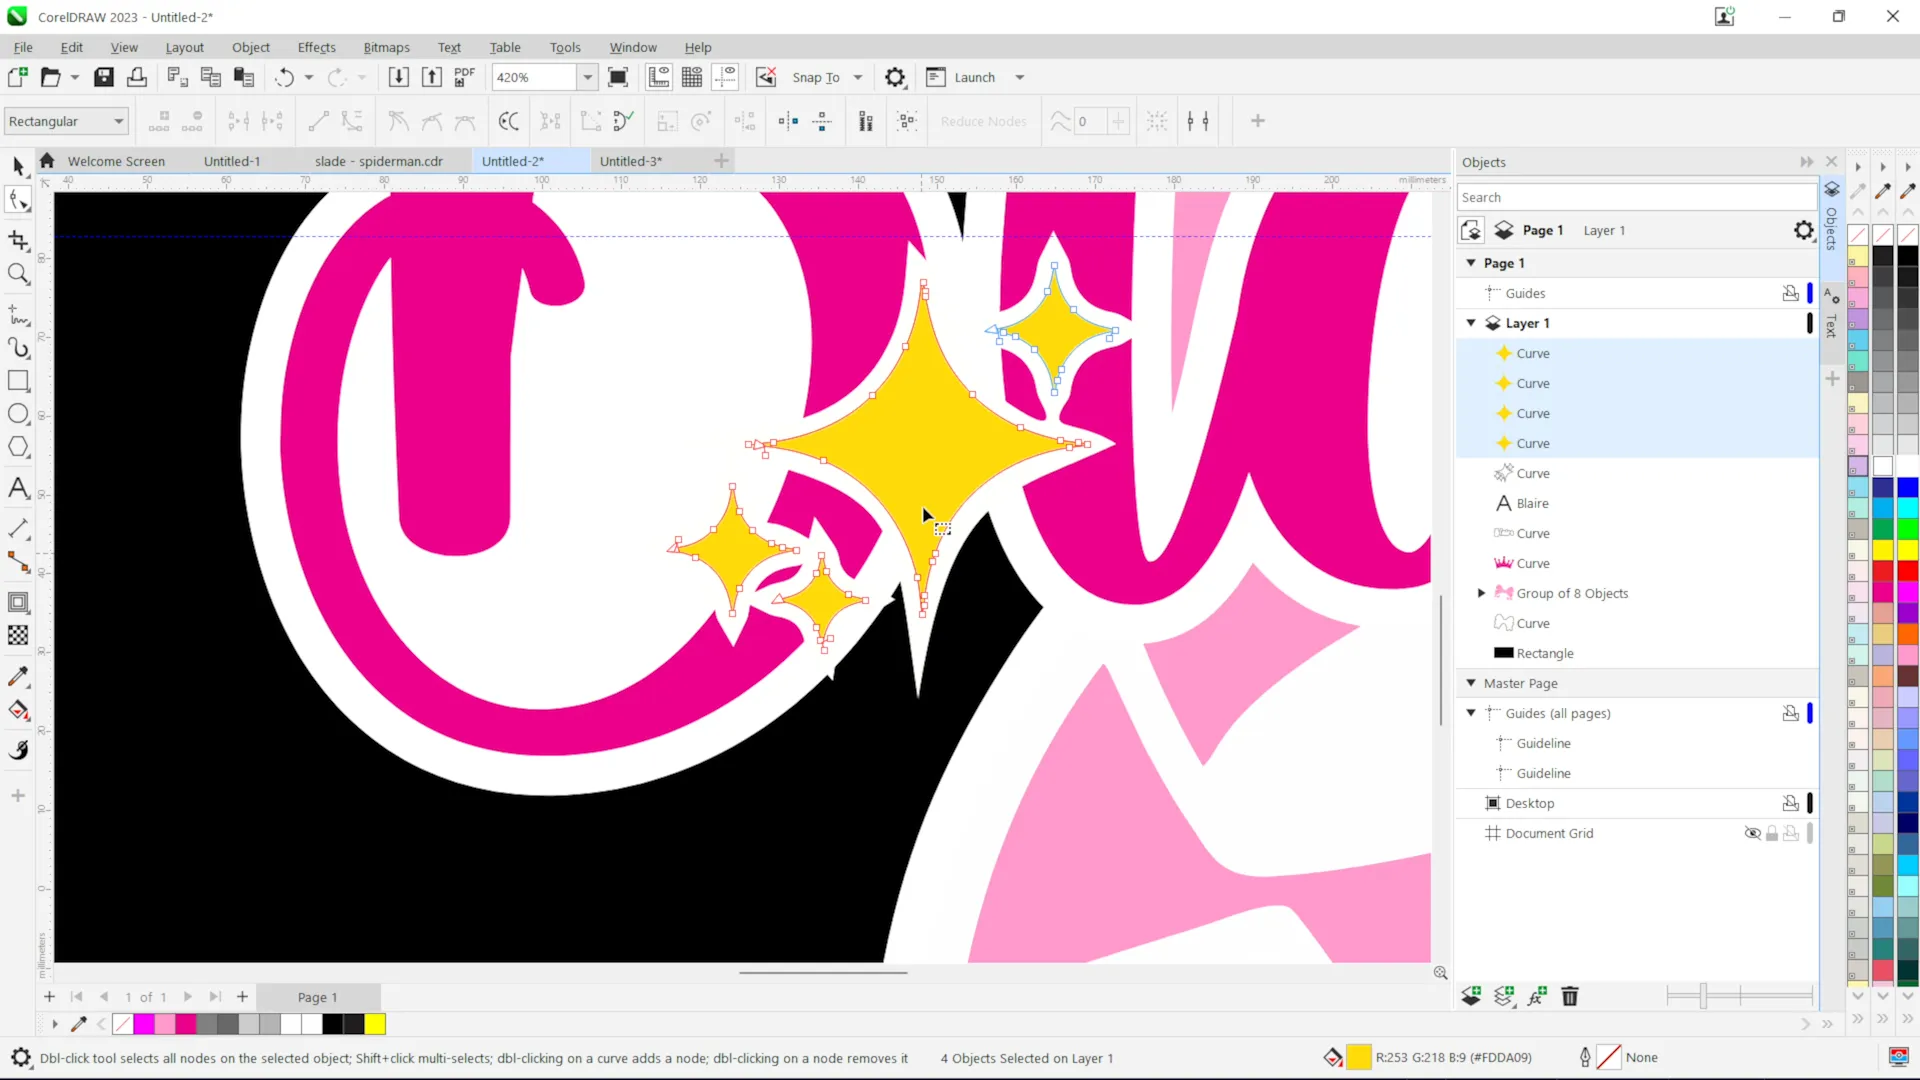
Rather than cutting every decorative shape separately, a puzzle-style assembly system was created.
Contours generated earlier were trimmed against the text and decorative elements.
This allowed:
- Visible sections to remain separate
- Hidden sections to become part of the framework
- Pieces to fit together accurately during assembly
The framework acts as an assembly guide that automatically positions every piece in the correct location.
This significantly improves alignment and reduces assembly time.
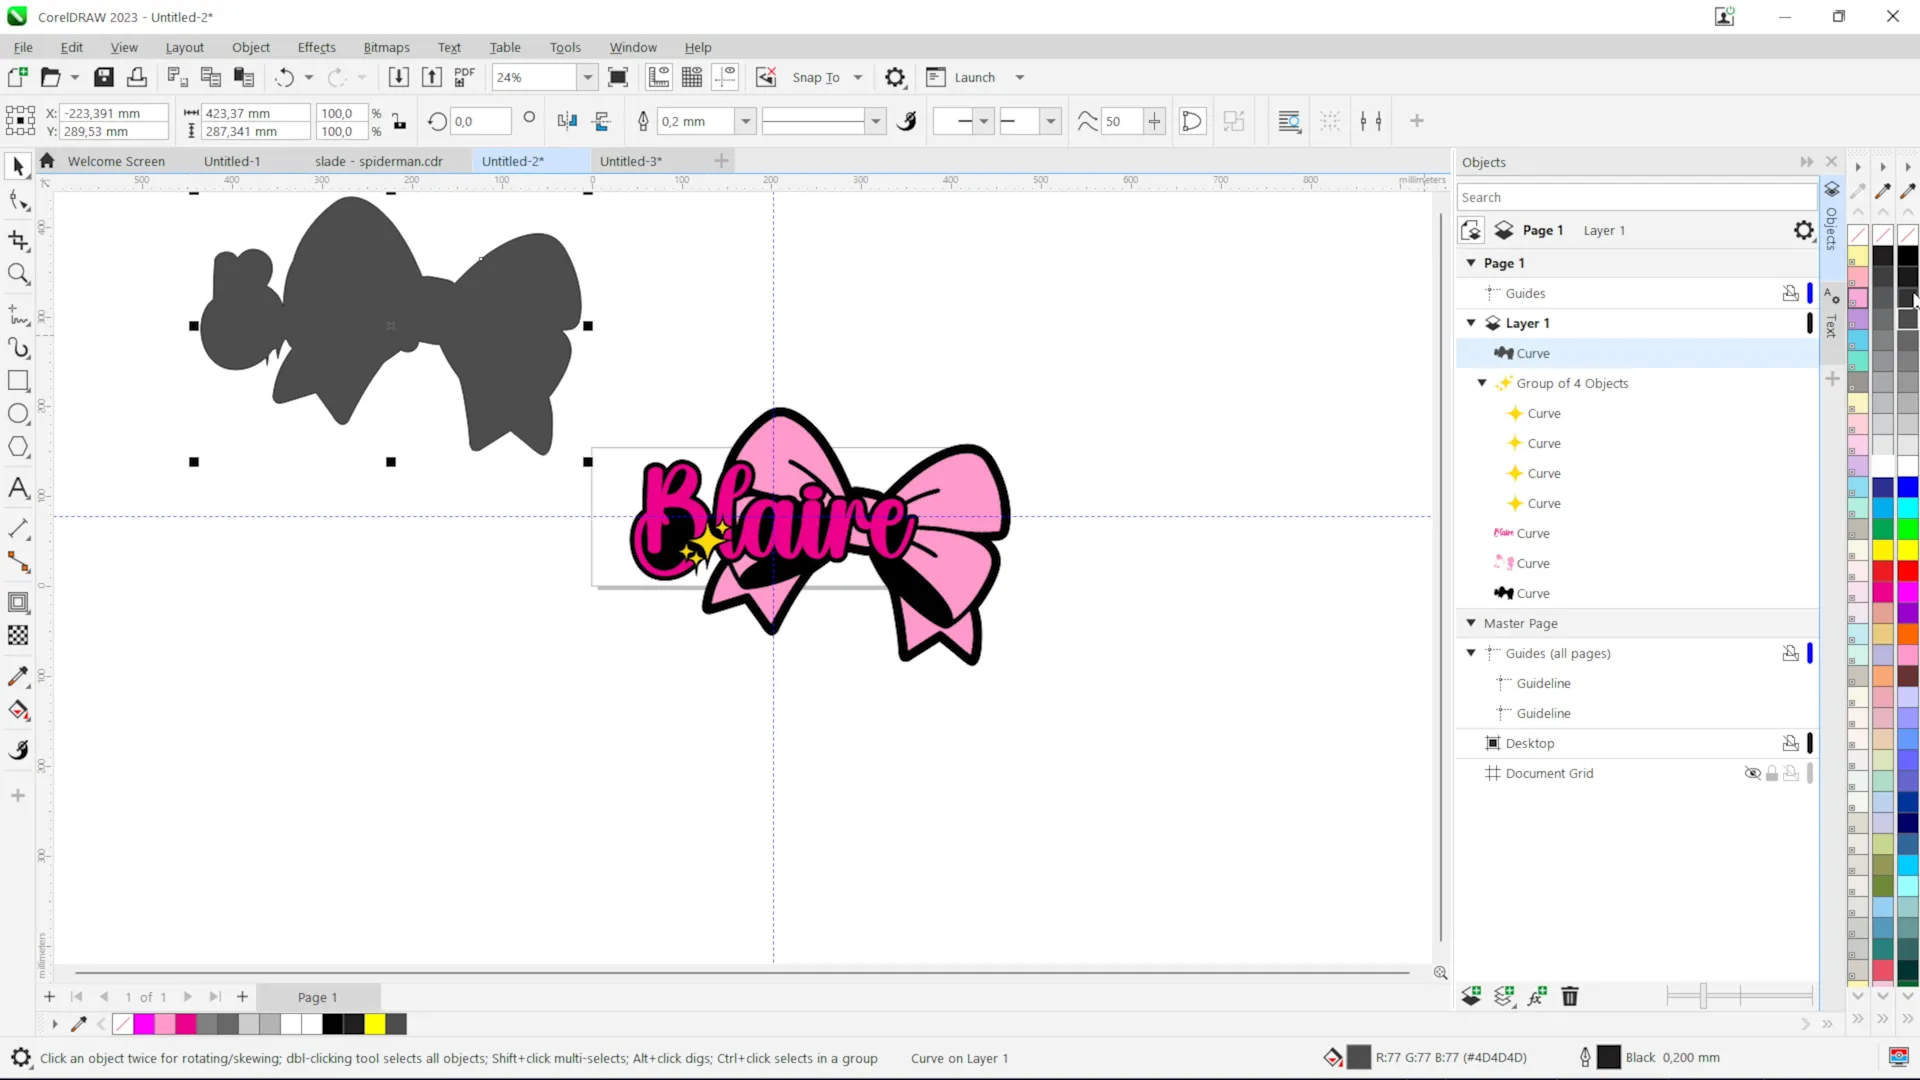
After the framework was completed, an outer boundary was generated around the entire design.
This boundary became the base layer.
The completed structure consisted of:
- Base layer
- Assembly framework
- Decorative inserts
- Text layer
Each component was designed to fit together like a puzzle.
This approach simplifies production while producing highly accurate results.
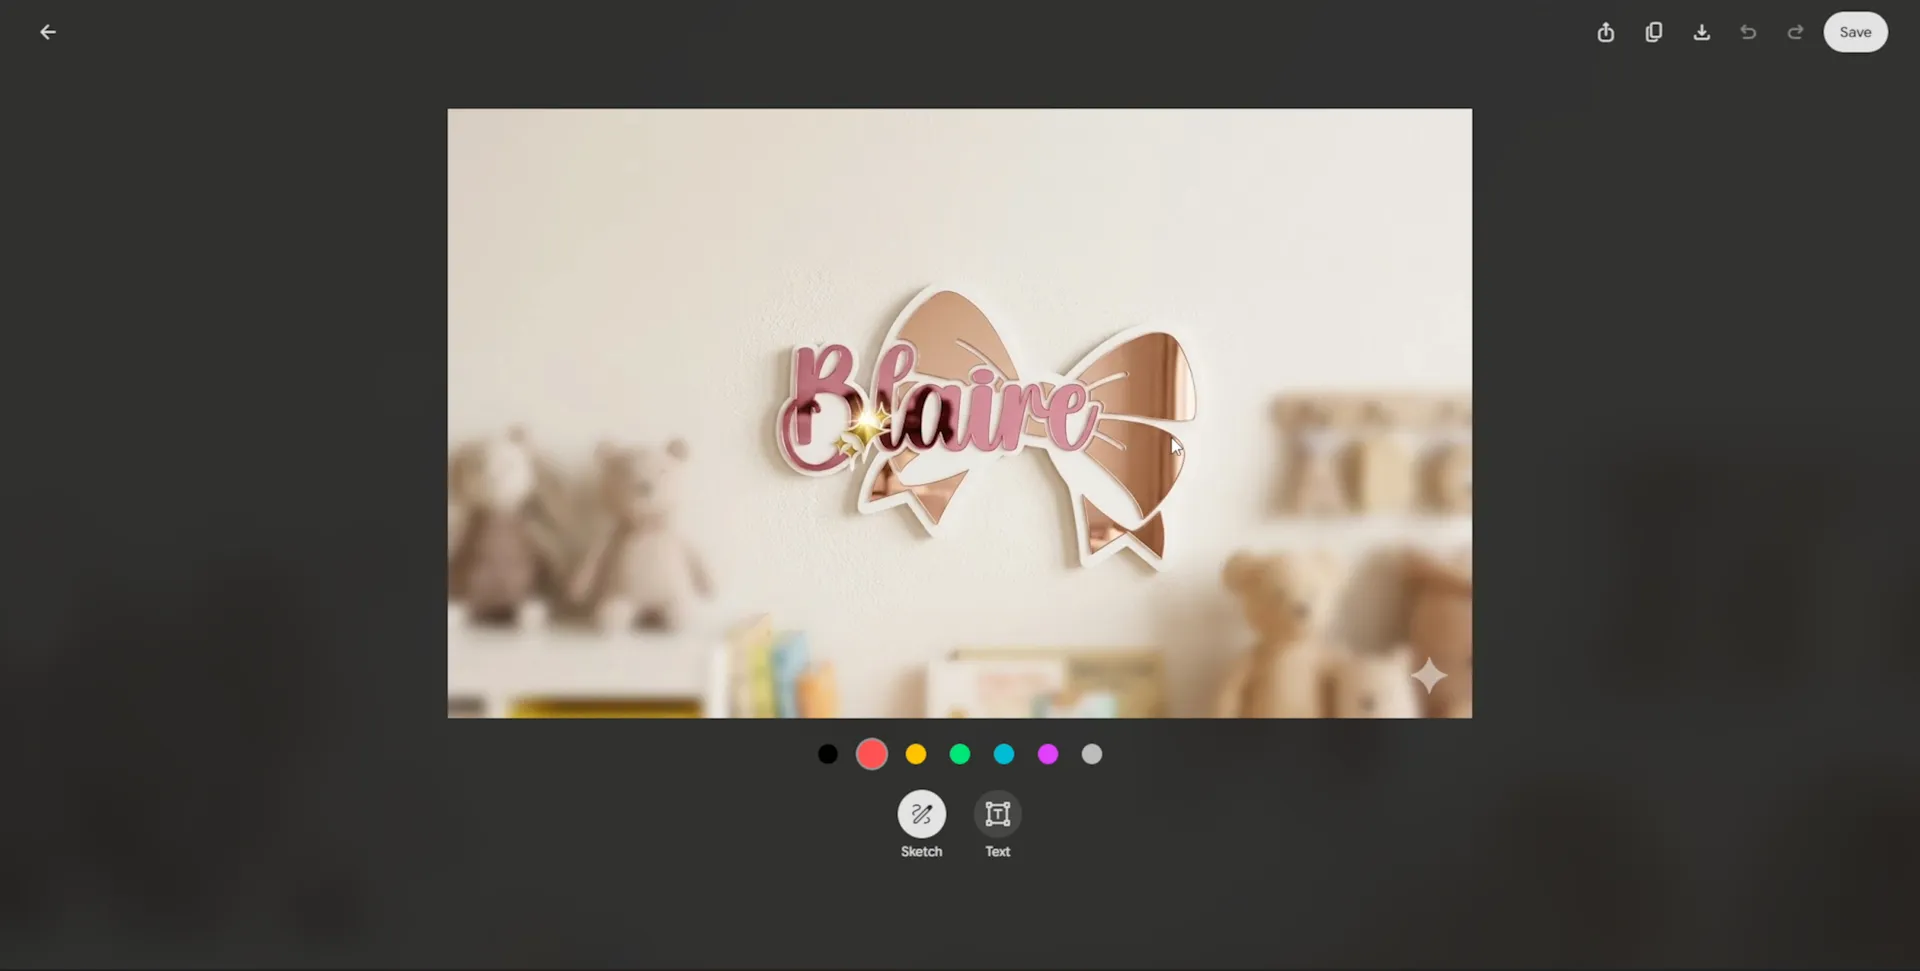
Using AI To Visualise The Finished Product
Before manufacturing began, a screenshot of the completed design was uploaded to Gemini.
Using prompts describing the colours, materials, and intended appearance, Gemini generated a realistic visual representation of the finished sign.
This process helps:
- Visualise finished products
- Test colour combinations
- Improve design decisions
- Reduce revisions
- Create marketing concepts
If changes are required, they can be made before any material is cut.
Laser Cutting The Acrylic Components
Before manufacturing began, a screenshot of the completed design was uploaded to Gemini.
Using prompts describing the colours, materials, and intended appearance, Gemini generated a realistic visual representation of the finished sign.
This process helps:
- Visualise finished products
- Test colour combinations
- Improve design decisions
- Reduce revisions
- Create marketing concepts
If changes are required, they can be made before any material is cut.
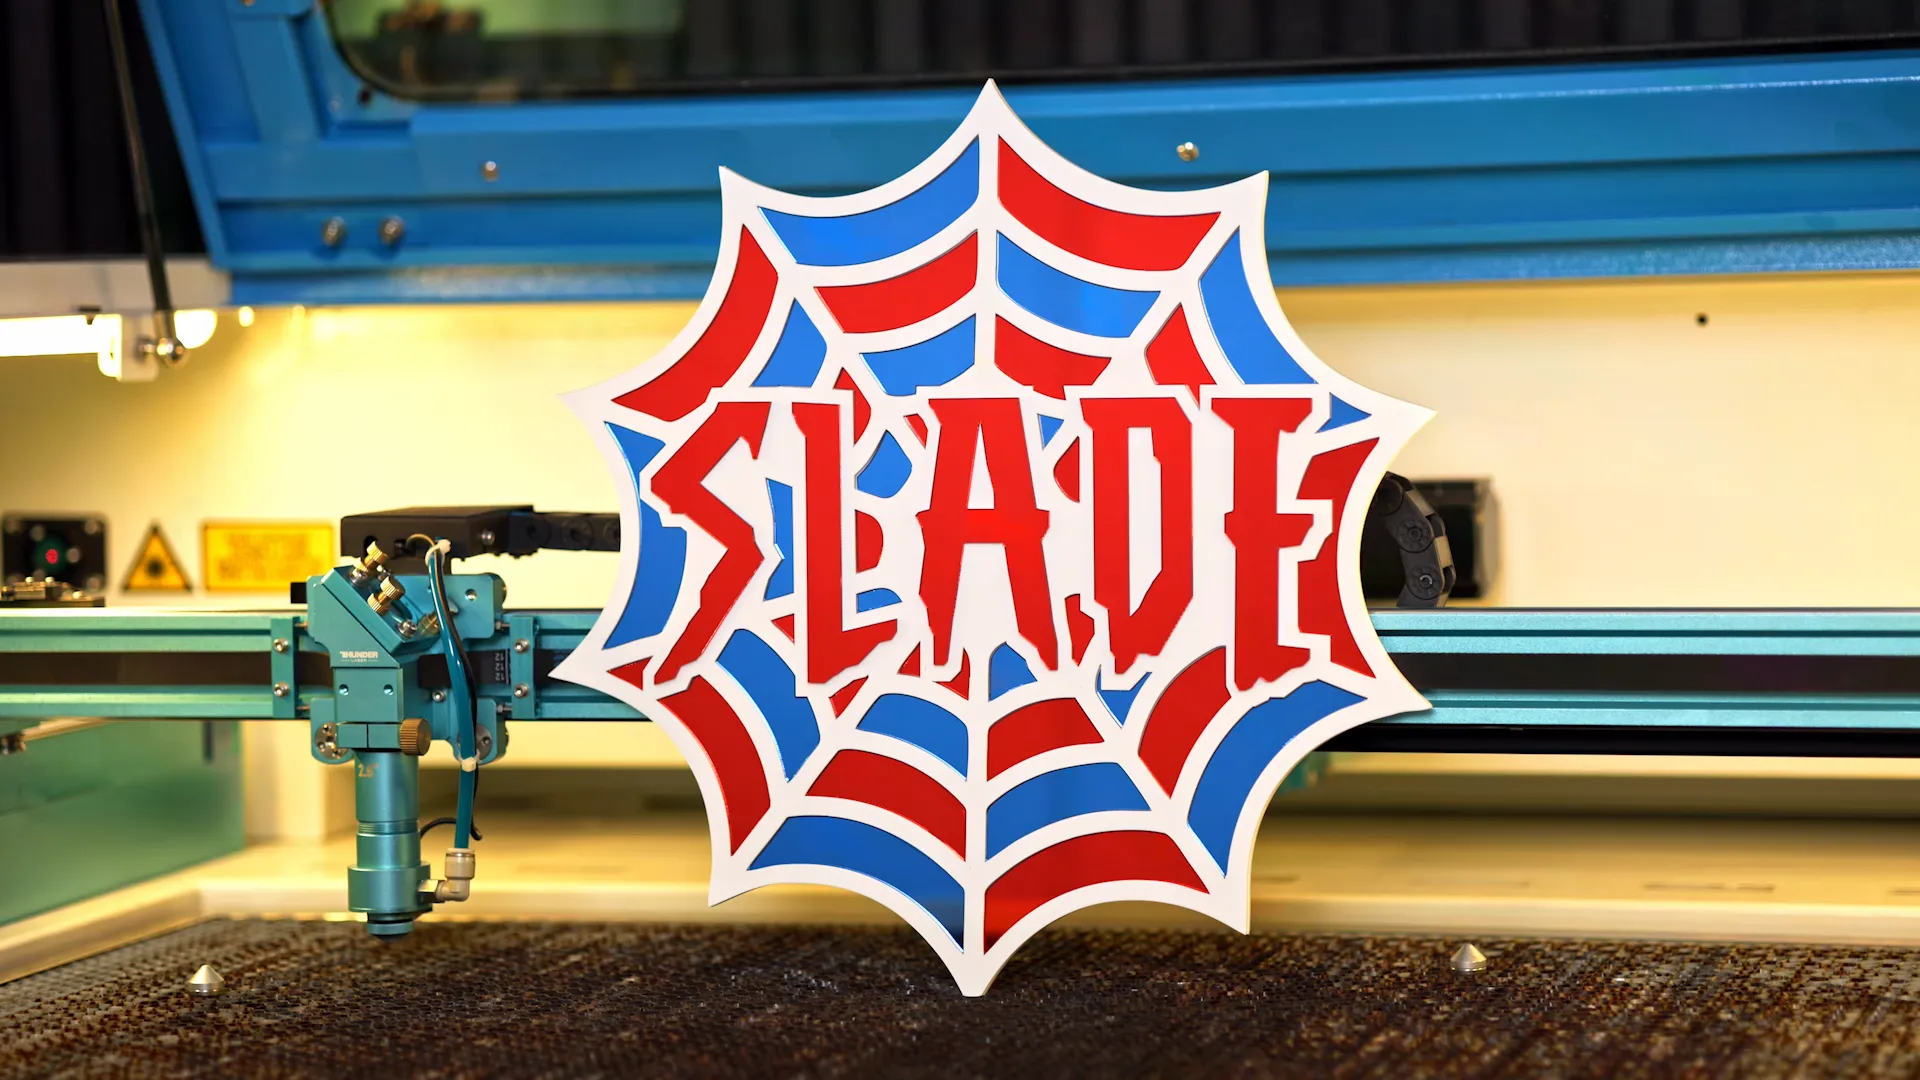
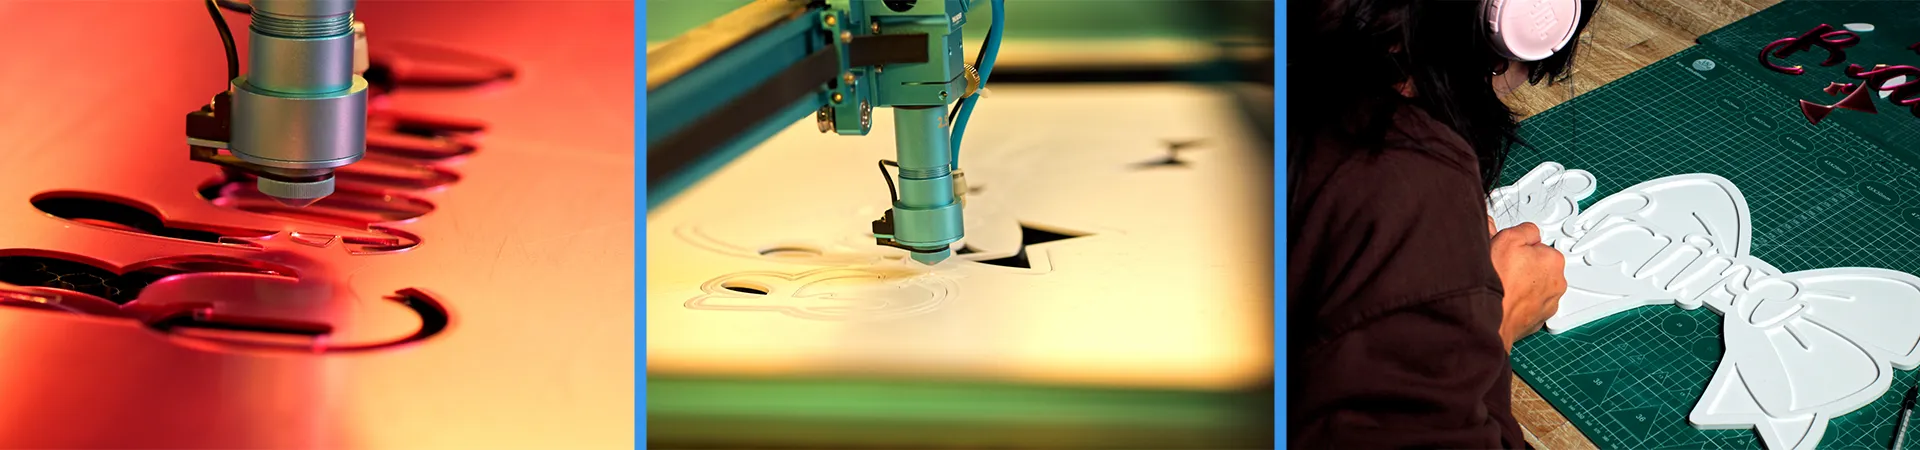
Once the design was approved, production began.
Each acrylic layer was processed separately to ensure accurate cutting and assembly.
Laser cutting provides:
- High precision
- Clean edges
- Consistent repeatability
- Fast production times
The layered construction allows the finished sign to achieve greater visual depth and a premium appearance.
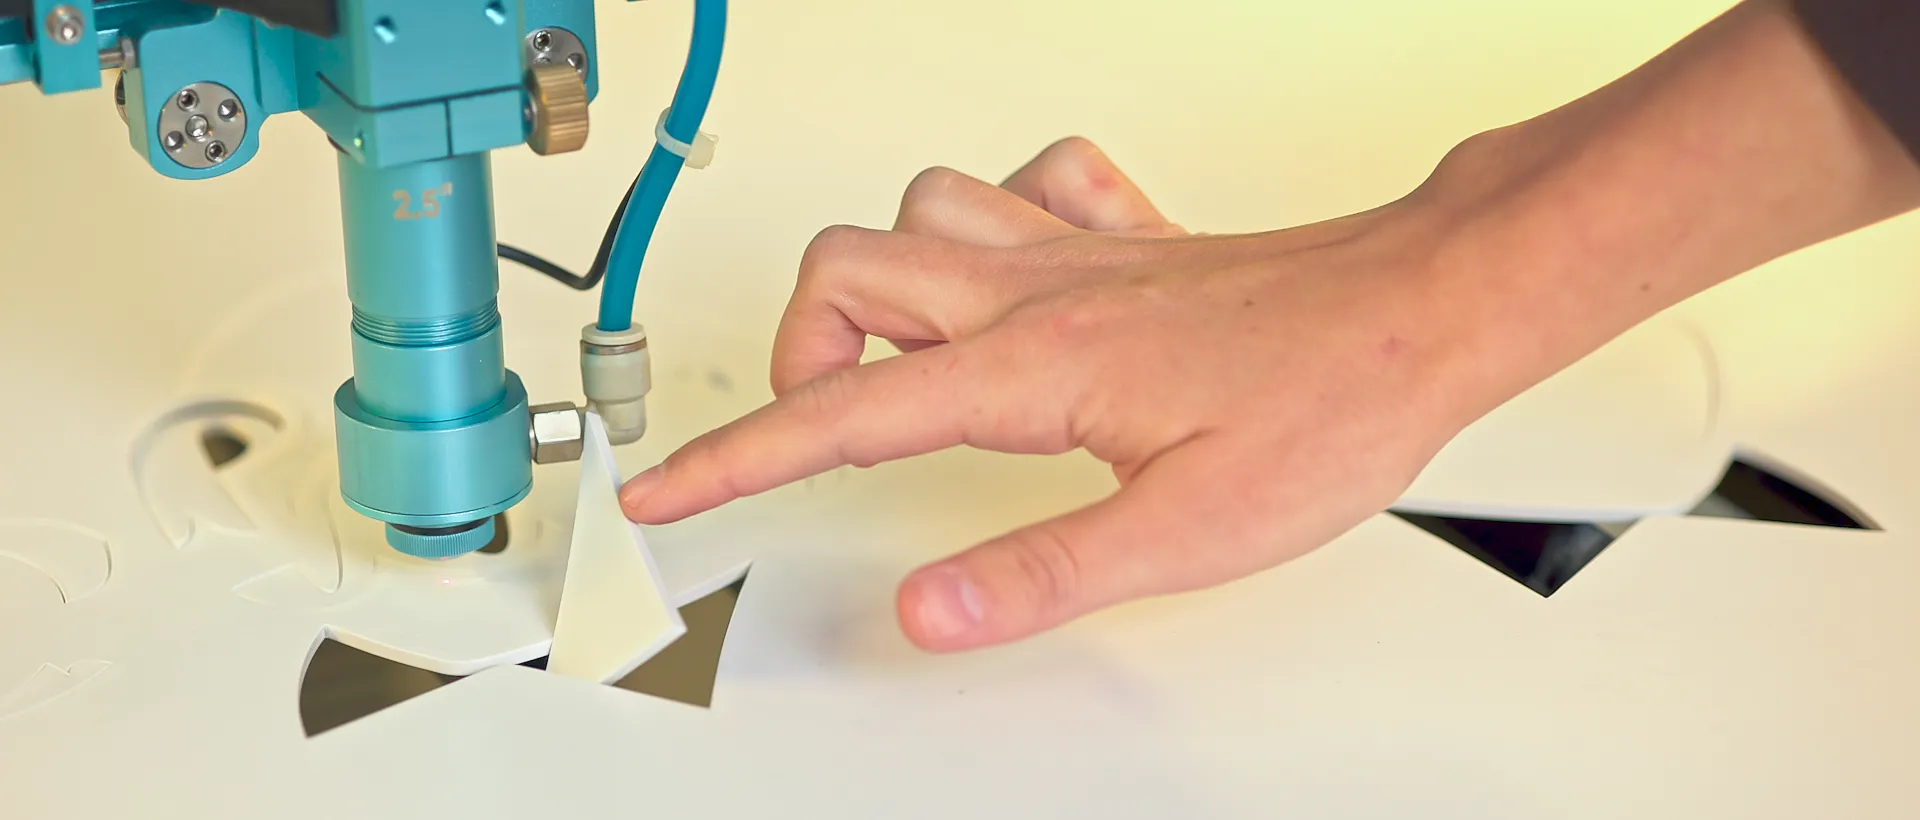
PRO TIP
During detailed acrylic cuts, small pieces can drop through the honeycomb and lodge upright — Thunder Laser machines let you safely pause, clear the obstruction, and resume without restarting the project.
Laser Settings And Production Details
This project was cut on a Thunder Laser Nova 35 Plus using the following settings:
- Air Assist: Off
- Speed: 15mm/s
- Power: 75%
Cutting time per layer:
- Layer 1: 2 minutes
- Layer 2: 9 minutes
- Layer 3: 6 minutes
Total cutting time: Approximately 17 minutes per sign.
The layered construction allows the finished sign to achieve greater visual depth and a premium appearance, while the short production time makes these signs highly practical for repeat orders.
The Finished Laser Cut Name Sign
The completed sign combined:
- Layered acrylic construction
- Personalised typography
- Decorative vector elements
- Precision laser cutting
The result was a colourful, professional-quality name sign that would fit perfectly in a child’s bedroom.
Products like this demonstrate why personalised laser-cut items continue to be strong sellers.
They are:
- Emotionally driven purchases
- Customisable
- Repeatable to manufacture
- Low material cost
- High perceived value

Why Laser Cut Name Signs Are Profitable
Laser cut name signs remain one of the most attractive products for laser business owners.
Benefits include:
- High perceived value
- Strong demand
- Fast production times
- Low material costs
- Excellent profit margins
- Easy online marketing
- Popular gift category
- Repeatable workflow
Because each order is personalised, customers are generally willing to pay more than they would for standard decorative products.
Which Laser Machine Is Best For Making Name Signs?
The right machine depends on the size of signs you want to create, the acrylic thickness you plan to cut and your expected production volume.
Hobby Users
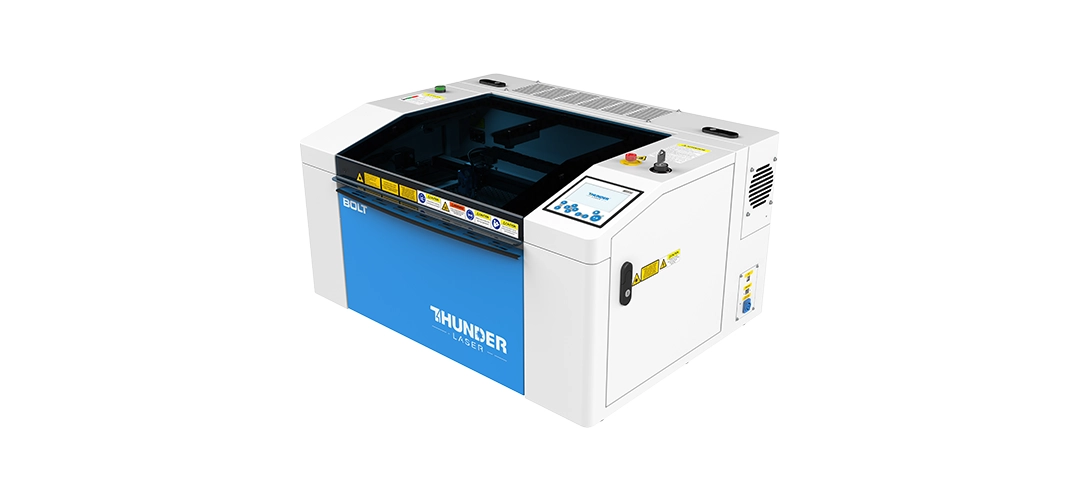
Thunder Bolt
Single-pass acrylic cutting: Up to 10mm
Best for: Startups, signage samples, gifting, arts & craft and light production.
Small Business
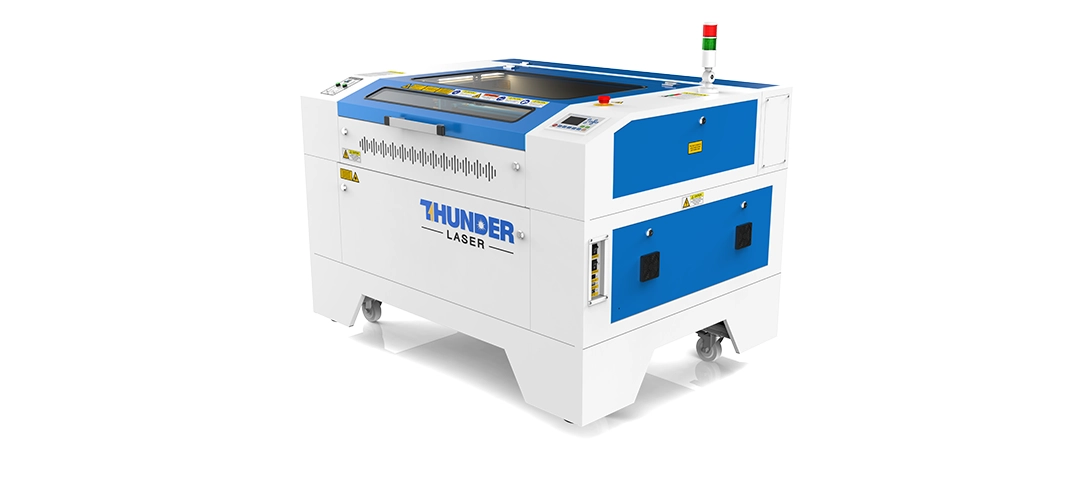
Thunder Nova 35 Plus
Single-pass acrylic cutting: Up to 12mm
Best for: Small to Medium businesses, signage shops, and retail products
Production Businesses
Thunder Nova 51
Single-pass acrylic cutting: Up to 16mm
Best for: Growing production shops, larger signs, and batch acrylic work
Industrial Businesses

Thunder Nova 63
Single-pass acrylic cutting: Up to 20mm
Best for: Higher-volume production, larger sheet work, and commercial signage
Related Laser Cutting Guides
Laser Cut Acrylic Wall Art
Learn how to design and produce layered acrylic wall art as a high-margin product for your laser business.
Read GuideLaser Cut House Number Sign
Discover how laser cut house number signs are made using acrylic, CorelDRAW and precision CO2 laser cutting.
Read GuideLaser Cutting Acrylic
Understand how acrylic behaves under a CO2 laser and what affects clean cuts, polished edges and reliable results.
Read GuideLaser Engraving Acrylic
Learn how engraving can add detail, branding and surface effects to acrylic signage projects.
Read GuideBest Acrylic Sheets For Laser Cutting
Compare acrylic finishes and material choices for layered signs, display pieces and branding products.
Read GuideLaser Cutting Machines
Explore laser cutting machines for acrylic name signs, kids room decor, signage and production work.
View MachinesHow To Start A Laser Business
Explore product ideas, design skills and practical workflows that help turn laser cutting into a business.
Explore AcademyFrequently Asked Questions About Laser Cut Name Signs
A personalised sign manufactured using laser cutting technology and custom typography.
Cast acrylic is generally preferred because it produces clean edges and professional results.
Yes. They offer low material costs, high perceived value, and strong demand.
Yes. They are one of the most popular nursery décor products available.
Production time depends on complexity, but this project was cut in approximately 17 minutes total. Most custom name signs can be manufactured within a similar timeframe once the design is completed.
CorelDRAW is commonly used for vector creation and design preparation.
Yes. AI tools can help visualise colour schemes, layouts, and finished products before production.
CO2 laser machines such as the Thunder Bolt, Nova 35 Plus, and Nova 51 are excellent choices depending on production requirements.
Yes. They perform particularly well through social media, online stores, and marketplace platforms.
Because personalised products create emotional value and help make a child’s room feel unique and special.
Ready To Create Products Like This?
Whether you are starting a side hustle, launching a laser business, or expanding your product range, personalised name signs are one of the easiest products to add to your offering.
MaxLaser supplies the machines, materials, training, installation, and support needed to help you turn creative ideas into profitable products.
Book a live demonstration today and see professional laser cutting in action.
Book A Live Demonstration View Laser Cutting Machines