
Laser Cutting Machines, Laser Materials
How To Make Laser Cut Personalised Gifts | Acrylic Coasters, Keychains & Fridge Magnets
Jul
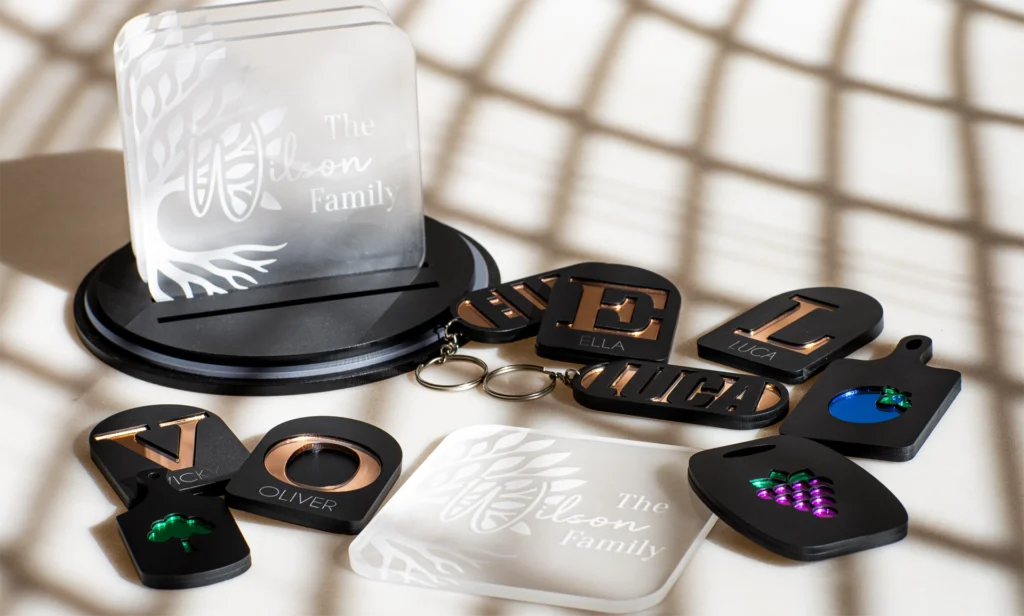
Personalised gifts are one of the easiest ways to turn a simple laser-cut product into something customers value more highly. Whether it is a custom acrylic coaster, a personalised keychain or a fridge magnet, adding a name, family design or meaningful artwork instantly makes the product feel more personal.
In this project, we design and manufacture three popular laser-cut personalised gifts using acrylic, CorelDRAW, LightBurn and a Thunder Laser machine. The workflow moves from inspiration and artwork preparation through to cutting, engraving and assembling the finished products.
If you are looking for practical laser-cutting ideas, this project shows how one repeatable workflow can be adapted into gift products for birthdays, anniversaries, weddings, Christmas, home decor and corporate branding.
View Laser Cutting Machines Read The Acrylic Guide
What Are Laser-Cut Personalised Gifts?
Laser-cut personalised gifts are custom products made by cutting or engraving materials such as acrylic, wood or leather with a CO2 laser machine.
Instead of producing generic items, each product is customised with names, initials, family graphics, business logos or meaningful artwork.
Popular examples include:
- Acrylic coasters
- Personalised keychains
- Fridge magnets
- Children’s name signs
- House number signs
- Wedding decor
- Corporate gifts
Because the design can be customised without changing the full production process, laser cutting is practical for once-off gifts and small production runs.
Watch The Project
Watch the project video below to see how the acrylic coasters, personalised keychains and fridge magnets were designed, prepared and manufactured.
Project Summary
| Detail | Project Information |
|---|---|
| Project Type | Laser-cut personalised acrylic gifts |
| Products Made | Acrylic coasters, personalised keychains and fridge magnets |
| Design Software | CorelDRAW |
| Laser Preparation | LightBurn |
| Machine Type | Thunder Laser CO2 laser machine |
| Materials | Acrylic, including clear acrylic and mirror acrylic details |
| Difficulty Level | Beginner to intermediate |
| Main Techniques | Vector tracing, contours, welding, trimming, rear engraving and layered acrylic assembly |
Why Personalised Gifts Sell So Well
One of the biggest advantages of personalised products is that customers are buying more than the material. They are buying something made specifically for them.
A coaster becomes a keepsake when it features a family name. A keychain becomes more meaningful when it carries someone’s name. A fridge magnet becomes something worth displaying when it represents a child, a family member or a personalised kitchen design.
That emotional value is why personalised laser products can support stronger perceived value than standard cut items.
For a laser business, personalised gifts are attractive because they can offer:
- Low material usage
- Repeatable production workflows
- Fast design changes for different customers
- Strong gift and seasonal appeal
- Useful product ideas for markets, online stores and retail displays

Three Personalised Gift Products From One Workflow
Instead of focusing on only one product, this project demonstrates how the same CorelDRAW and laser cutting workflow can be adapted into multiple personalised gift ideas.
Personalised Acrylic Coasters
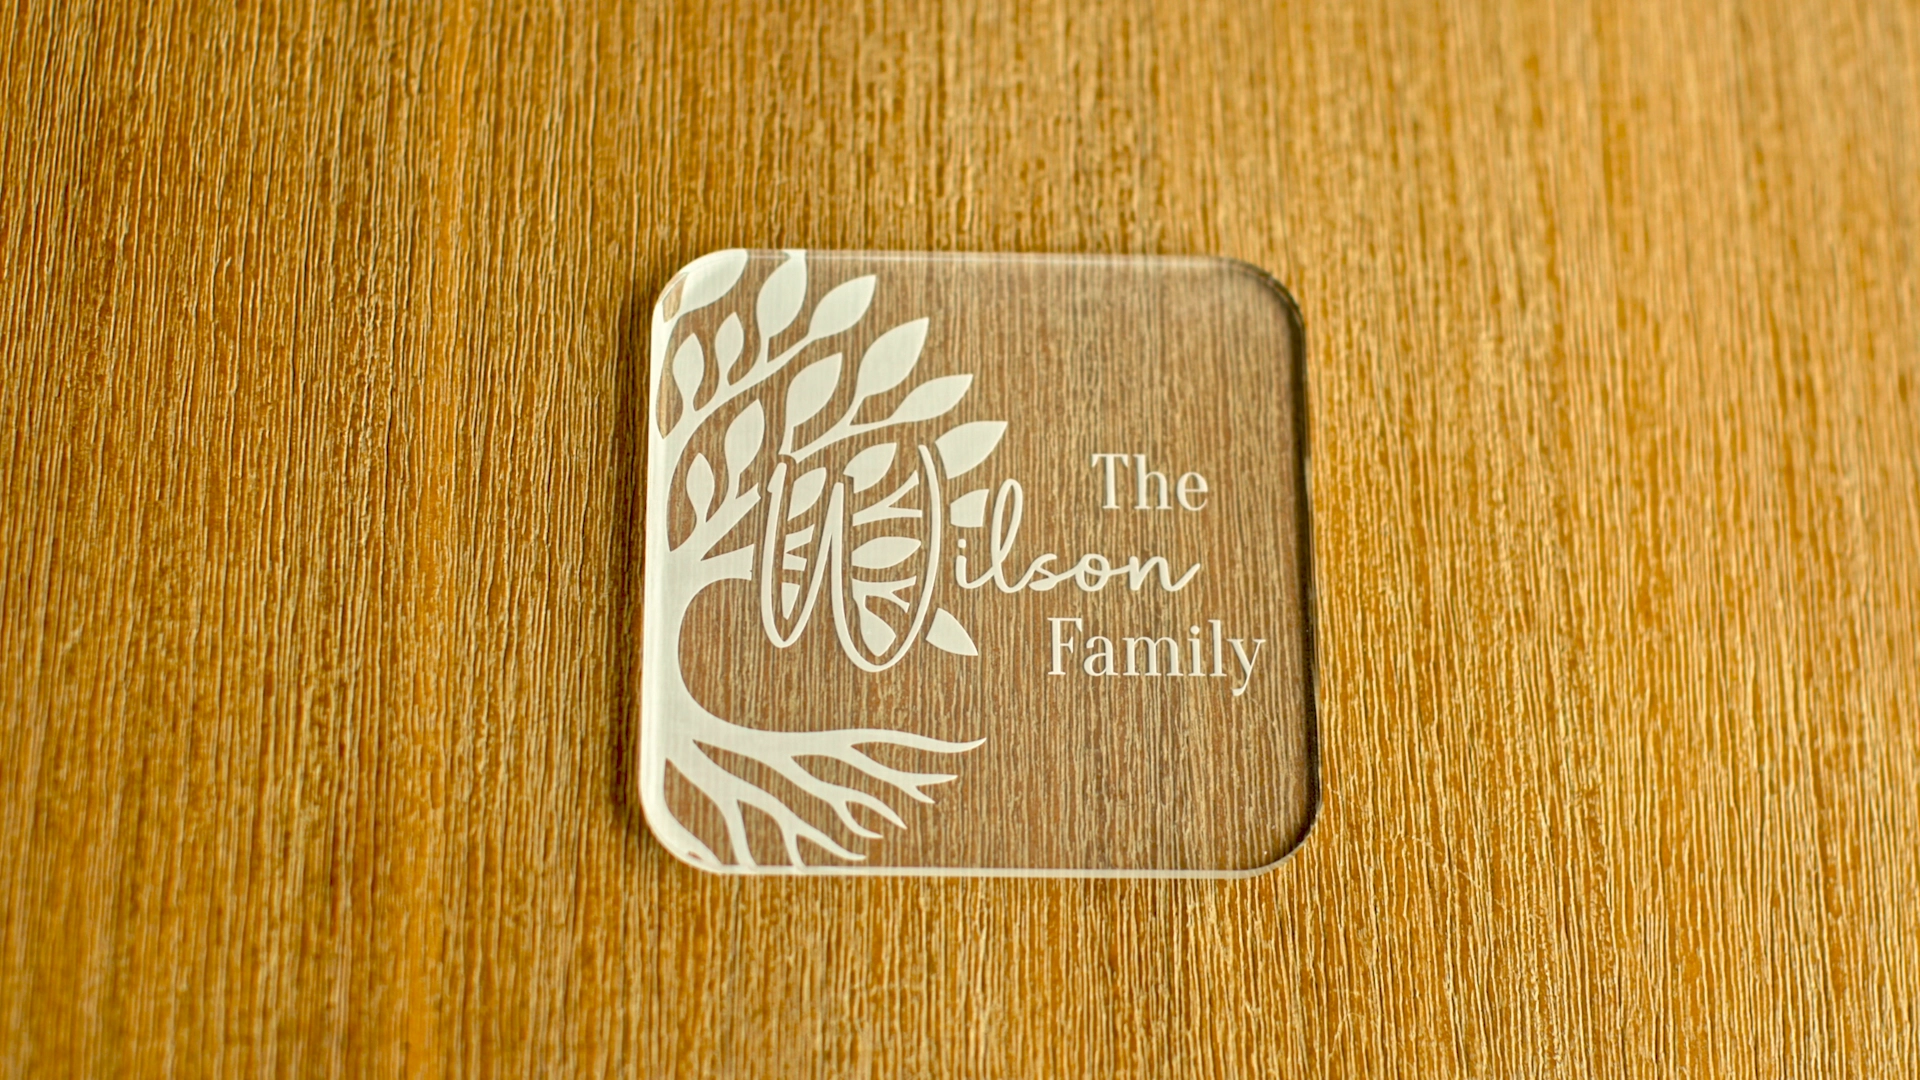
Elegant engraved acrylic coasters personalised with family names and decorative artwork.
Personalised Keychains
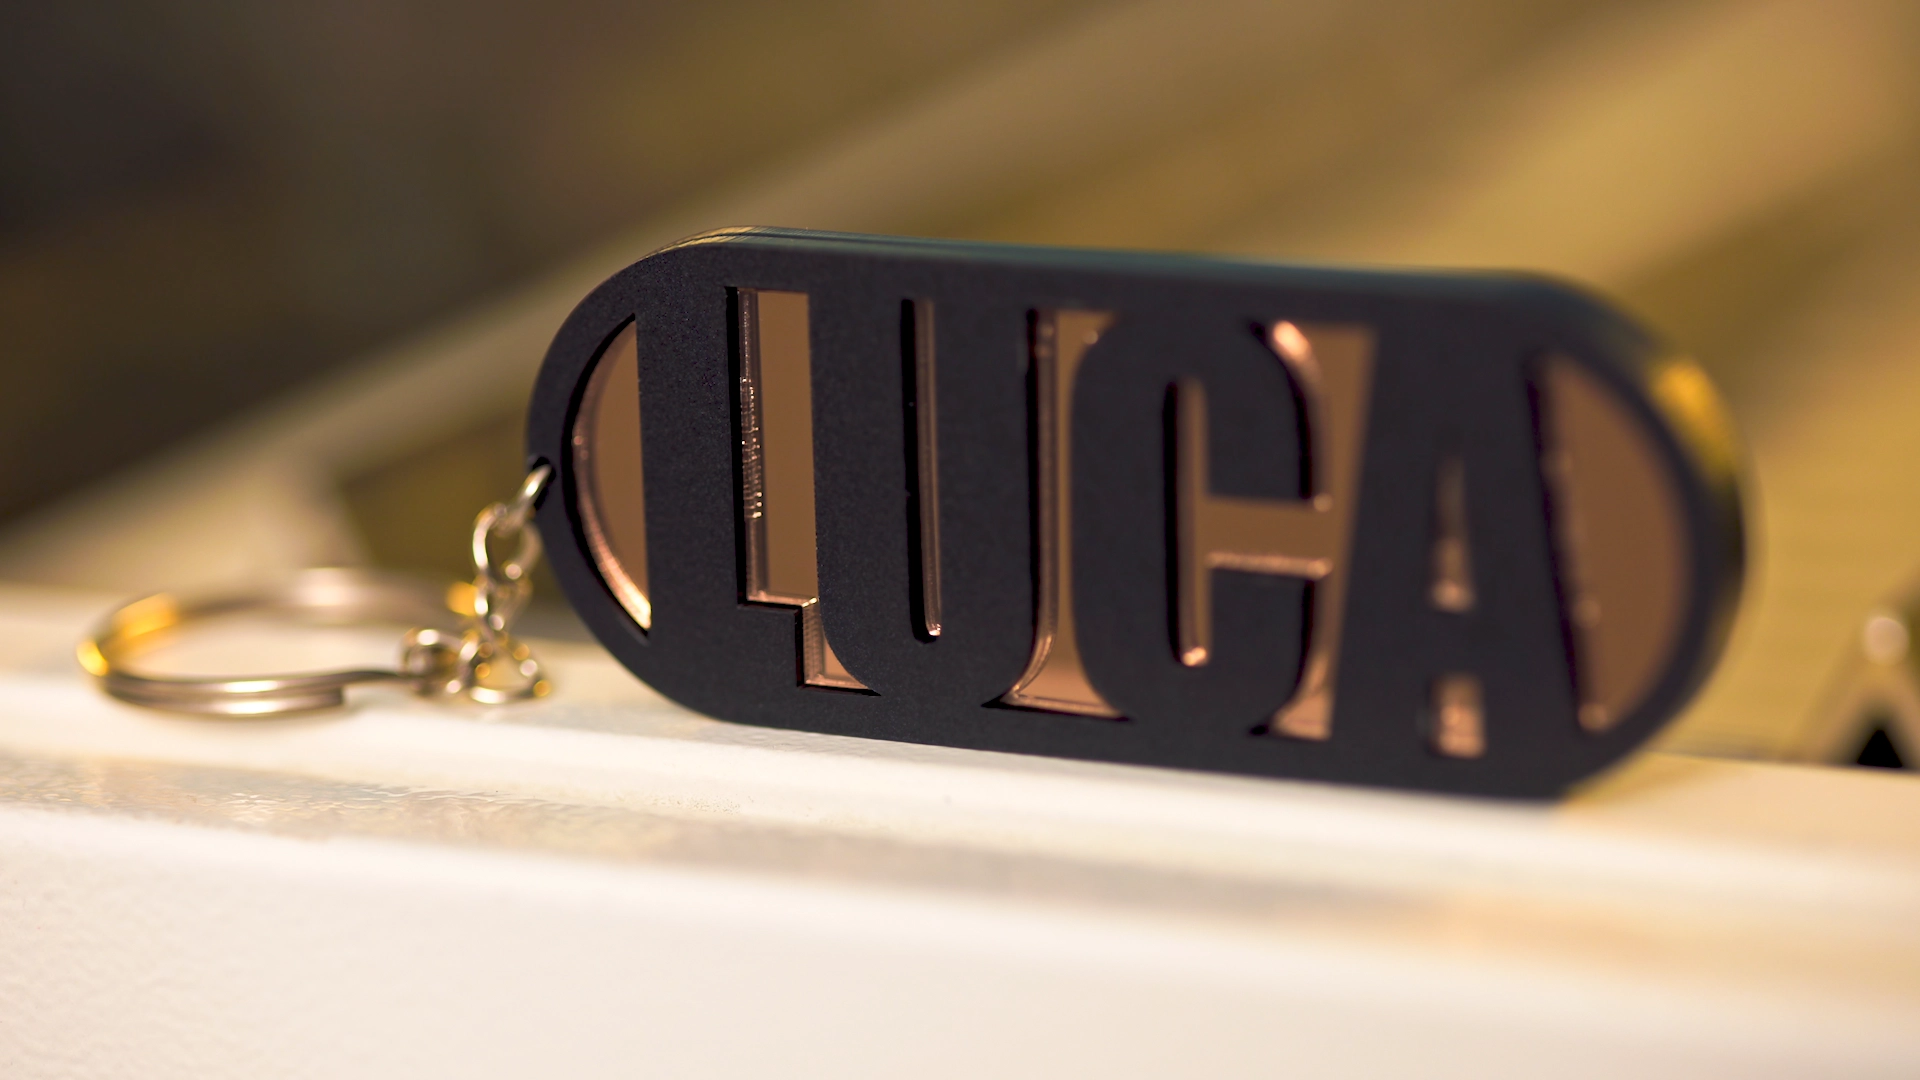
Layered acrylic keychains with mirror acrylic inlays and a puzzle-fit construction method.
Personalised Fridge Magnets

Layered acrylic fridge magnets using initials, names and decorative kitchen-themed artwork.
From Inspiration To Finished Product
Every successful laser-cut project starts before the machine begins cutting. The design process is where creativity and manufacturing come together.
For this project, the workflow combined product research, AI-assisted concept development, CorelDRAW artwork preparation and laser production.

Finding Product Inspiration
Pinterest was used to identify popular layouts, proportions, typography styles, gift ideas and acrylic product trends. The goal was not to copy existing products, but to understand what customers already respond to and then create original designs around that direction.
Using AI To Speed Up Product Development
ChatGPT helped with brainstorming product ideas, while Gemini was used to visualise concepts before building final production artwork in CorelDRAW. This made it easier to review balance, colours, contrast and overall appeal before cutting the first sheet of acrylic.
Designing A Personalised Acrylic Coaster In CorelDRAW
The first project was a set of personalised acrylic coasters featuring a family name and decorative tree artwork. The finished product looks simple, but the artwork must be prepared carefully to ensure clean engraving, accurate cutting and a professional result.

The coaster started as a square measuring 110 x 110 mm. Each corner was rounded with a 20 mm radius to soften the shape and make the finished coaster more comfortable to handle.
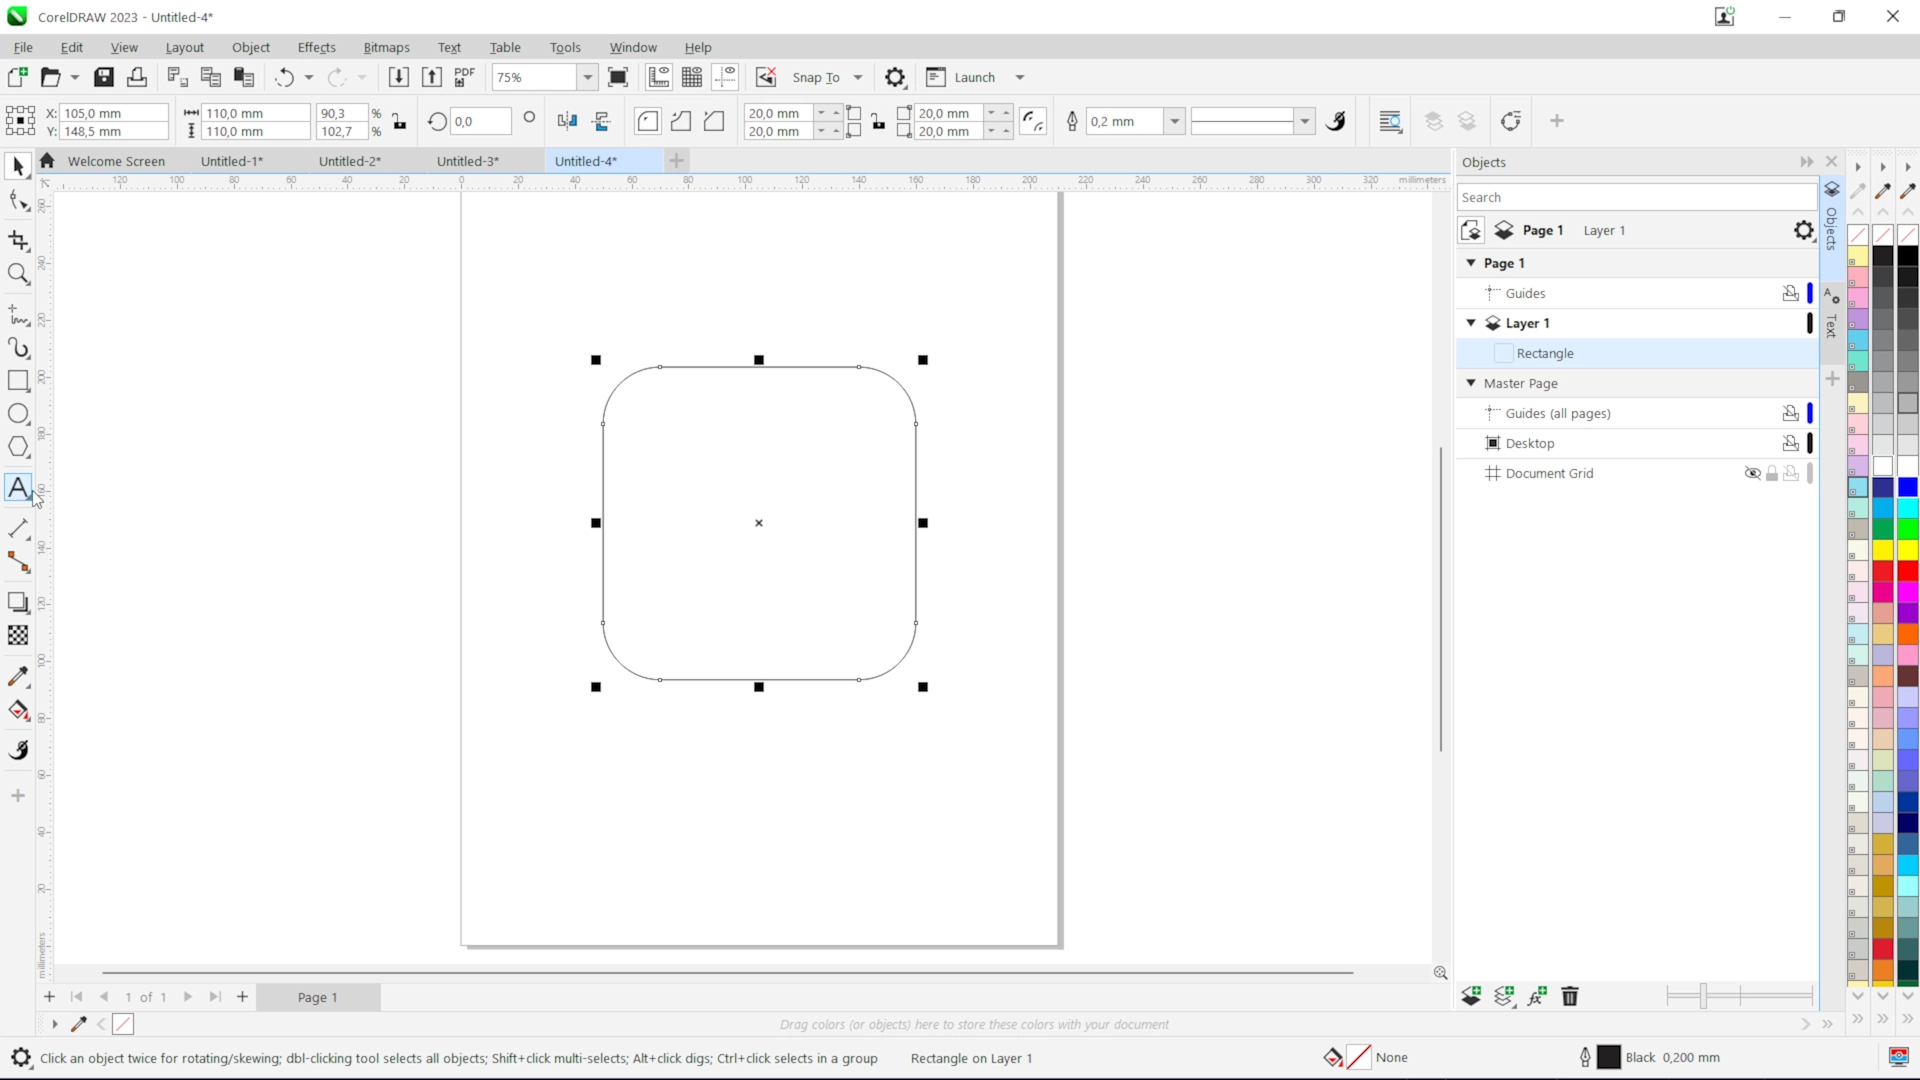
Typography plays a major role in personalised products. The family surname was made the main feature, while a second font was used for supporting text to create contrast and improve readability.

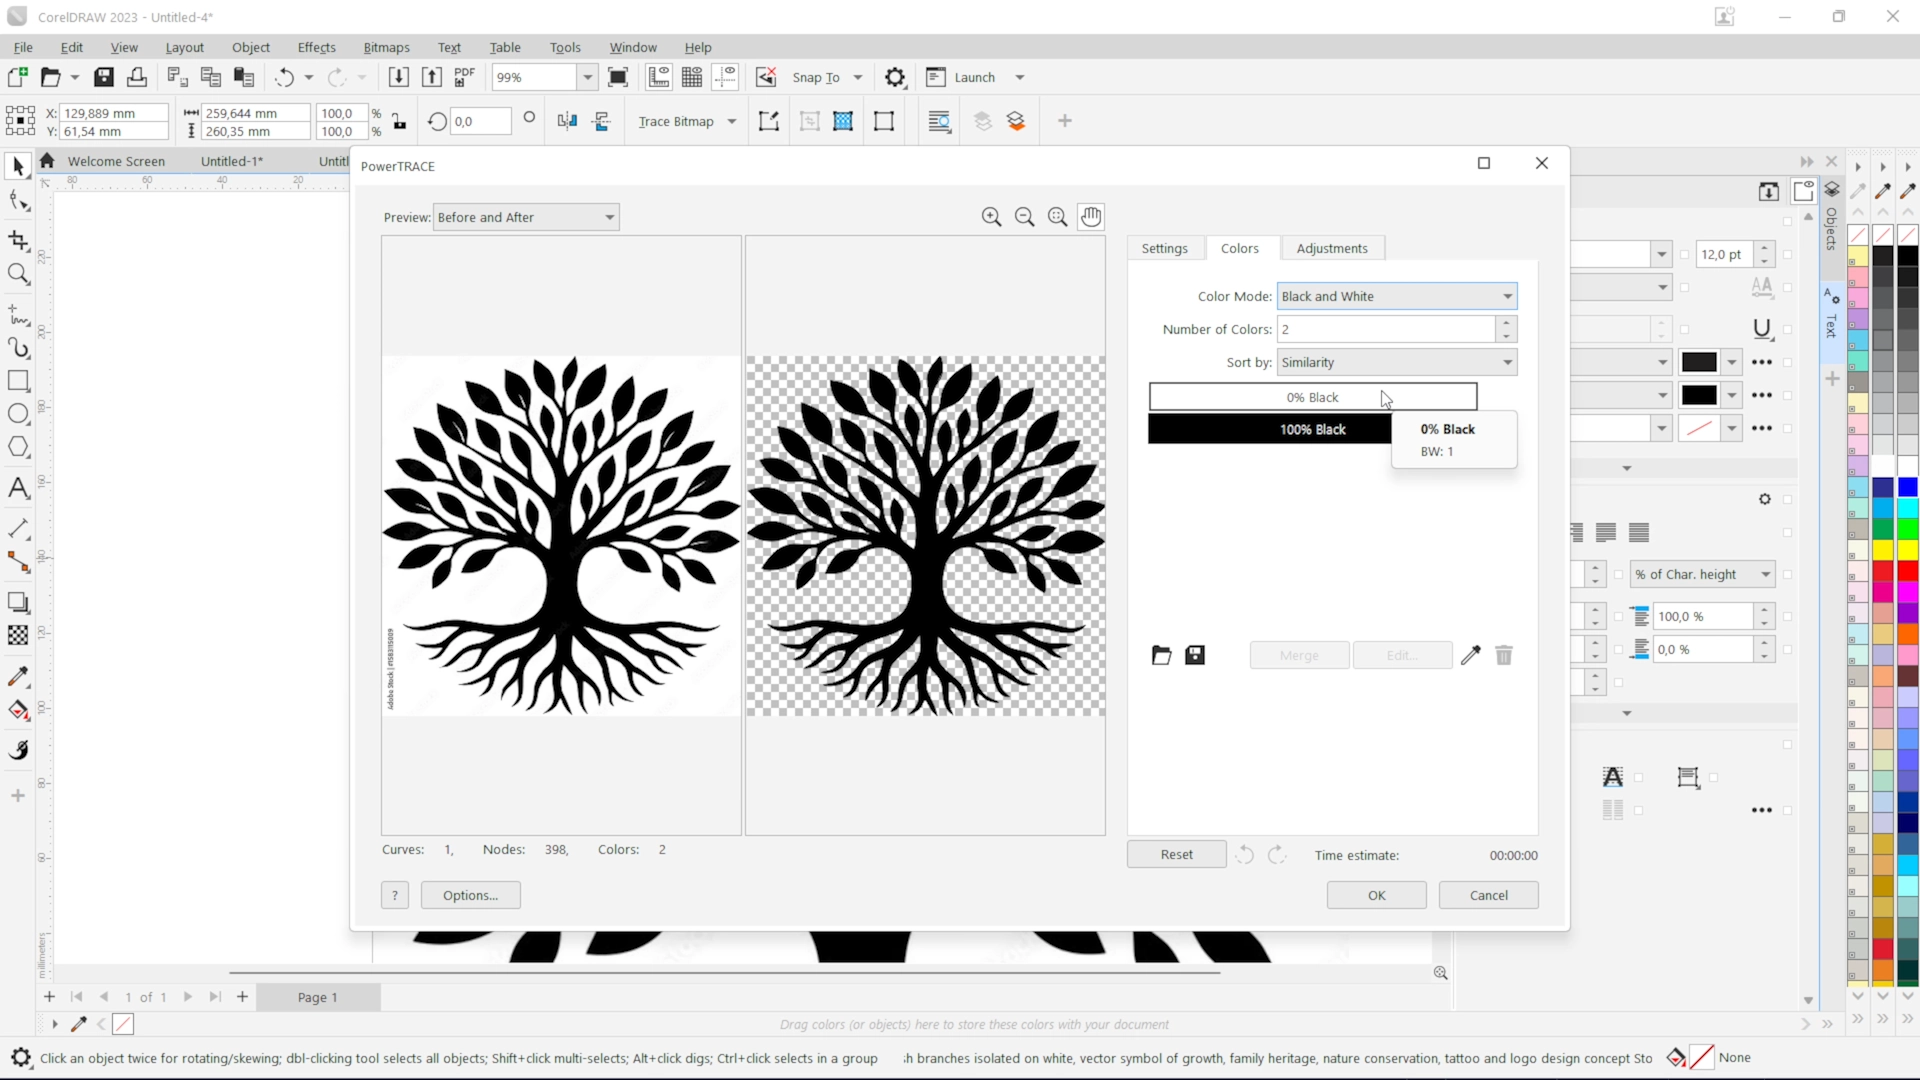
A decorative tree illustration was imported into CorelDRAW and converted into editable vector artwork using Outline Trace. After tracing, the bitmap was removed, the vector was cleaned up, resized and positioned inside the coaster layout.
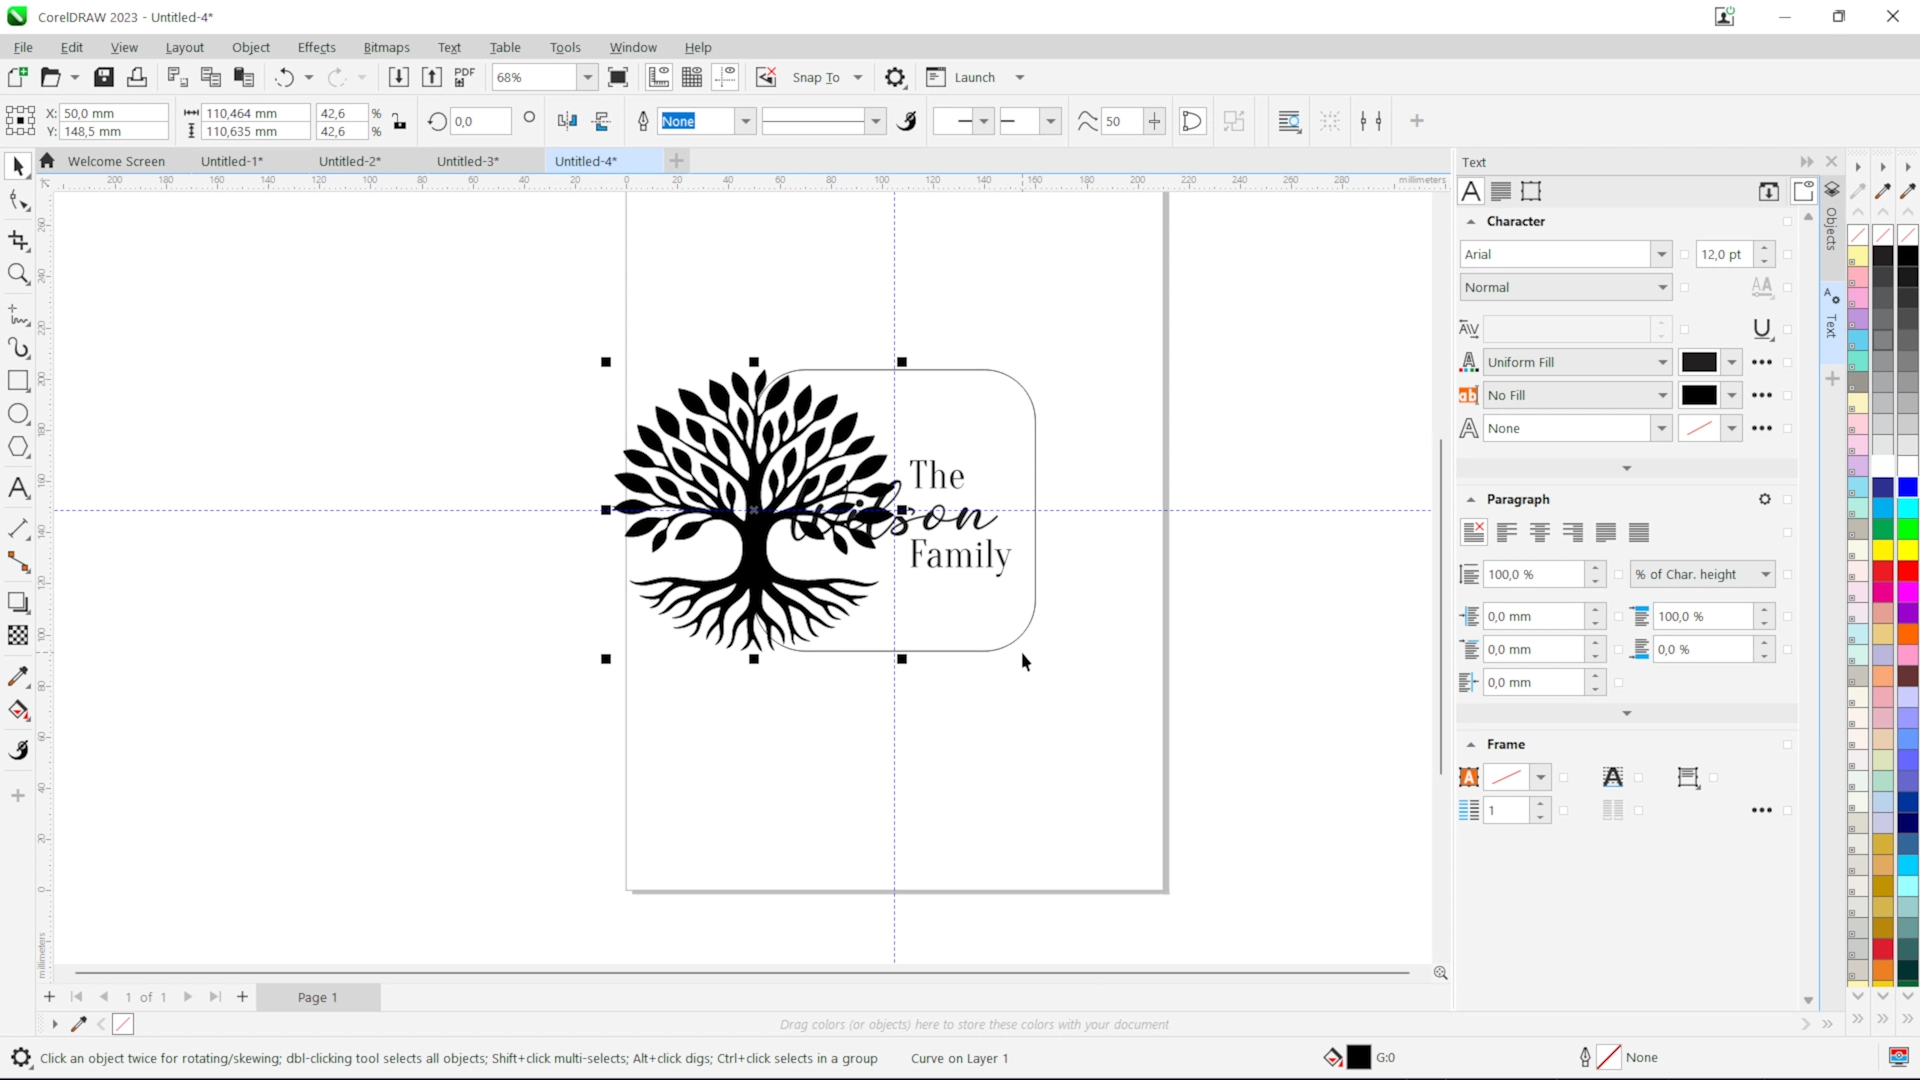
Horizontal and vertical guidelines were placed through the centre of the coaster. Snap to Guidelines was used to keep text and artwork aligned accurately instead of relying on visual estimation.
Once the layout was approved, the text was converted to curves. This prevents missing font issues and preserves the exact shape of every letter throughout production.

Script fonts often contain hidden overlaps where letters connect. Welding combines those overlaps into one clean shape, helping prevent unwanted internal lines or inconsistent engraving.

A small contour was created around the text to keep the decorative tree artwork from interfering with the lettering. The contour was broken apart, used to trim the artwork, and then removed once it had served its purpose.

Small floating shapes, duplicate nodes and unnecessary fragments were removed before export. This reduces unwanted engraving, keeps the file easier to edit and helps avoid wasted laser movement.
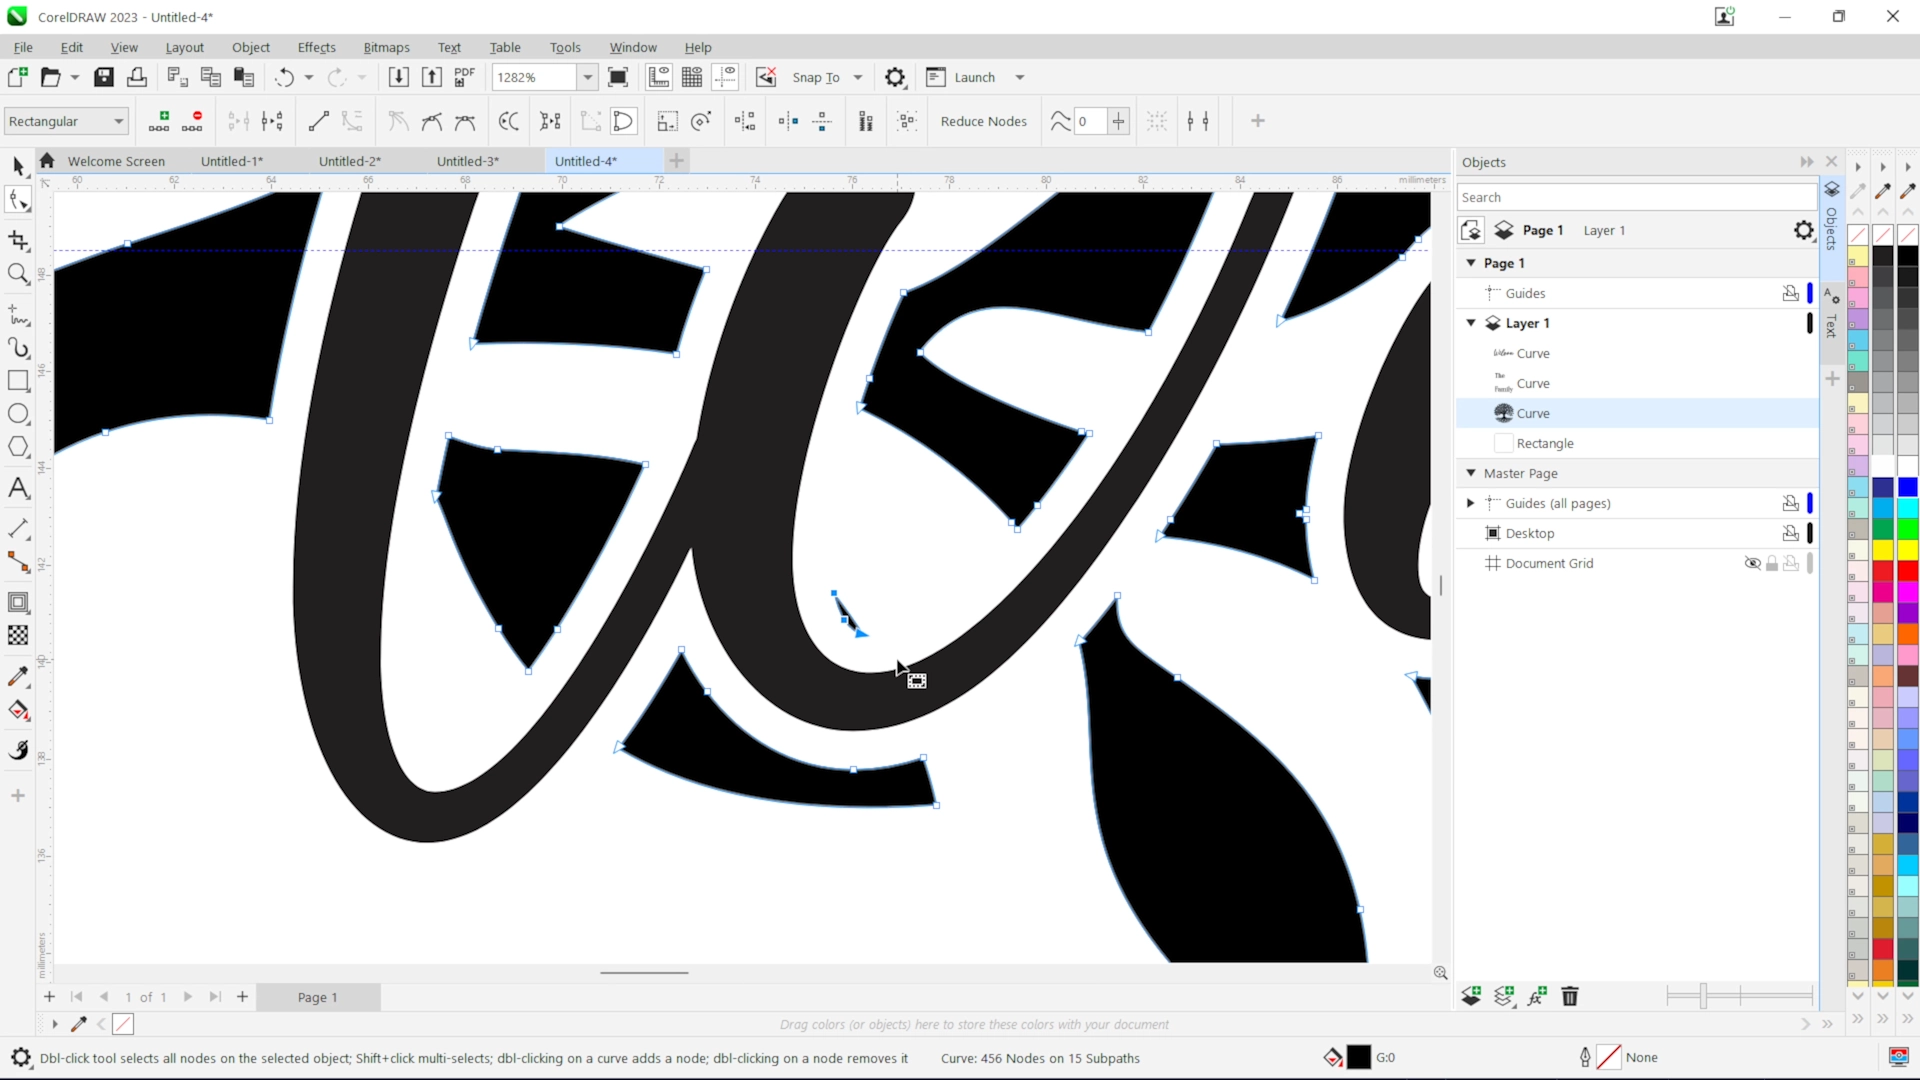
The decorative tree was trimmed so it remained inside the coaster outline. This kept the engraved artwork aligned with the final cut shape and created a clean finished edge.

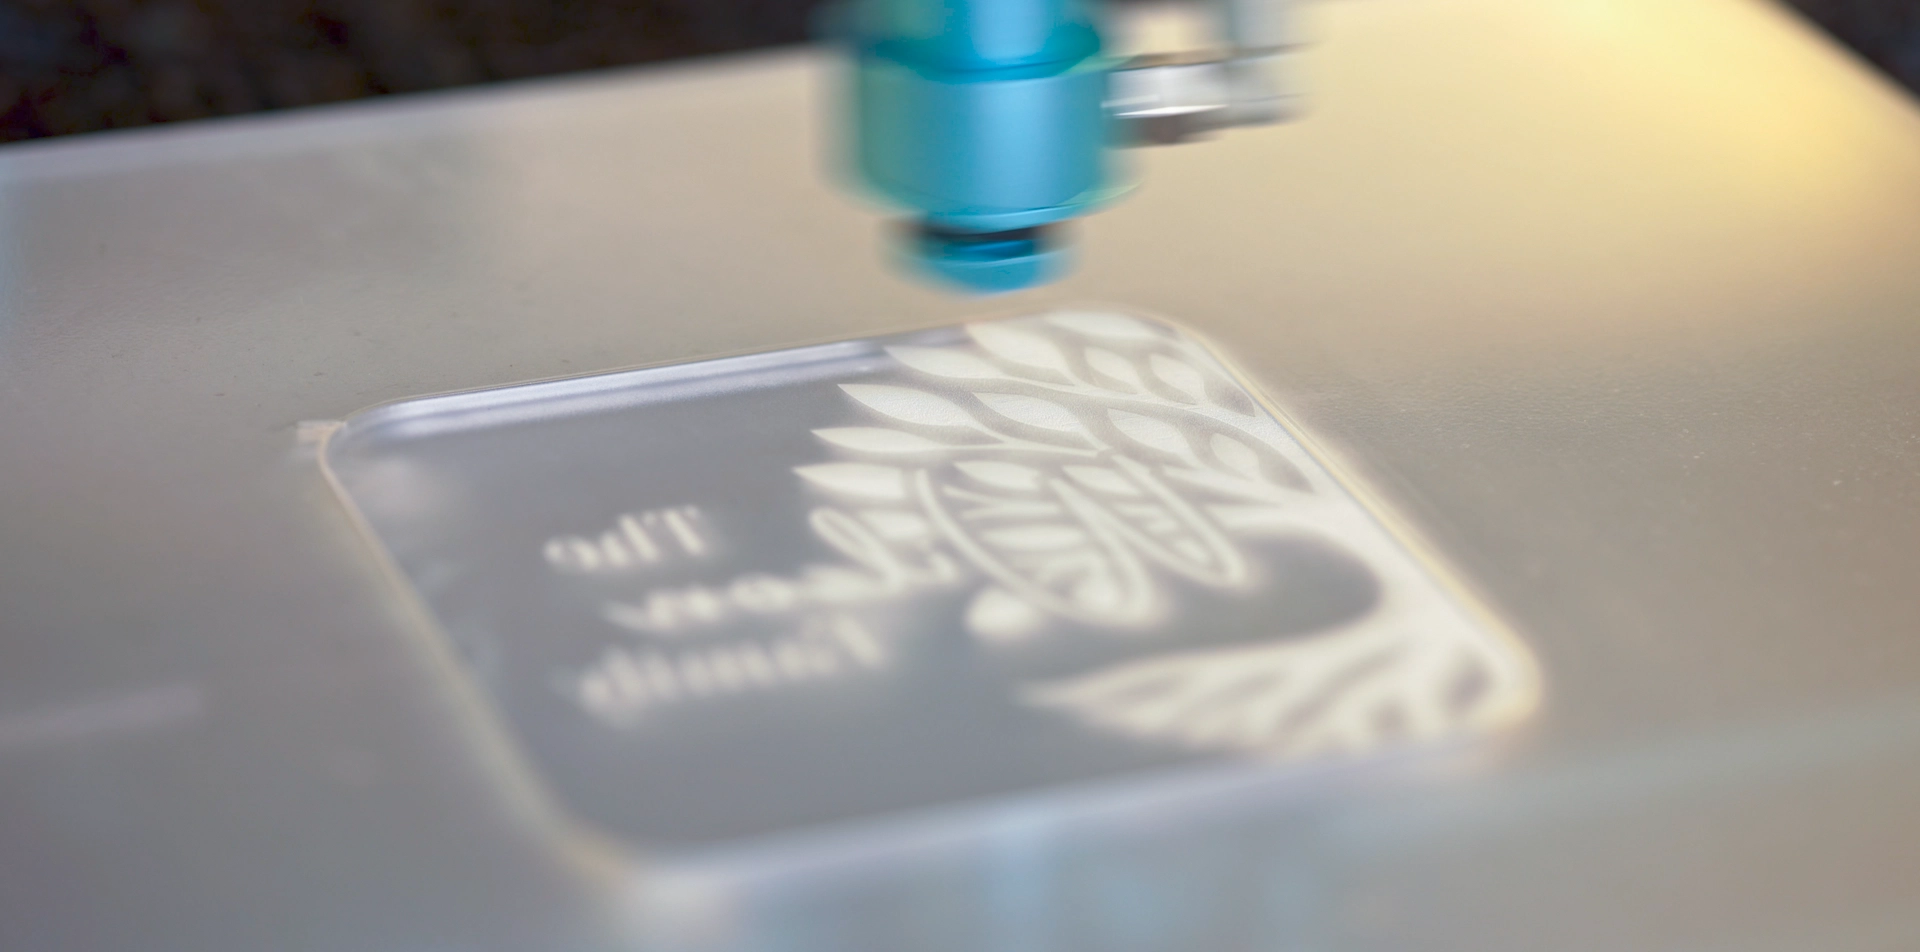
The coaster outline was assigned a red hairline outline for cutting, while the black artwork remained as engraving. Because the engraving was completed on the back of clear acrylic, the design was mirrored horizontally before export.

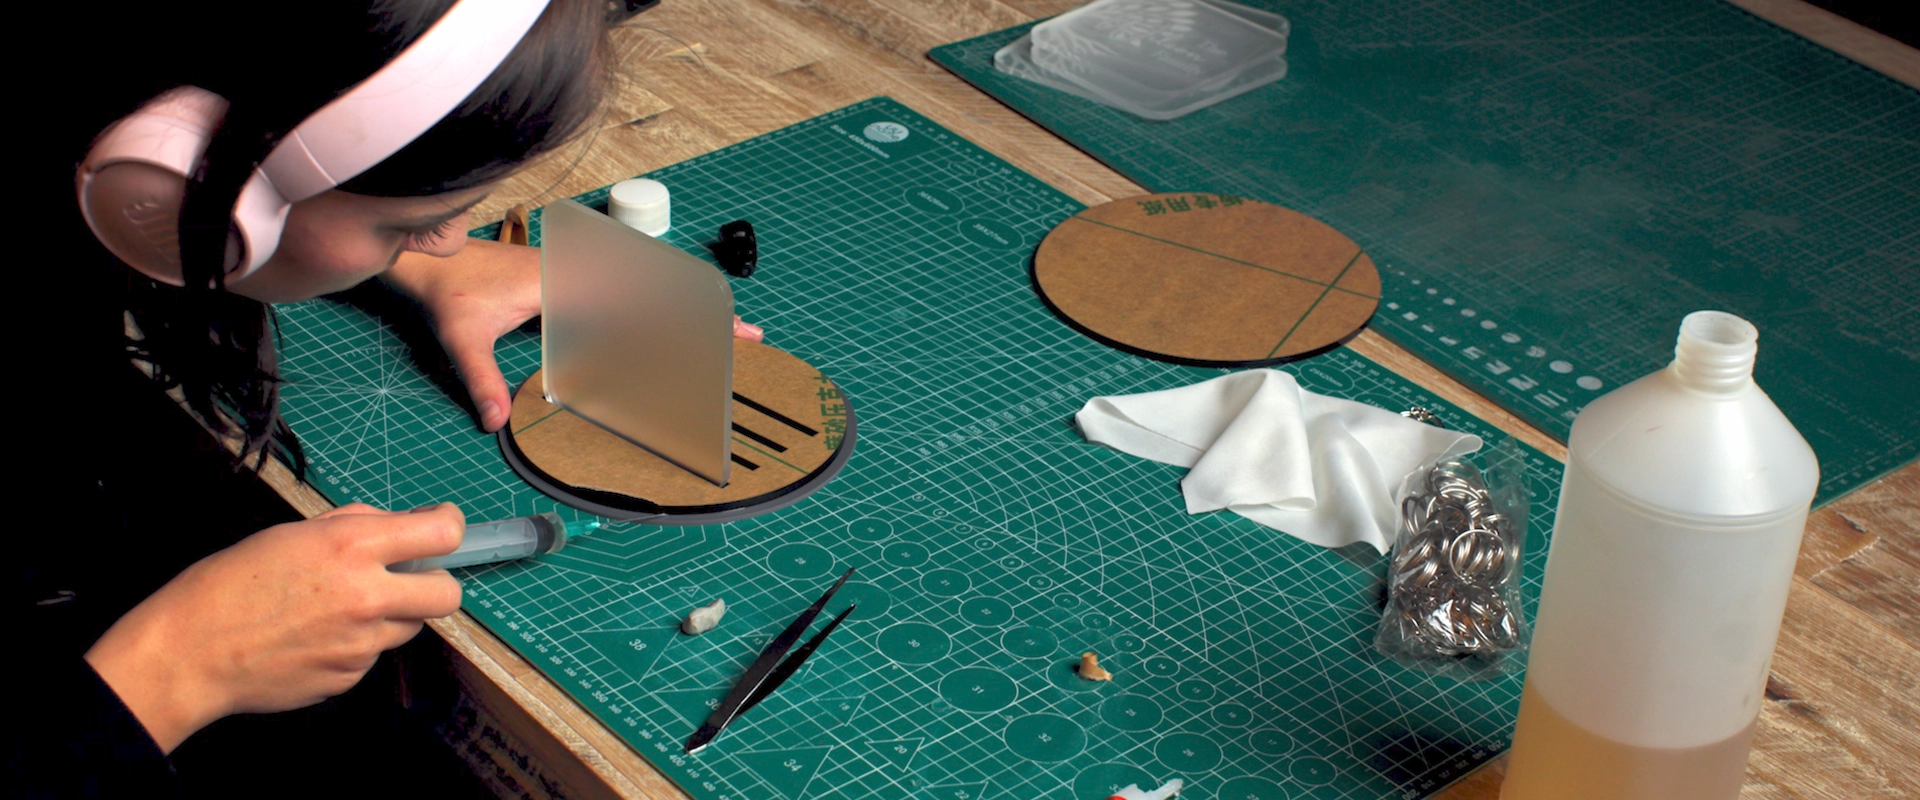
Engraving the back of clear acrylic protects the engraved surface from scratches and gives the front a smooth, premium appearance. The artwork appears crisp when viewed through the polished acrylic face.
Designing Layered Acrylic Personalised Keychains
Personalised keychains are affordable, customisable and suitable for gifts, promotional products and accessories. In this project, the keychain used a layered acrylic construction with mirror acrylic inlays for a more premium finish.
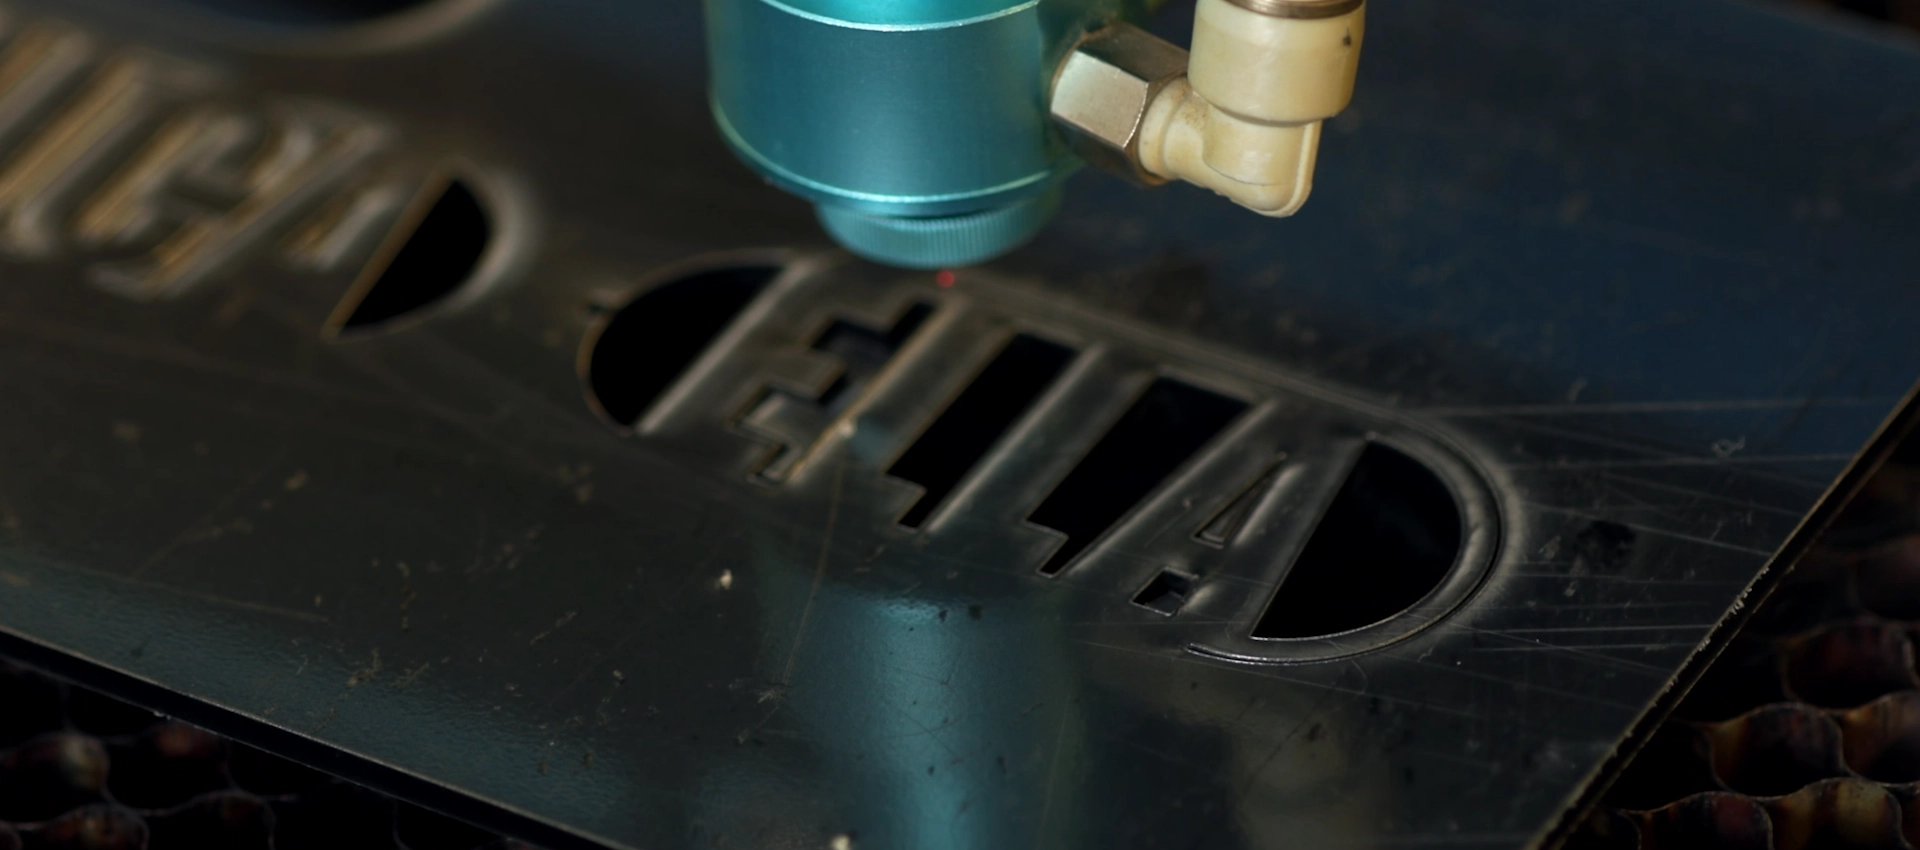
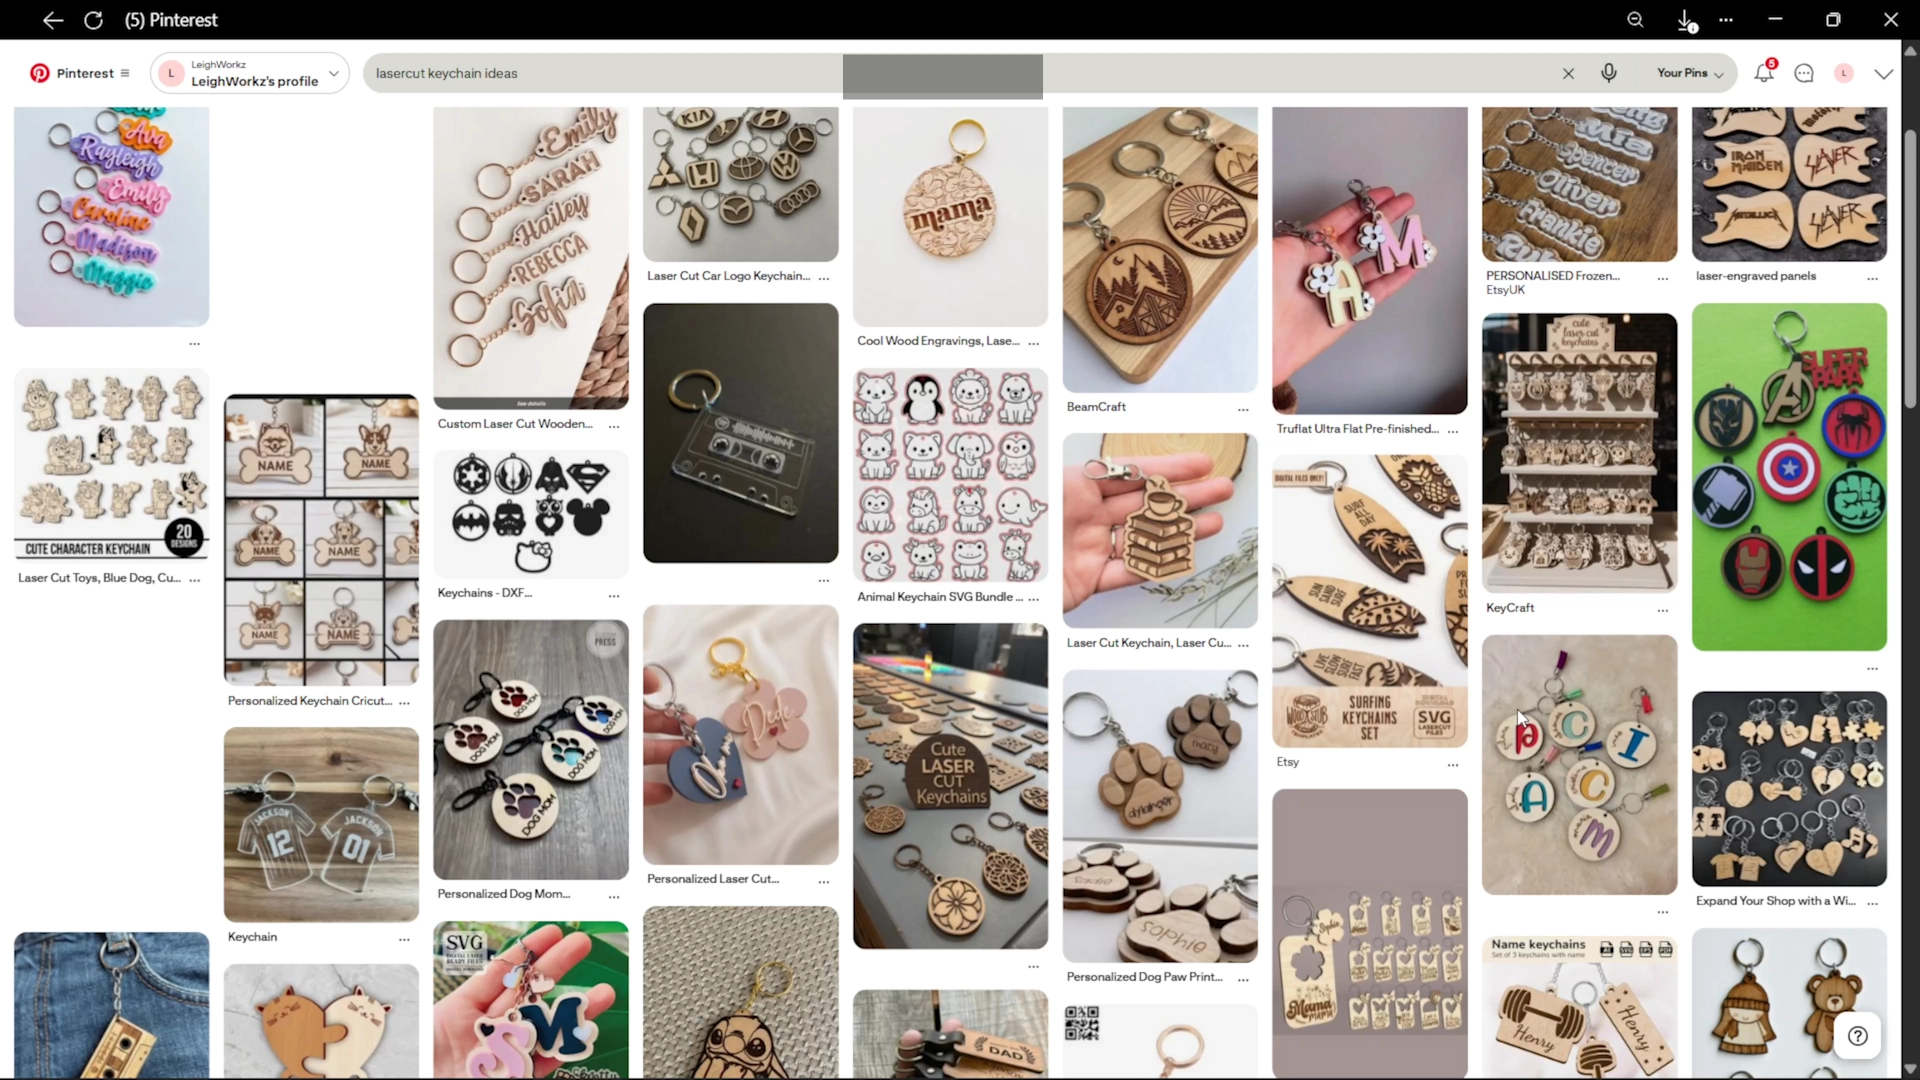
The design process started with research into keychain shapes, typography, borders and personalisation ideas. A suitable font was then chosen in DaFont to match the style of the product.
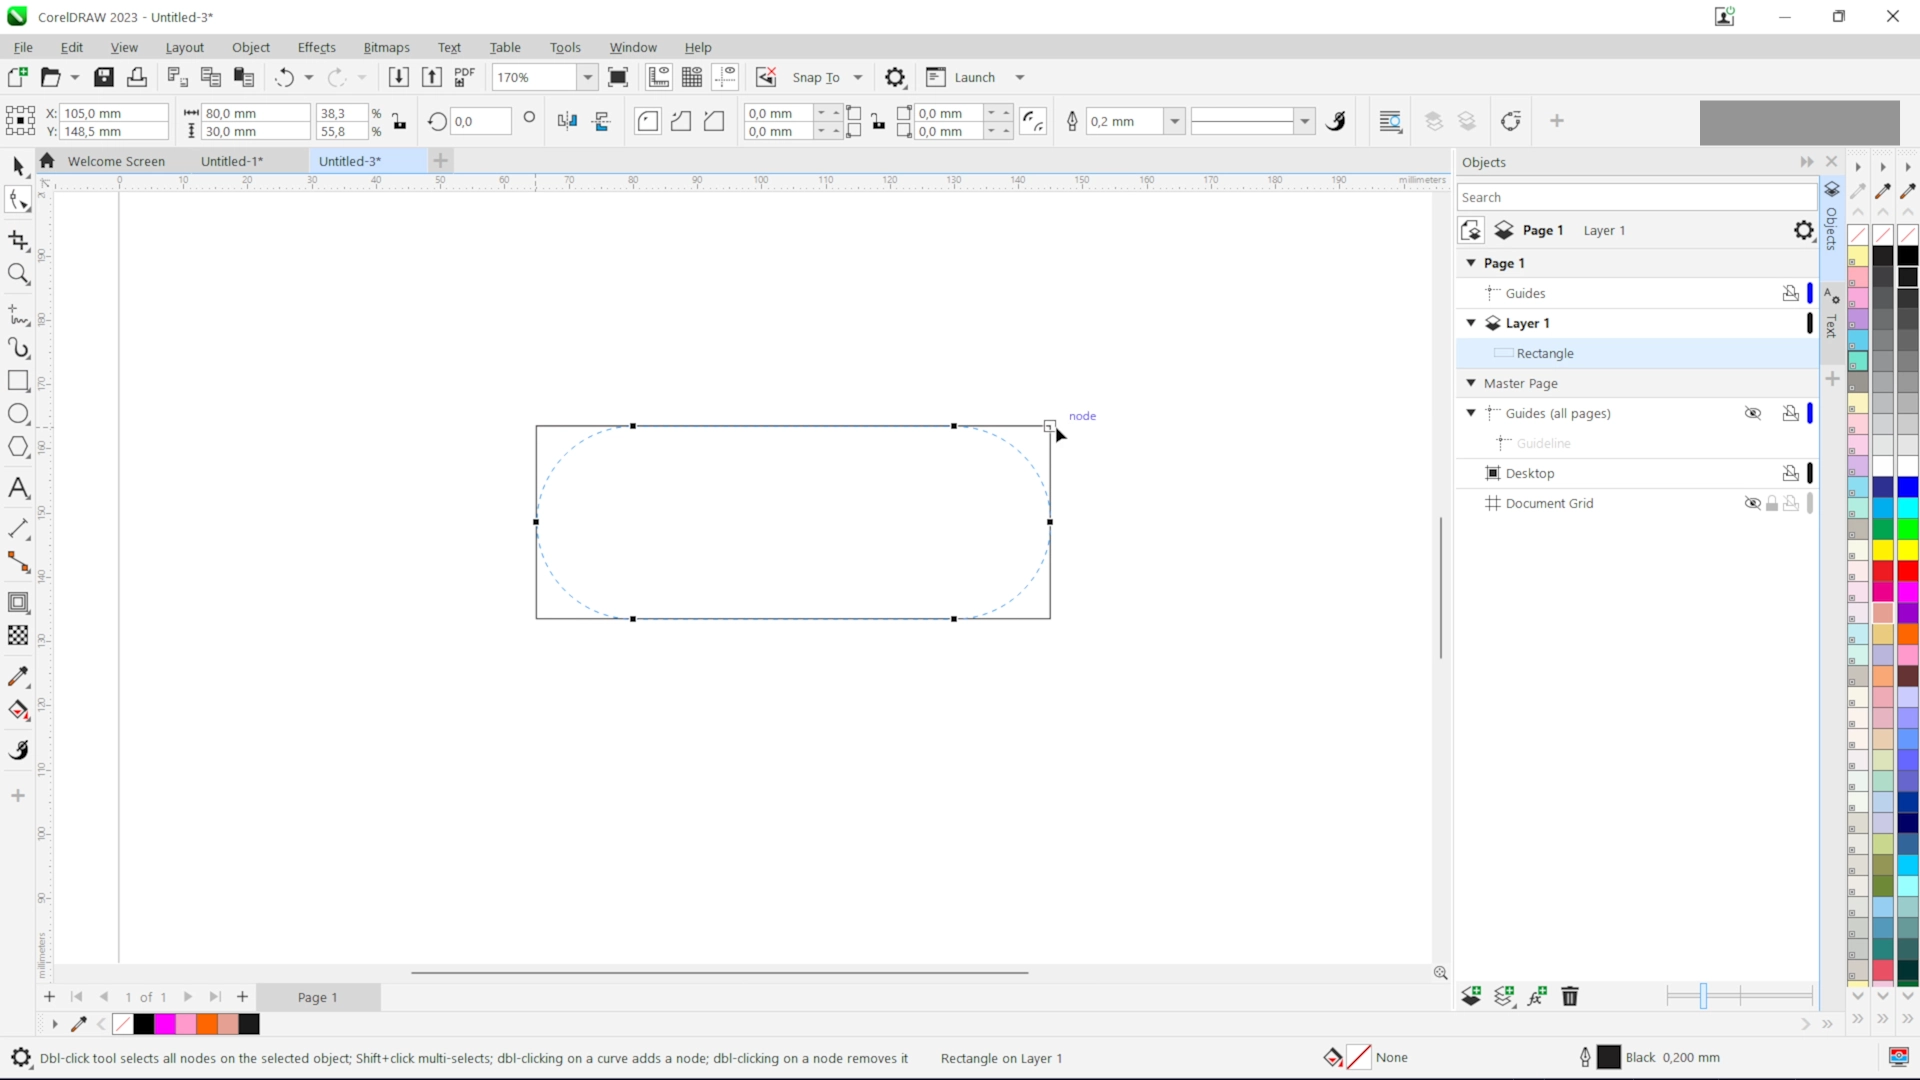
The base shape started as a rectangle measuring approximately 80 x 30 mm. The corners were rounded until the design resembled a smooth capsule shape.
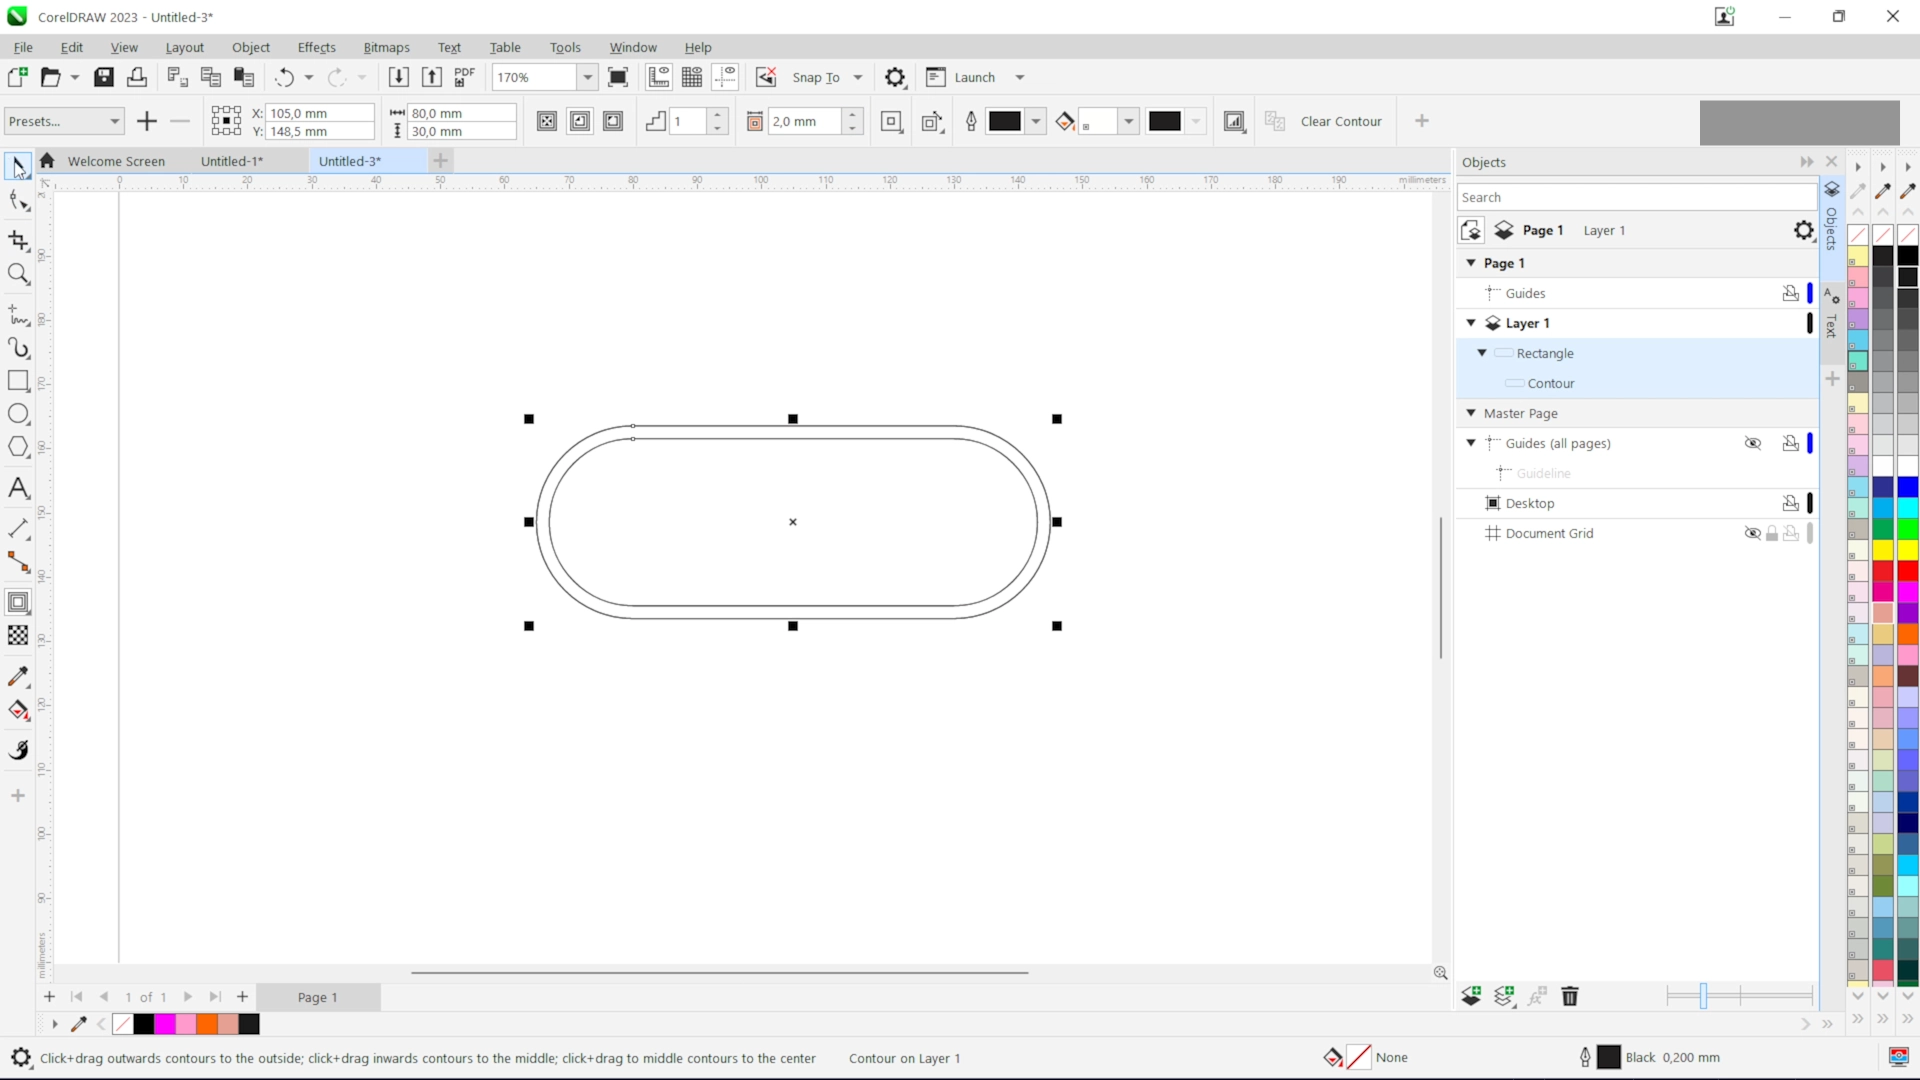
A 2 mm inward contour was created to form an internal border. This helped frame the personalised name and gave the finished keychain more visual structure.
The name was centred inside the border and resized until it fitted naturally within the available space. Careful spacing at this stage creates a cleaner final product.

The border and text were welded together to convert the artwork into a single continuous vector. This simplifies cutting paths and improves production consistency.

Instead of engraving the decorative sections, separate inlay pieces were created from bronze mirror acrylic. These pieces fit back into the main keychain like a puzzle for a layered effect.

The area around the keyring hole was strengthened by offsetting the contour outward by 1 mm. This small adjustment improves durability around a high-stress area.

Guidelines were used to place the keyring hole accurately. The hole was trimmed through the relevant acrylic layers so the finished keychain would hang evenly.
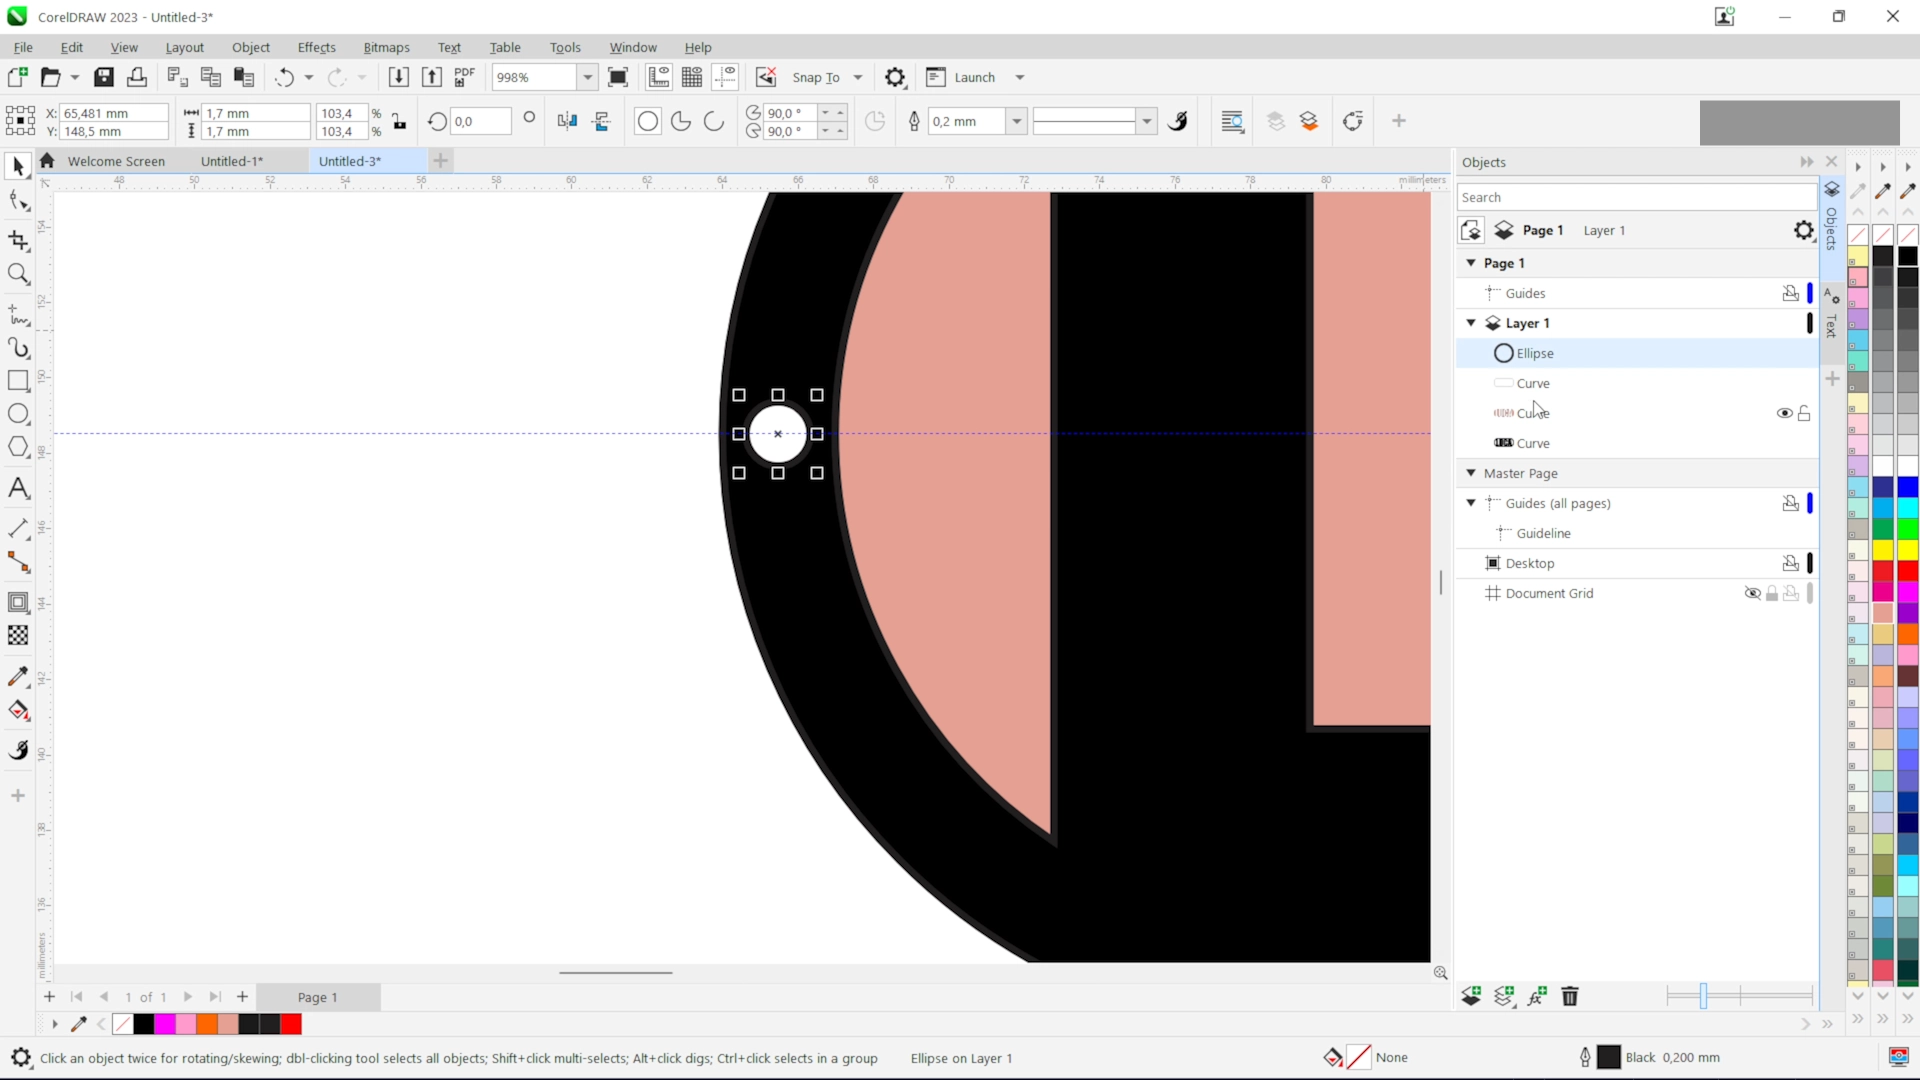
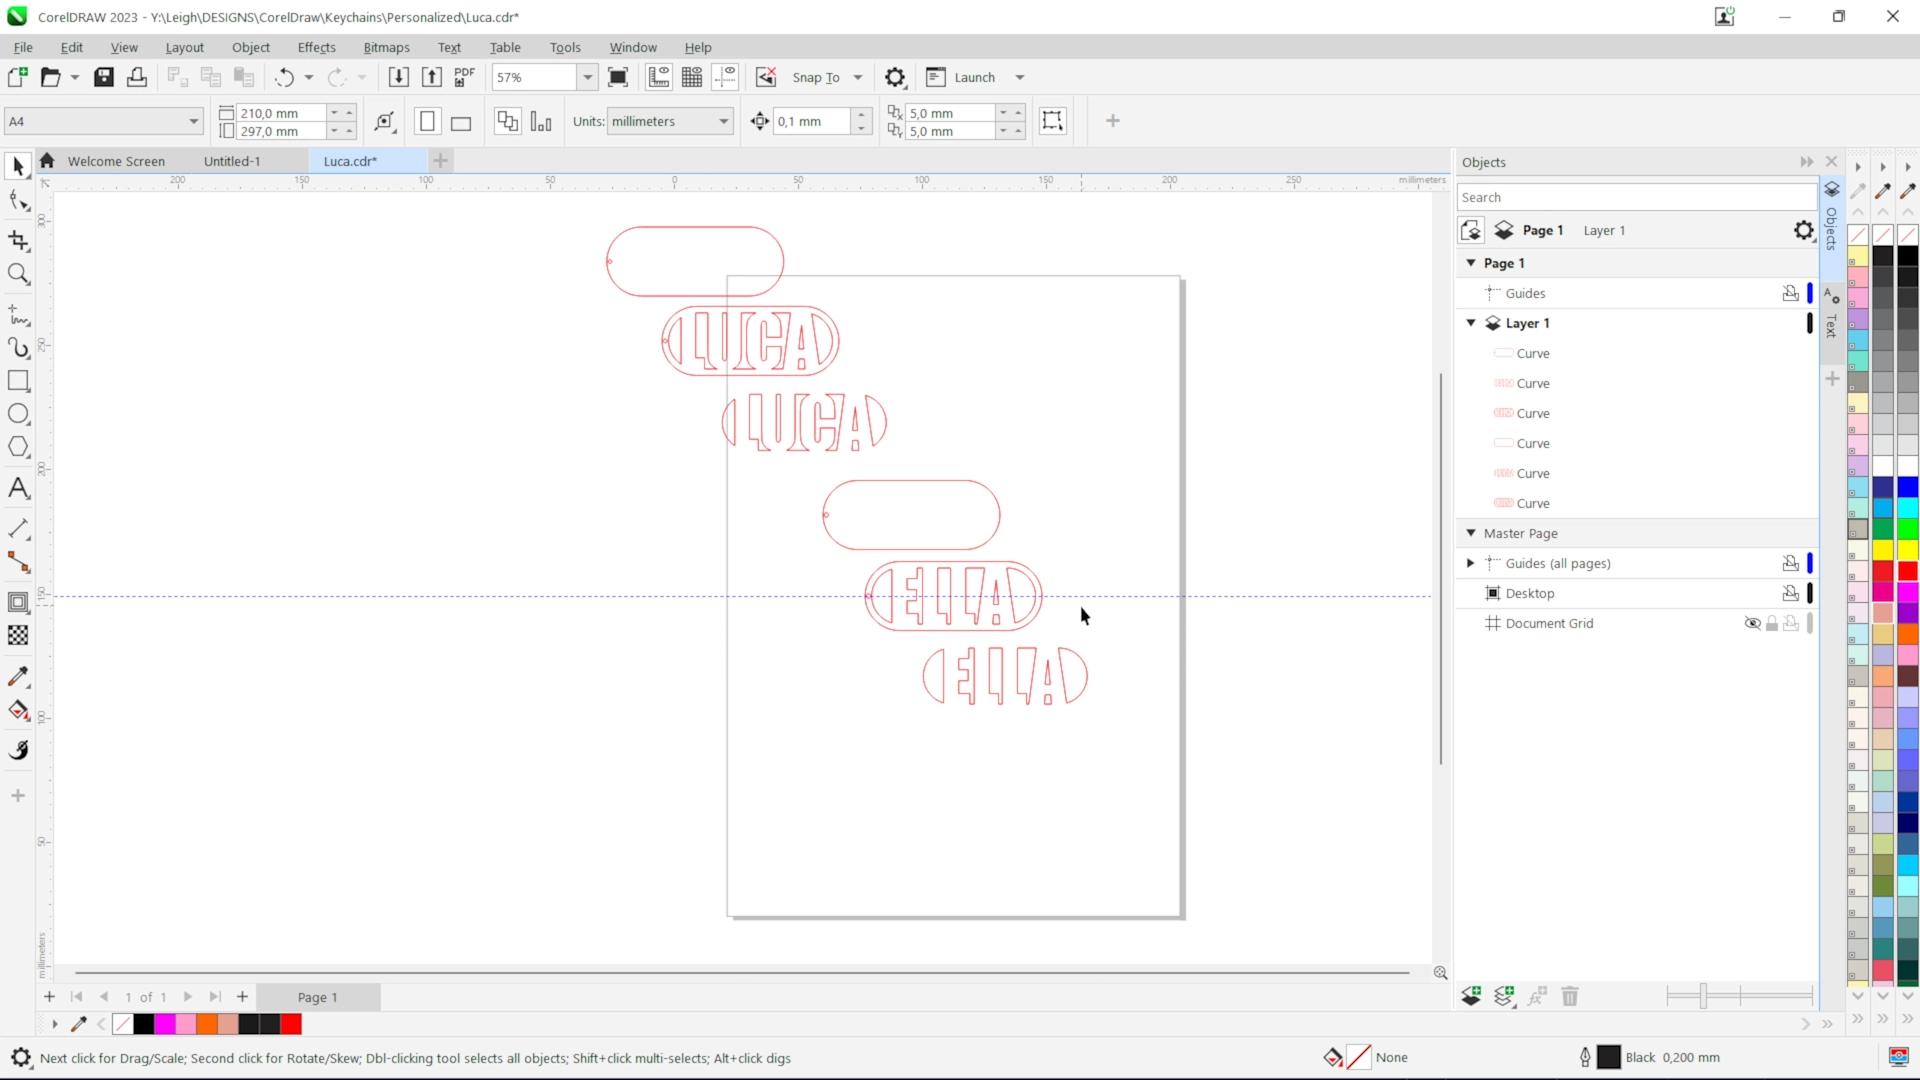
Each layer was organised for production by removing fills, assigning red hairline outlines and checking the vectors before export to LightBurn.
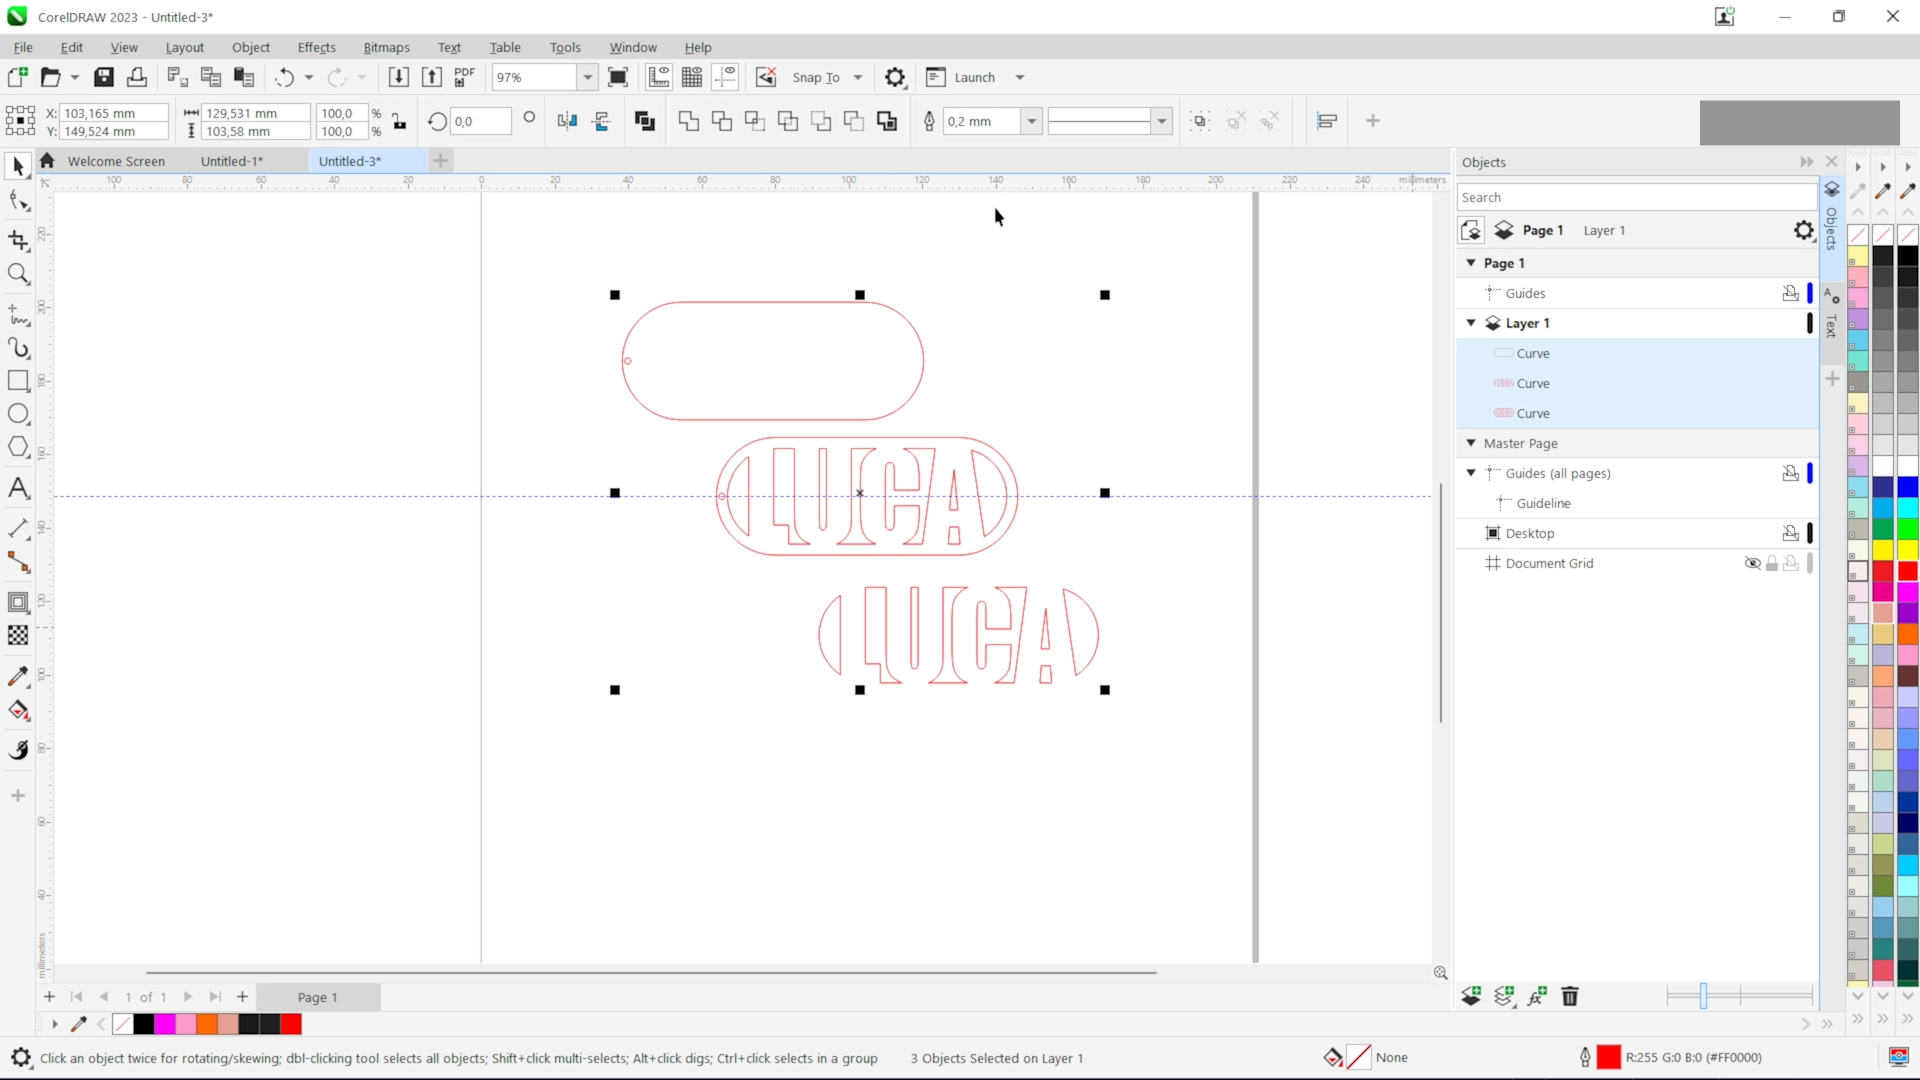
Once the first keychain is complete, the same workflow can be repeated by replacing the customer’s name while keeping the design structure intact.
Designing Personalised Acrylic Fridge Magnets
The final project shows how a simple concept can become a range of personalised fridge magnets. These designs use initials, names and decorative inlays to create repeatable gift products with a layered acrylic finish.

ChatGPT was used to brainstorm ideas before those concepts were refined into prompts for Gemini. This helped test layouts, colours and design styles before production artwork was created.

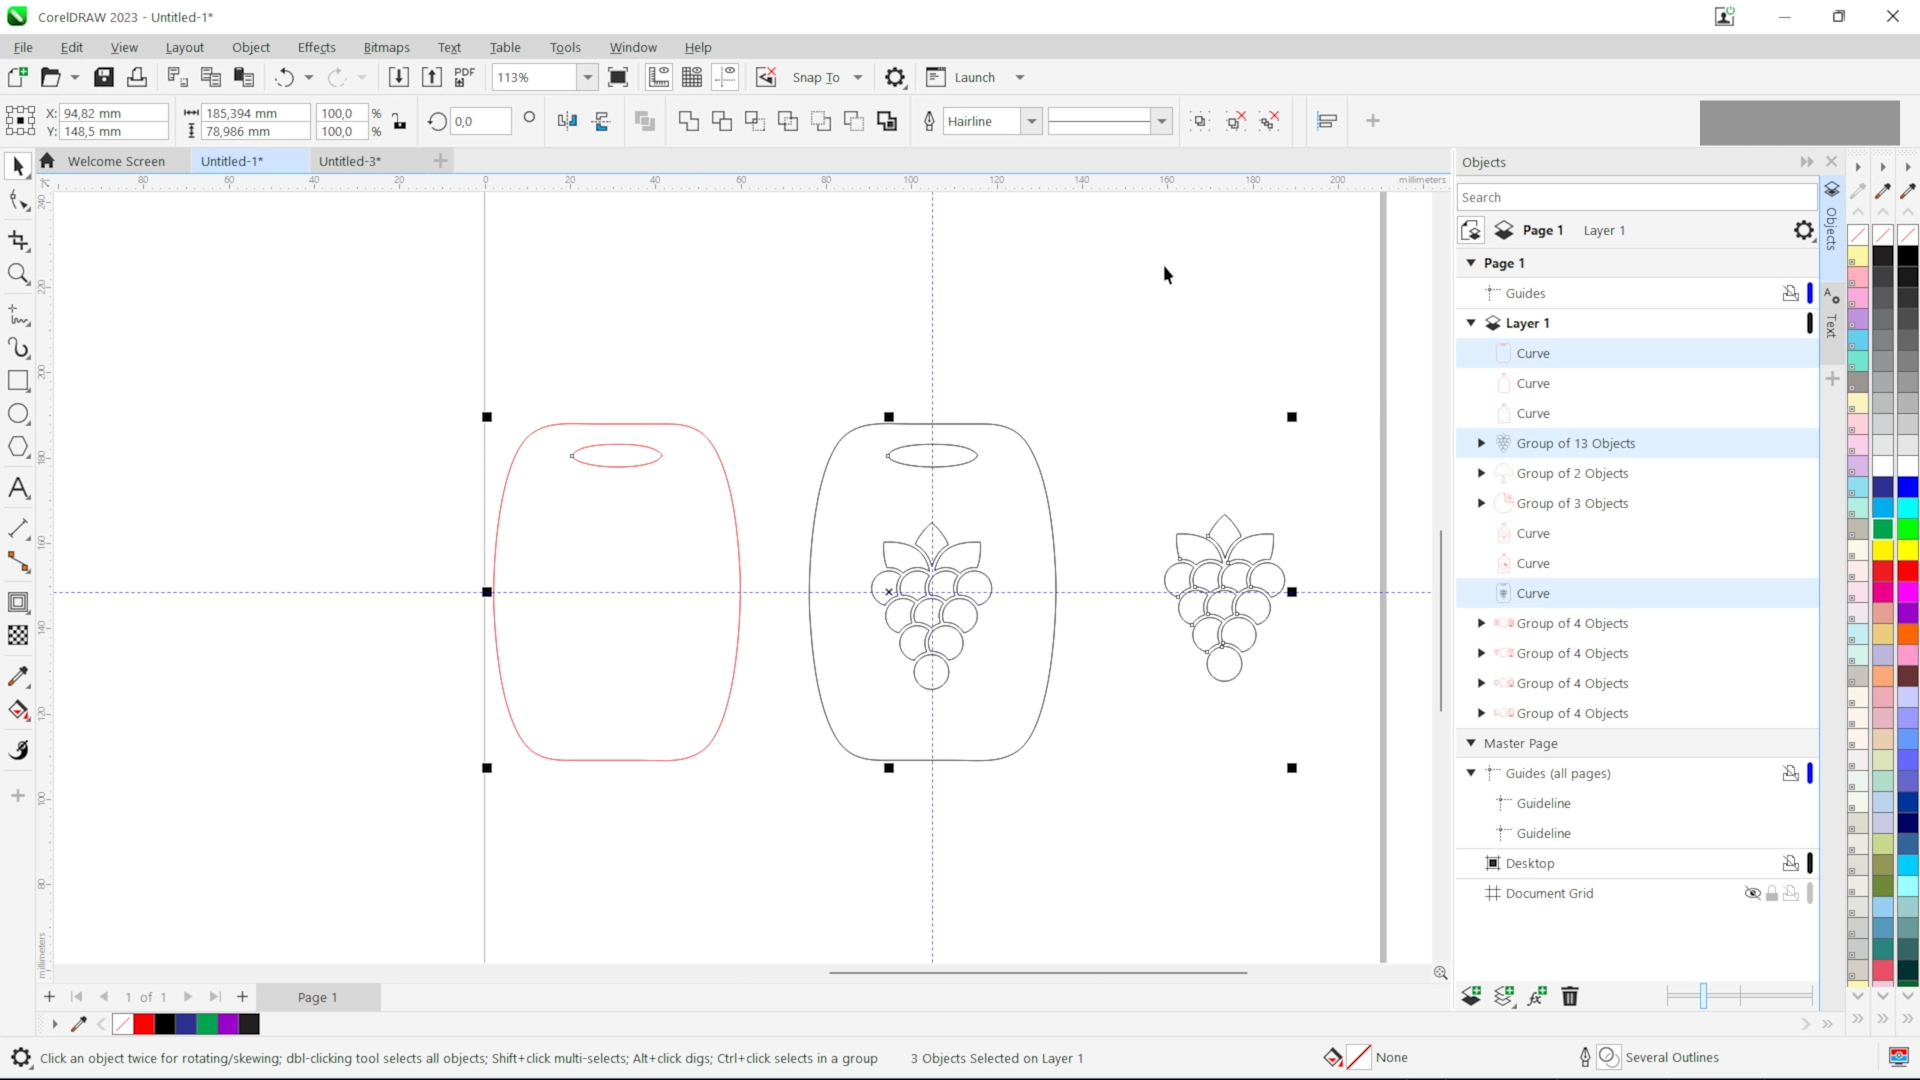
The main magnet measured approximately 50 mm wide x 70 mm high. The top corners used a 25 mm radius, while the lower corners used a 5 mm radius for a softer modern shape.

The initial became the main visual feature. It was centred in the design, with the customer’s name added beneath it using a second font to create hierarchy and readability.
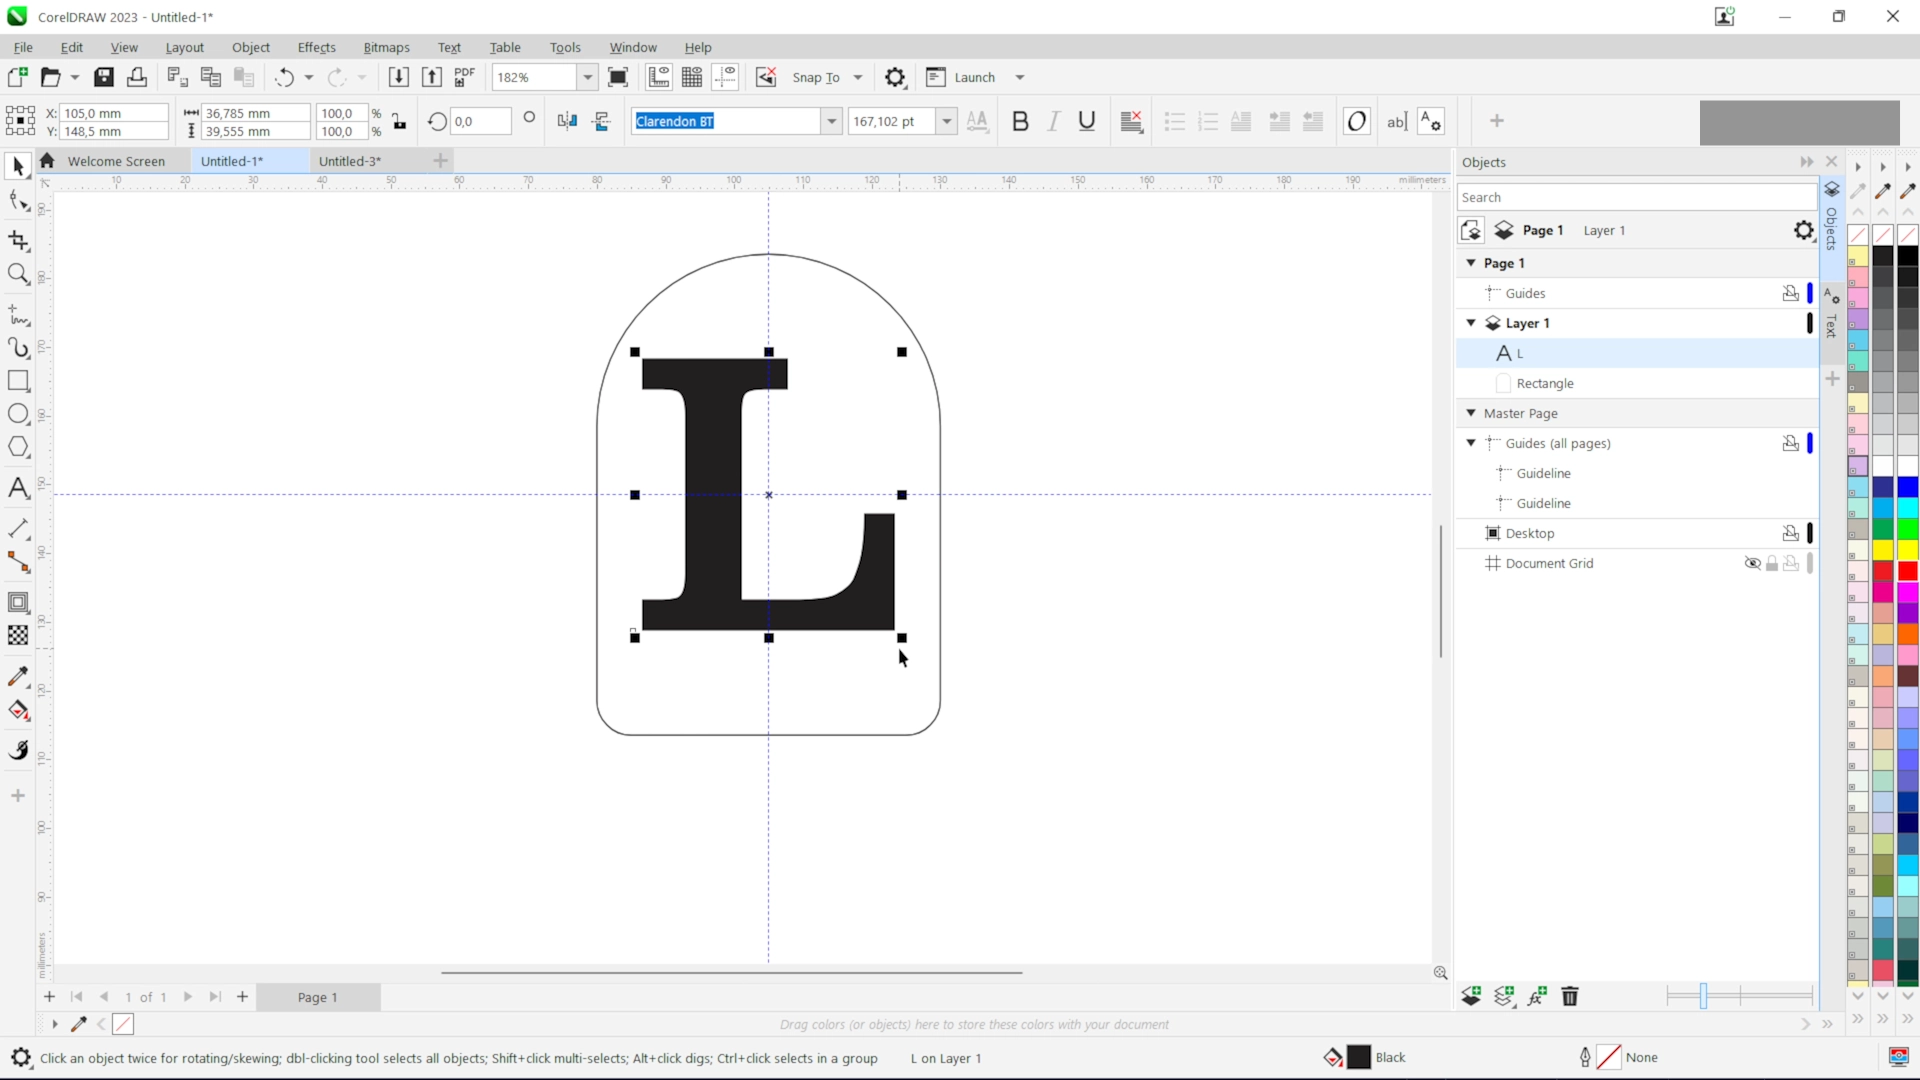
All text was converted to curves. A duplicate magnet outline was then used to trim the initial so it could become part of the top acrylic layer instead of only being engraved.

The initial was cut as a separate mirror acrylic insert and fitted back into the matte acrylic layer. This creates depth, contrast and a more premium appearance.

A second magnet style used cutting board shapes with fruit and vegetable illustrations. Each decorative piece was prepared as an inlay so the design could be assembled as a layered acrylic product.

Future designs can use the same construction method while changing the name, initial, fruit, vegetable or colour combination. This makes the product range easier to expand.
PRO TIP
Create one master template for each product and then replace only the names, initials or artwork. This keeps the workflow faster, more consistent and easier to repeat while still allowing every order to feel personalised.
Why Personalised Gifts Are Practical Laser Products
Personalised gifts perform well because customers are rarely comparing them only on raw material cost. They are buying something made for a specific person, moment or occasion.
Common buying occasions include:
- Family gifts
- Birthdays
- Weddings
- Anniversaries
- Teacher gifts
- Christmas gifts
- Corporate gifting
Once the CorelDRAW workflow is understood, the same design techniques can be adapted into coasters, keychains, magnets, name signs, house number signs, cake toppers and business signage.
Lessons Learned During This Project
Several techniques improved both production quality and workflow speed throughout the project.
- Gather inspiration before opening the design file.
- Use AI concepts to explore ideas before manufacturing.
- Convert all fonts to curves before export.
- Weld overlapping script lettering.
- Clean vector artwork before cutting.
- Use contours to create spacing and inlay construction.
- Mirror artwork when engraving the back of clear acrylic.
- Organise layers before exporting to LightBurn.
Which Laser Machine Is Best For Personalised Gifts?
The right laser machine depends on the size of the products you plan to make, your production volume and the materials you want to process. Small gift products can be produced on compact CO2 machines, while larger machines provide more bed space for batching and business growth.
Hobby Users
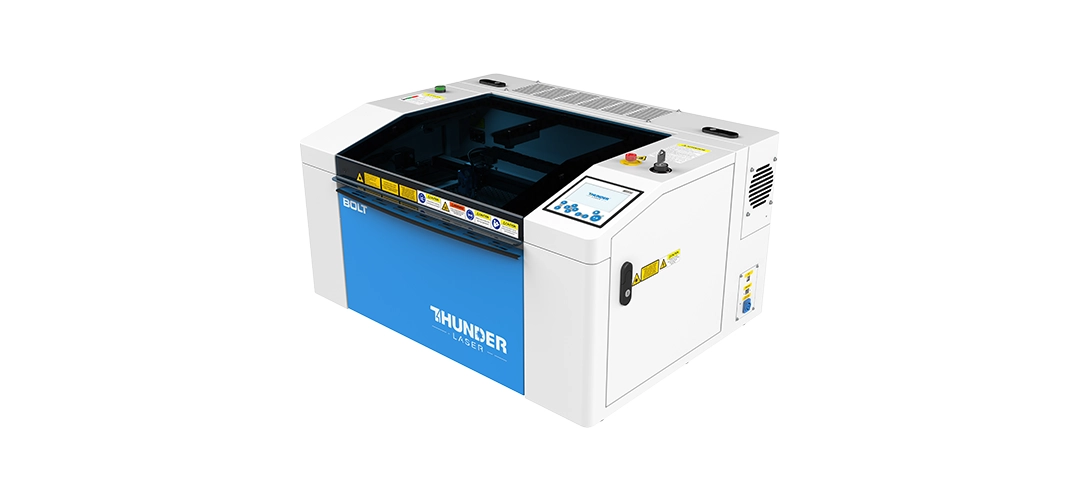
Thunder Bolt
Single-pass acrylic cutting: Up to 10mm
Best for: Startups, signage samples, gifting, arts & craft and light production.
Small Business
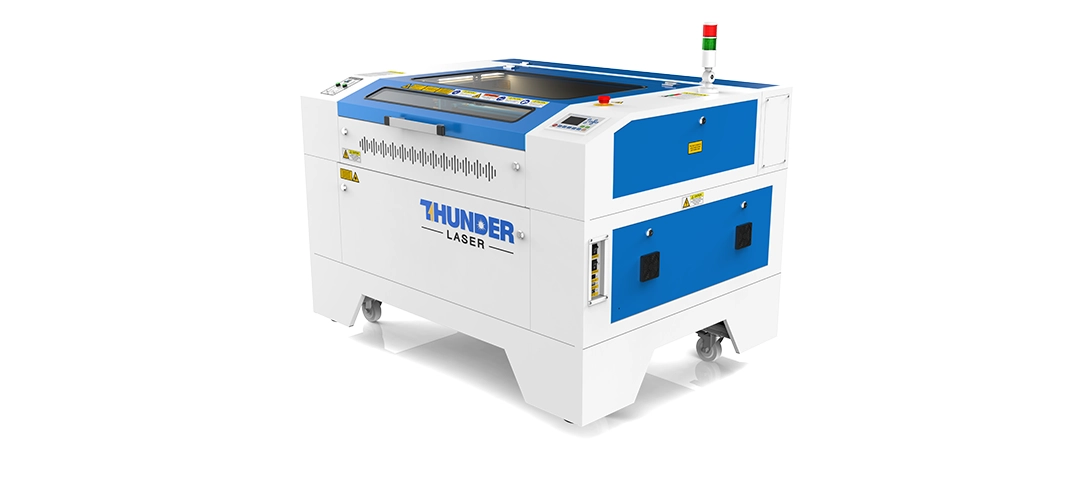
Thunder Nova Plus 35
Single-pass acrylic cutting: Up to 12mm
Best for: Small to Medium businesses, signage shops, and retail products
Production Businesses
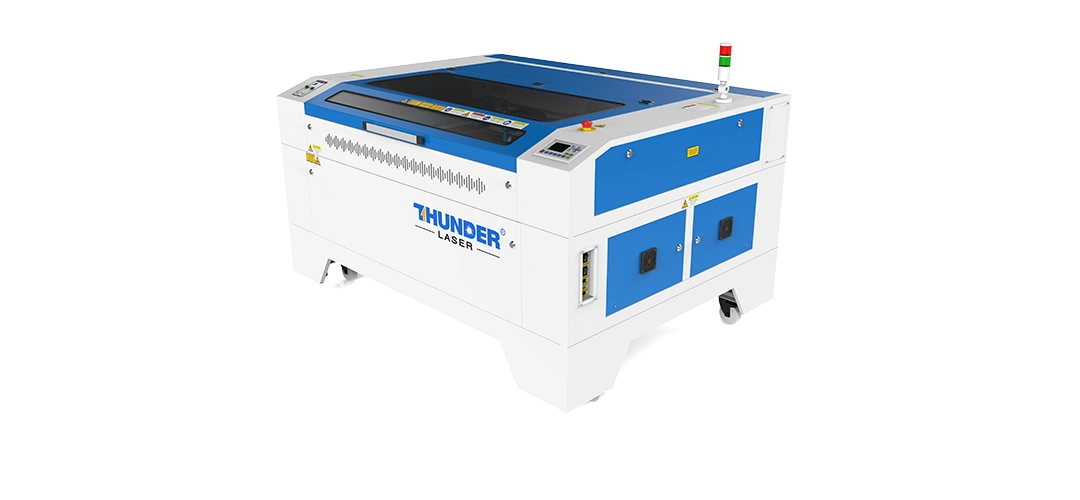
Thunder Nova 51
Single-pass acrylic cutting: Up to 16mm
Best for: Growing production shops, larger signs, and batch acrylic work
Industrial Businesses

Thunder Nova 63
Single-pass acrylic cutting: Up to 20mm
Best for: Higher-volume production, larger sheet work, and commercial signage
Why Design Skills Matter Before Buying More Machines
One of the biggest lessons from this project is that stronger products often come from stronger design workflows. A laser machine provides the production capability, but the value of a personalised product is created in the artwork, layout, material choice and finishing process.
For this project, the workflow used Pinterest for inspiration, DaFont for typography, ChatGPT for brainstorming, Gemini for concept visualisation, CorelDRAW for production artwork and LightBurn for laser preparation.

Learning how these tools work together opens the door to many other personalised laser products from the same machine setup.
Explore MaxLaser AcademyRelated Laser Cutting Guides
Laser Cut Name Signs
Learn how to create layered acrylic name signs for kids rooms, nurseries and personalised wall decor.
Read GuideLaser Cutting Acrylic
Understand how acrylic behaves under a CO2 laser and what affects clean cuts, polished edges and reliable results.
Read GuideLaser Cutting Machines
Explore laser cutting machines for acrylic gifts, signage, engraving projects and production work.
View MachinesMaxLaser Academy
Explore practical training workflows for design, production preparation and laser business product development.
Explore AcademyFrequently Asked Questions About Laser-Cut Personalised Gifts
Laser-cut personalised gifts are custom products made with a CO2 laser machine and customised with names, initials, artwork, logos or meaningful design details.
Acrylic is one of the most popular options because it cuts cleanly, engraves well and is available in clear, matte, gloss, mirror and coloured finishes.
They can be strong products for laser businesses because they use relatively little material, are easy to customise and often carry higher perceived value than generic items.
Yes. Many laser businesses sell personalised gifts through online stores, social media, marketplaces and local retail channels.
This project used CorelDRAW for production artwork and LightBurn for laser preparation, with Pinterest, DaFont, ChatGPT and Gemini used during the concept and design stages.
Converting text to curves prevents missing font problems and ensures the letters cut or engrave exactly as designed.
Welding removes hidden overlaps between connected letters, creating cleaner vector shapes for engraving or cutting.
When engraving on the back of clear acrylic, mirroring the artwork ensures it reads correctly from the front while protecting the engraved surface.
The right machine depends on product size and production volume. Compact CO2 machines suit small gifts, while larger machines provide more bed space for batch production.
Popular options include acrylic coasters, personalised keychains, fridge magnets, name signs, house number signs, cake toppers, wedding gifts and corporate gifts.
Ready To Start Making Personalised Gifts?
Whether you are starting a side hustle, launching a laser business or expanding your product range, personalised gifts are practical products to add to your workflow.
MaxLaser supplies laser machines, materials, training guidance and support to help customers turn creative ideas into finished products.
Book a live demonstration to see professional laser cutting in action and explore which machine fits your product goals.
Book A Live Demonstration View Laser Cutting Machines