Laser Engraving Acrylic: How to Achieve a Clean Frosted Finish

Laser Engraving Acrylic Like a Professional

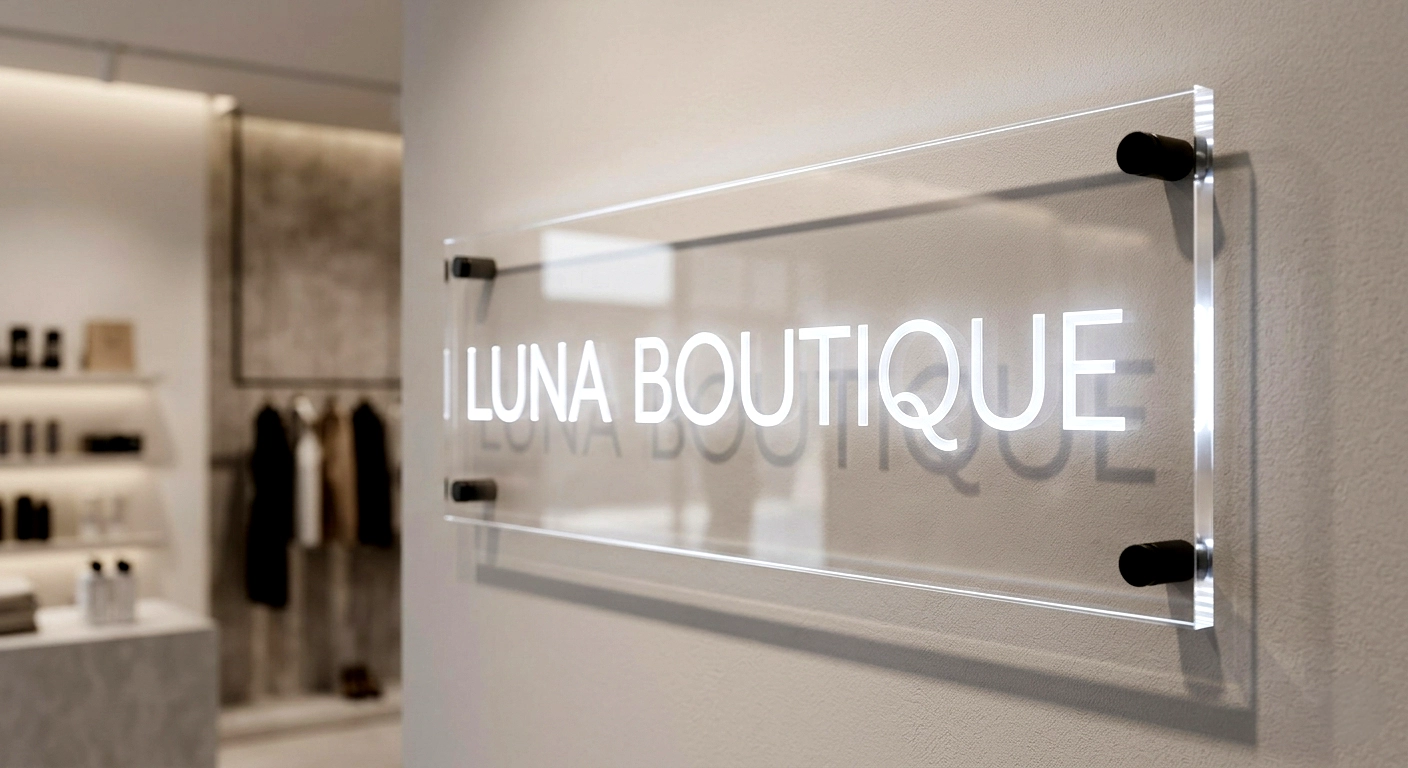
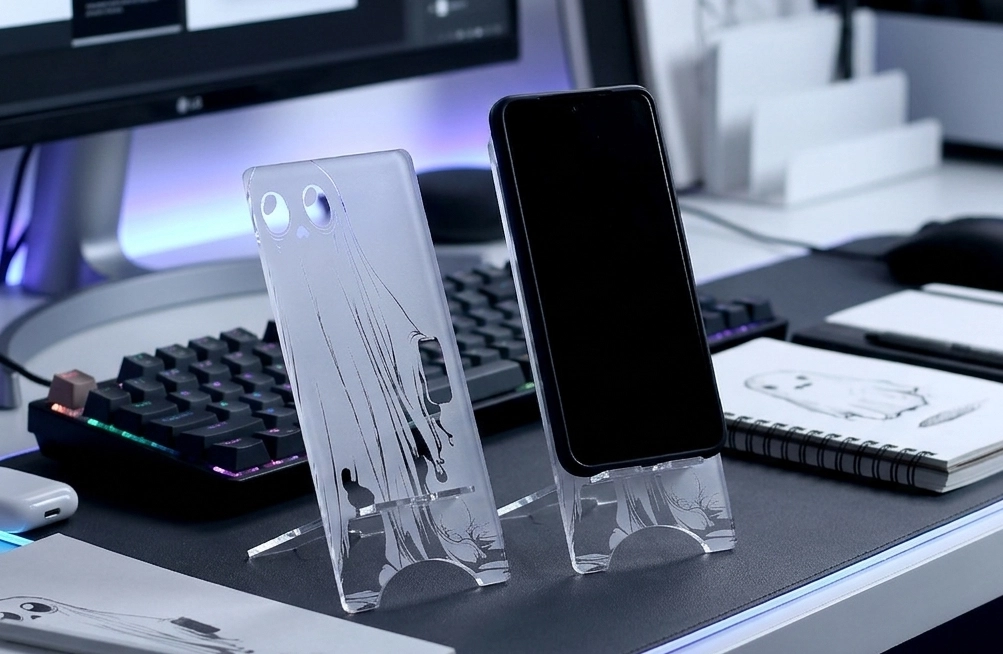
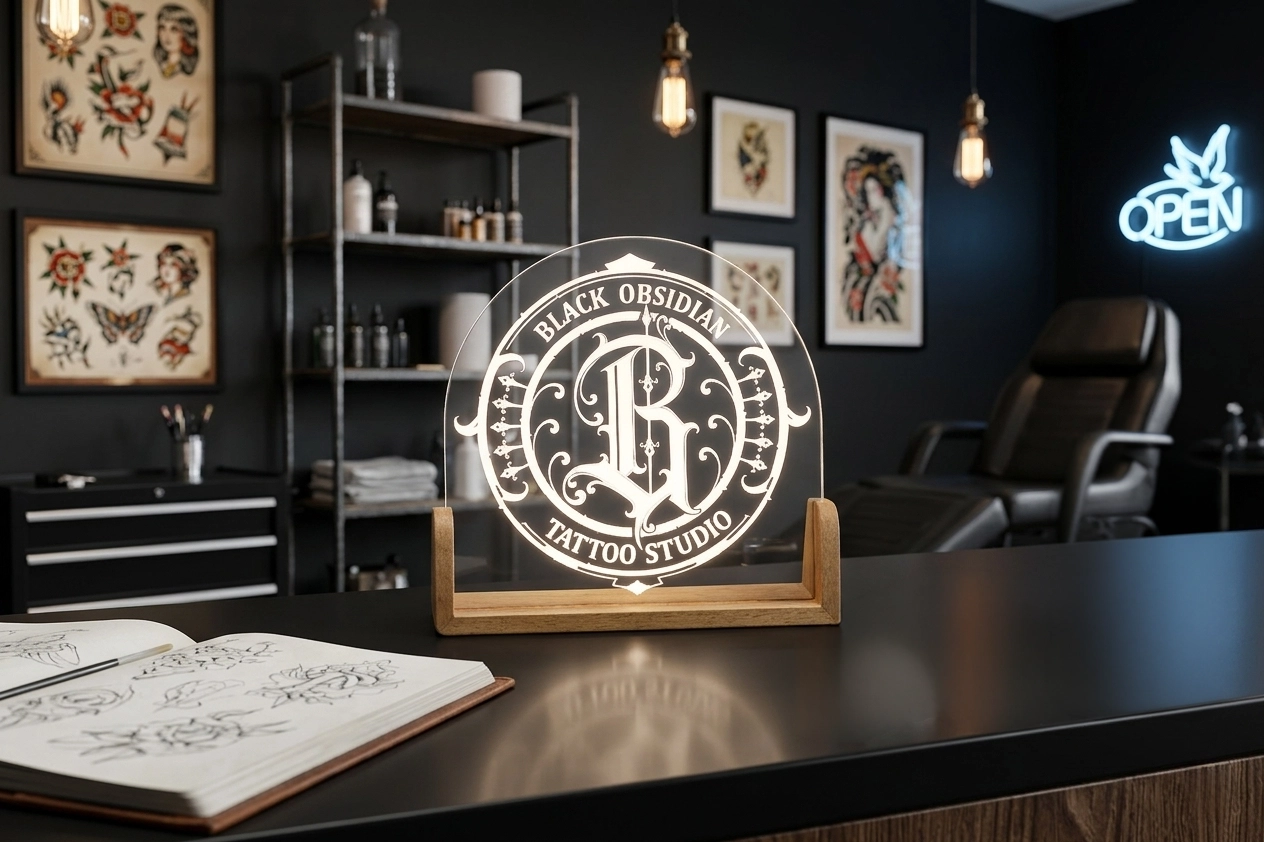
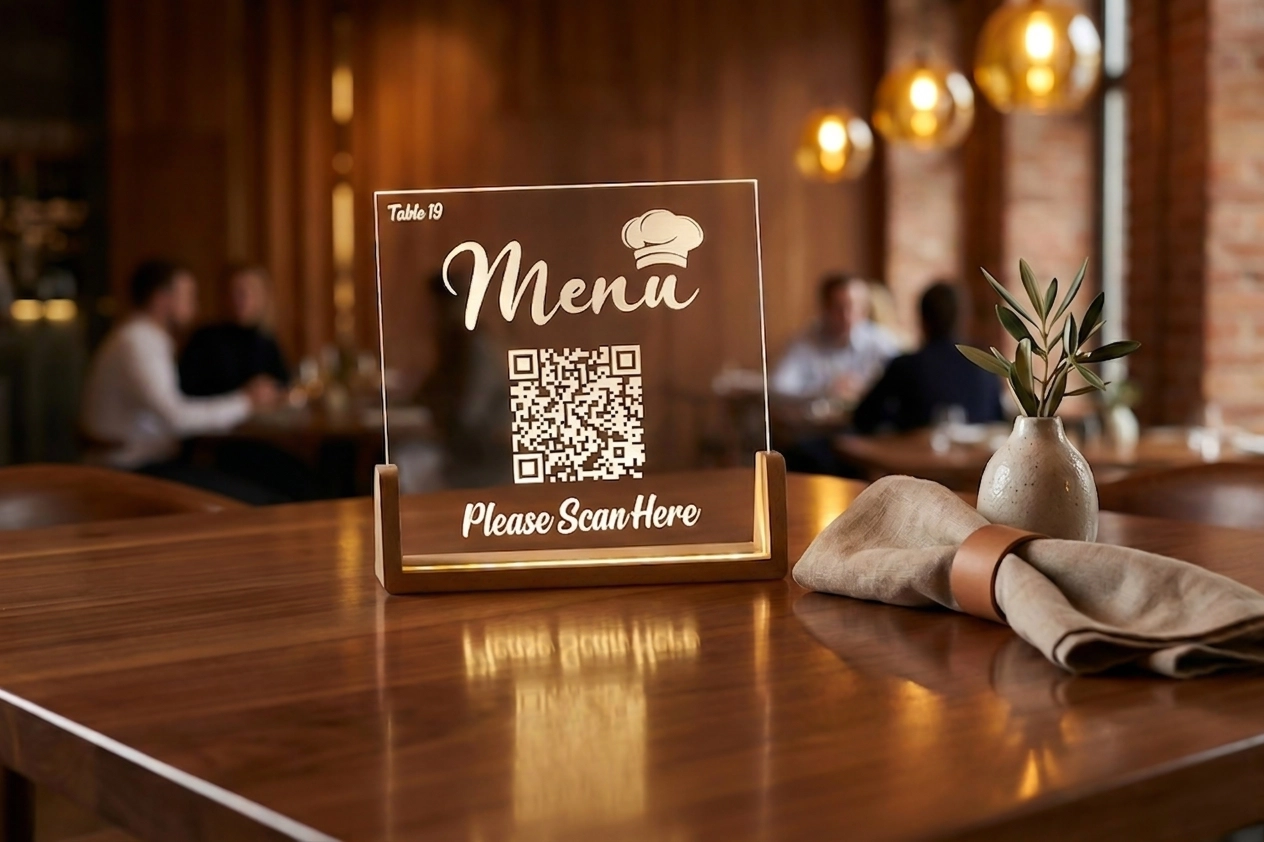
Laser engraving acrylic is one of the most popular applications for CO₂ laser engraving machines. Whether you’re creating wedding signage, personalised gifts, corporate awards, LED light bases or decorative products, achieving a clean white frosted finish can make all the difference.

During our workshop testing at MaxLaser, we discovered that achieving the perfect acrylic engraving wasn’t simply about using autofocus or copying someone else’s settings. By experimenting with focus height, engraving resolution, air assist and engraving speed, we were able to dramatically improve the quality of the finished result and eliminate many of the visible scan lines commonly seen when engraving clear acrylic.

In this guide, we’ll share the exact techniques, practical lessons and Thunder Bolt settings we used to create a professionally engraved clear cast acrylic checkers board, helping you produce cleaner, brighter and more consistent results on your own laser engraving projects.

Book a Live Laser Engraving Demonstration View Our Laser Engraving Machines

Workshop
tested

Real settings
included

Beginner-friendly
guide

Lifetime technical support

Watch Our Hands-On Acrylic Engraving Test

Rather than simply sharing theoretical advice, we tested multiple engraving settings on clear cast acrylic using the Thunder Bolt CO₂ laser engraving machine. Throughout the process we experimented with autofocus, manual focus adjustments, DPI settings, air assist and engraving speed to determine what produced the cleanest frosted finish with the least amount of visible banding.

Read the full  article here: laser engraving clear acrylic and complete workshop test before we break down each step in detail.

What You’ll Learn

Why Cast Acrylic Produces Better Results

Learn why clear cast acrylic is often selected for the bright frosted appearance used in professional engraved products.

How to Reduce Visible Scan Lines

See how controlled changes to focus, DPI and air assist can improve a large engraved area.

Workshop-Tested Thunder Bolt Settings

Use the recorded speed, power, focus and DPI as a sensible starting point for an offcut test.

Real Production Tips

Follow a one-variable-at-a-time process instead of relying only on factory defaults.

Laser engraving a personalised clear acrylic coaster with a Wilson family tree design

Why Clear Cast Acrylic Is the Best Choice for Laser Engraving

Some engraved acrylic pieces have a bright white frosted finish; others look clearer, inconsistent or show visible scan lines. A major factor is the acrylic itself, not only the machine.

For professional results, clear cast acrylic is widely regarded as the best material for CO₂ laser engraving. During our workshop testing, we used clear cast acrylic exclusively because it consistently produced the high-contrast frosted finish that customers expect from premium engraved products. For related cutting guidance, see laser cutting acrylic.

Cast Acrylic vs Extruded Acrylic

Although cast and extruded acrylic may look almost identical, they behave very differently when engraved with a CO₂ laser.

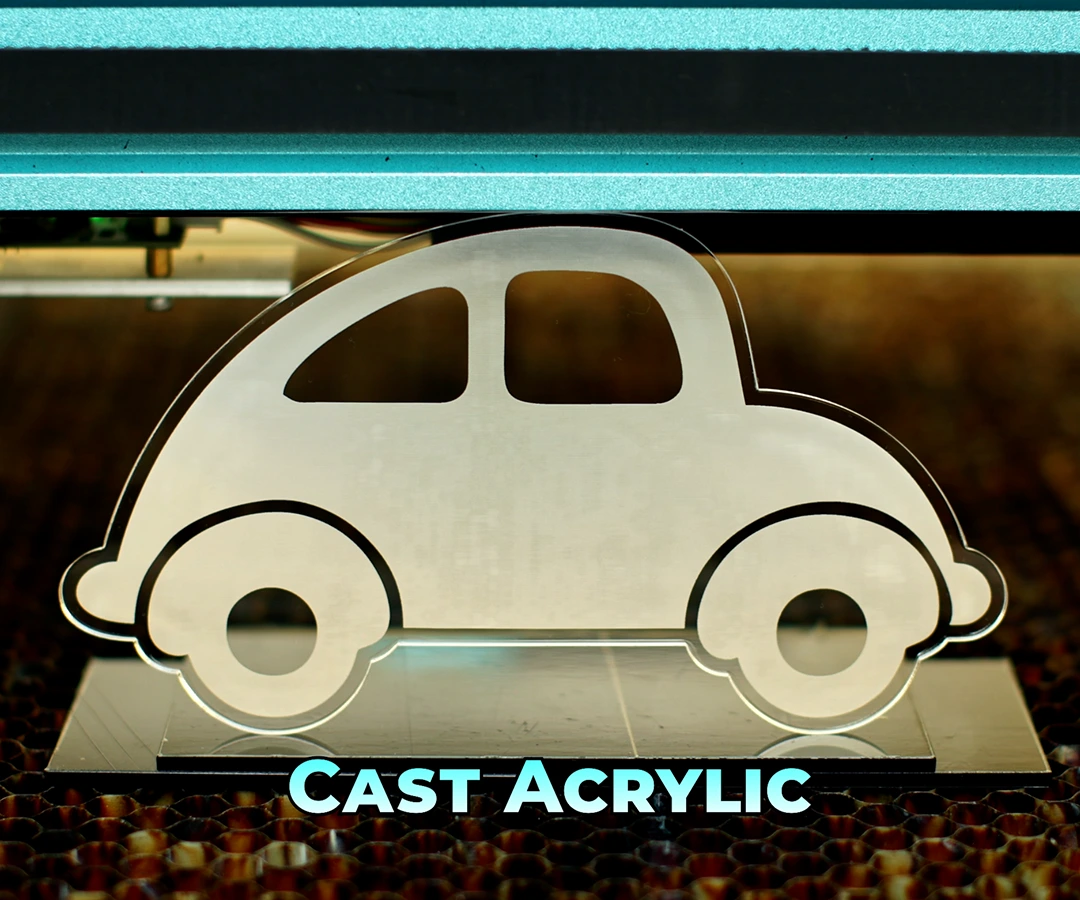
Frosted car design laser engraved on clear cast acrylic inside a laser machine

Cast acrylic

Cast acrylic reacts to the laser by creating a bright white, frosted appearance with excellent contrast. This makes engraved text, logos and graphics stand out clearly against the transparent material.

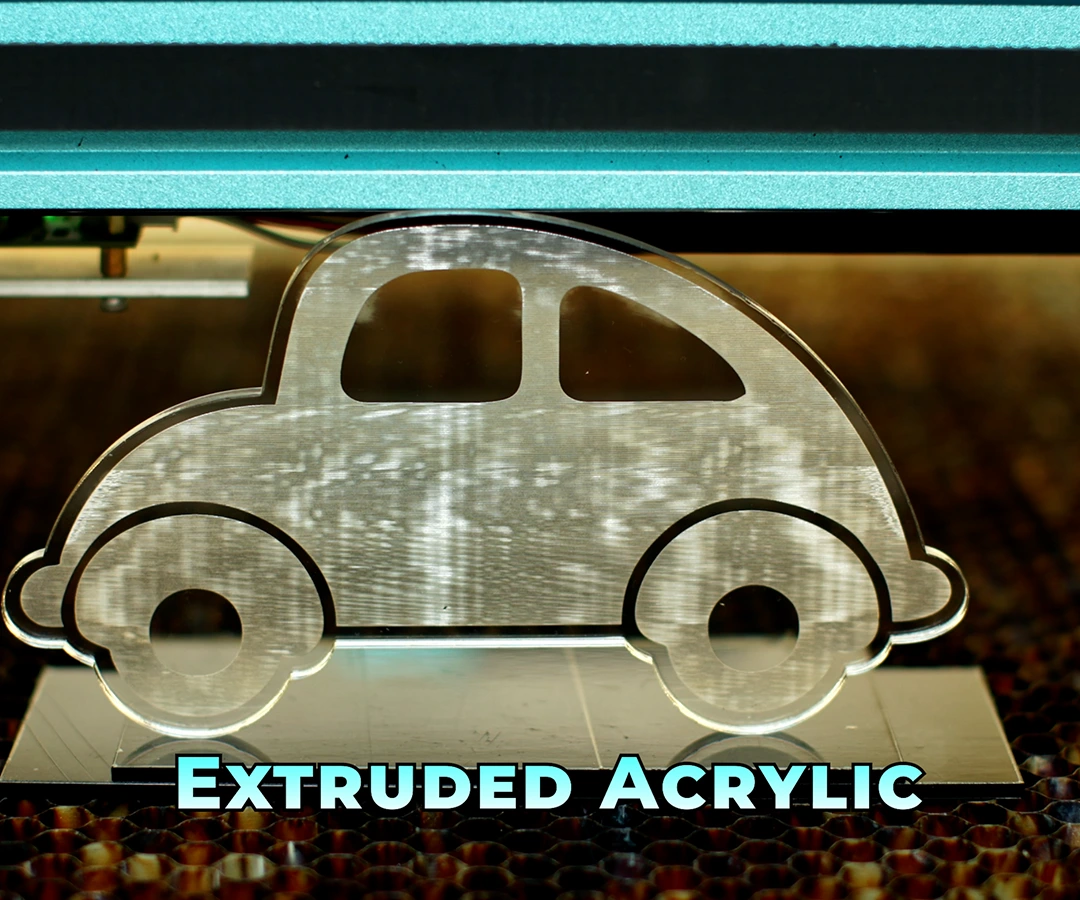
Car design engraved on extruded acrylic with visible uneven frosting and scan lines

Extruded acrylic

Extruded acrylic, on the other hand, tends to engrave with a much clearer or grey appearance. While it can still be engraved successfully, it generally doesn’t produce the same crisp frosted finish that makes engraved acrylic products look premium.

For projects where appearance matters, such as awards, signage and personalised gifts, clear cast acrylic is almost always the preferred option.

Why Does Cast Acrylic Produce a Frosted Finish?

The manufacturing process gives cast acrylic a different internal structure to extruded acrylic. In the MaxLaser workshop test, the engraved cast-acrylic surface produced the distinctive white frosted appearance that made the engraving stand out against the transparent material.

This effect creates excellent contrast without requiring paint, vinyl or additional finishing.

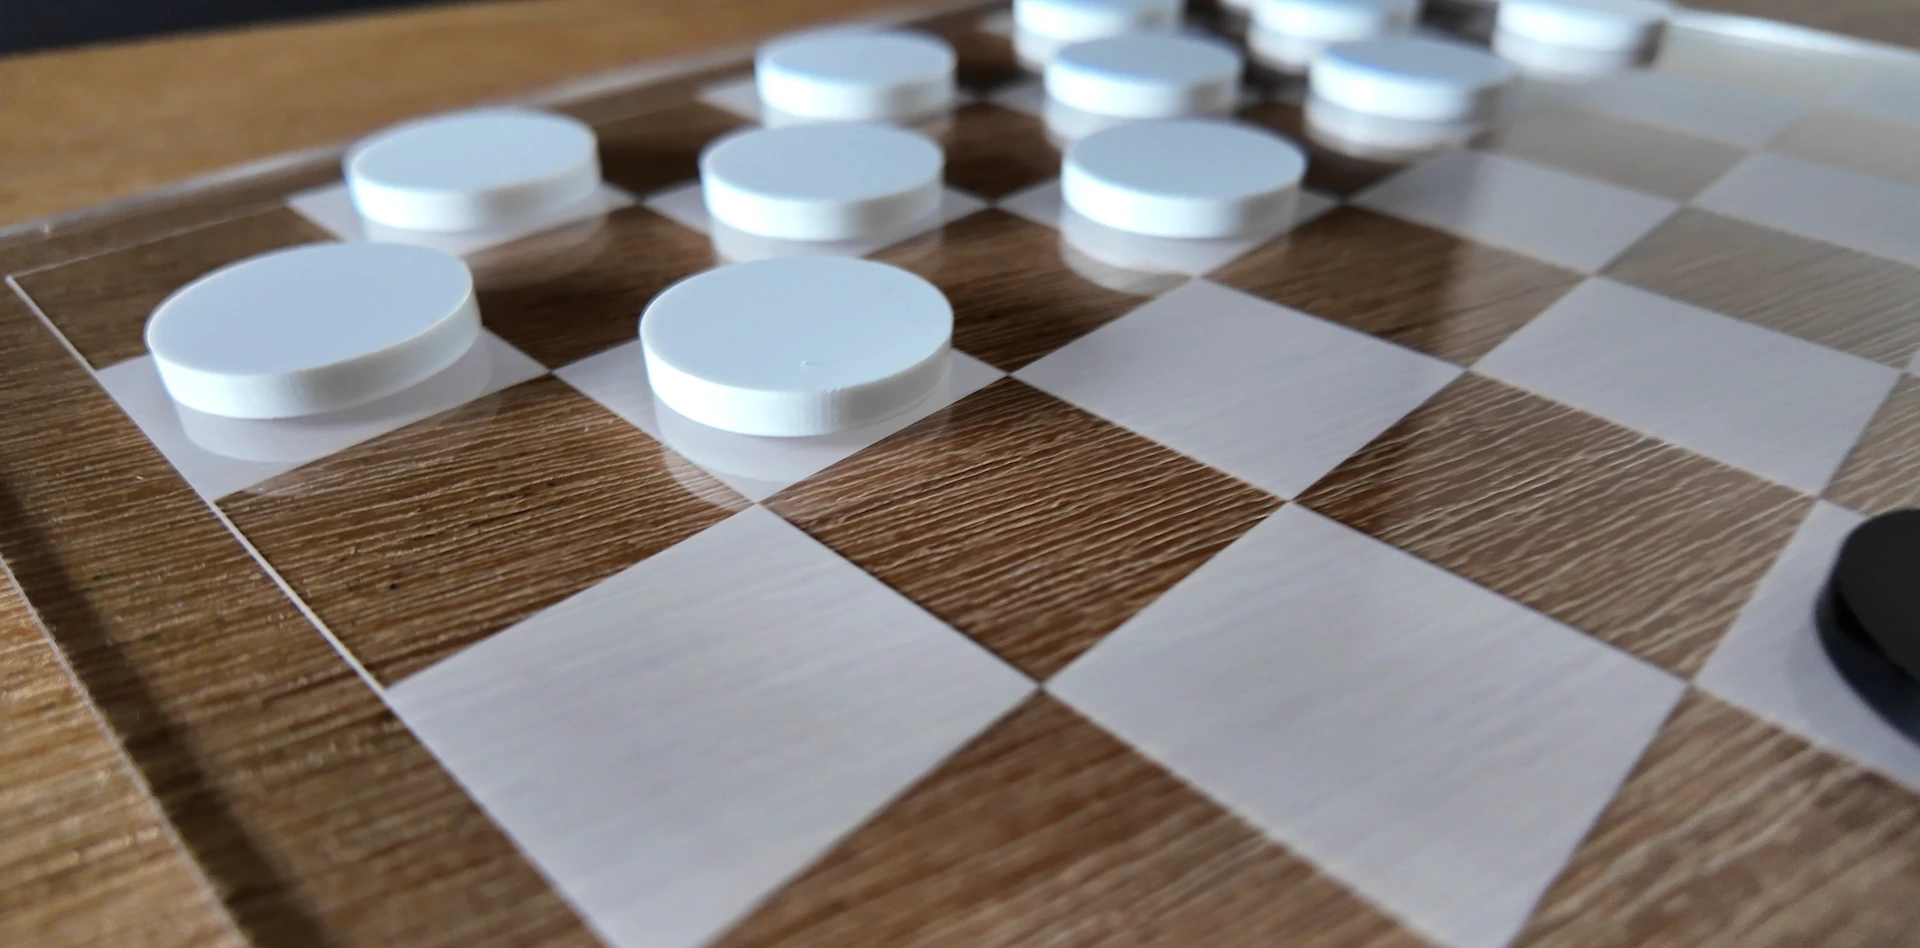
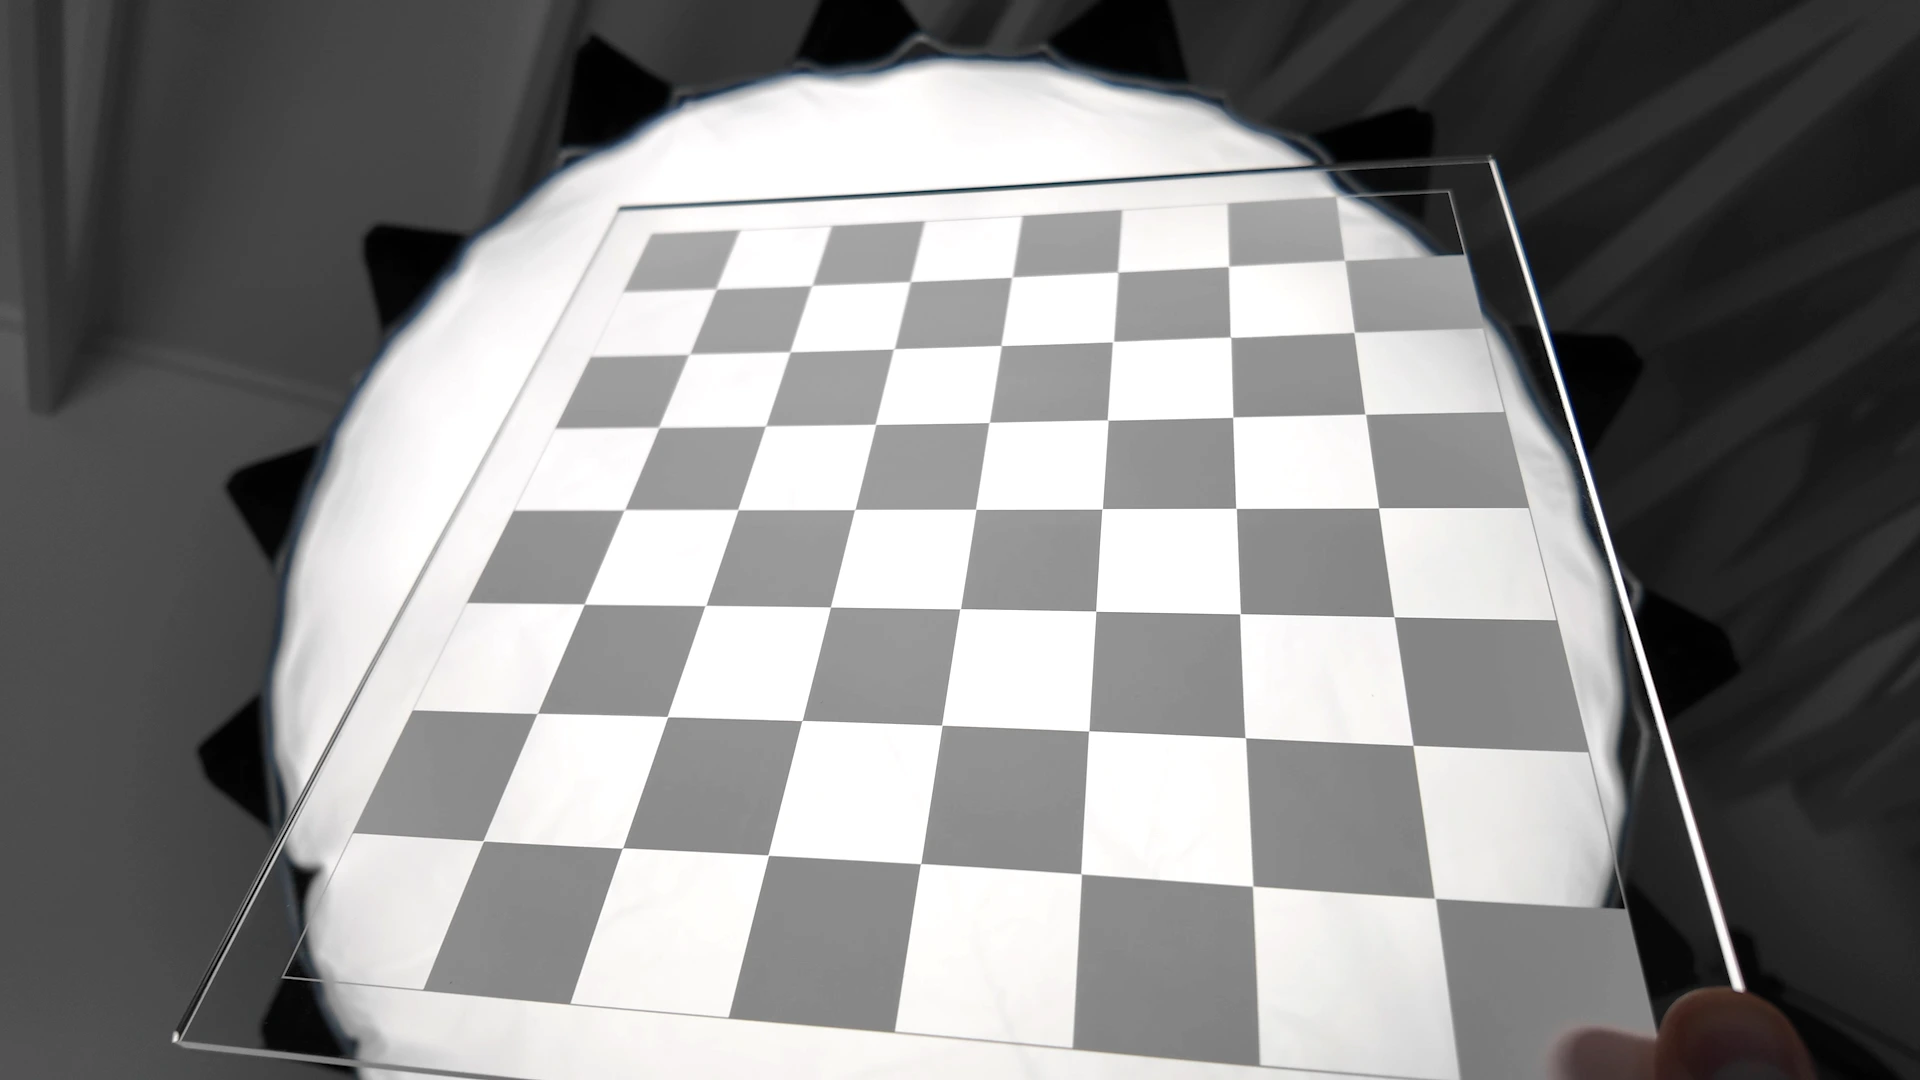
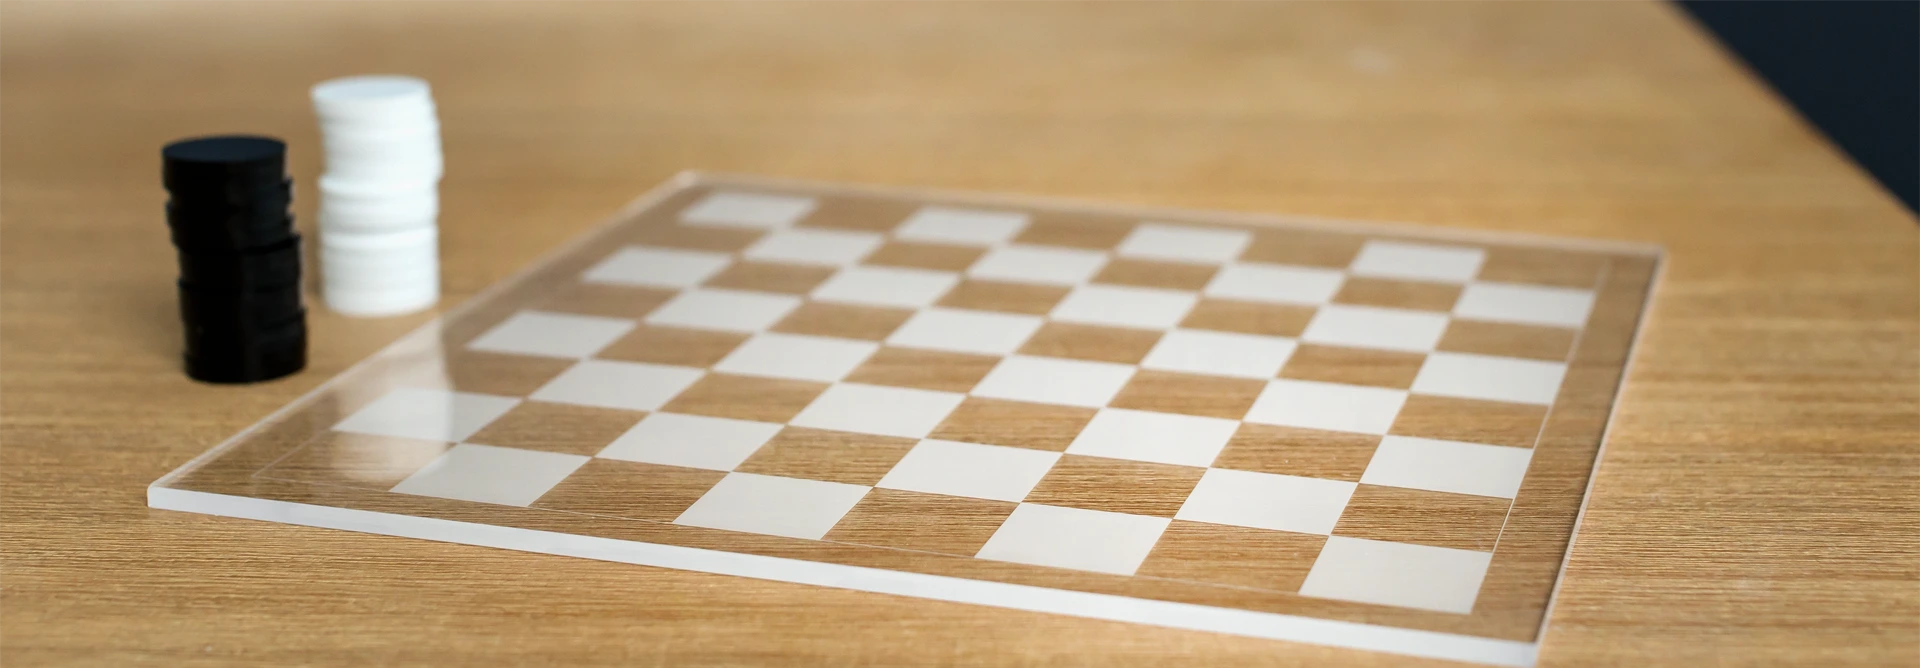
Finished clear acrylic checkers board with frosted squares and round playing pieces

Products You Can Create with Laser Engraved Acrylic

One of the biggest advantages of laser engraving acrylic is its versatility. The same material can be used to manufacture products for weddings, corporate branding, retail displays and personalised gifts. Once you’ve mastered the engraving process, a single CO₂ laser engraving machine can produce hundreds of different products for businesses and events.

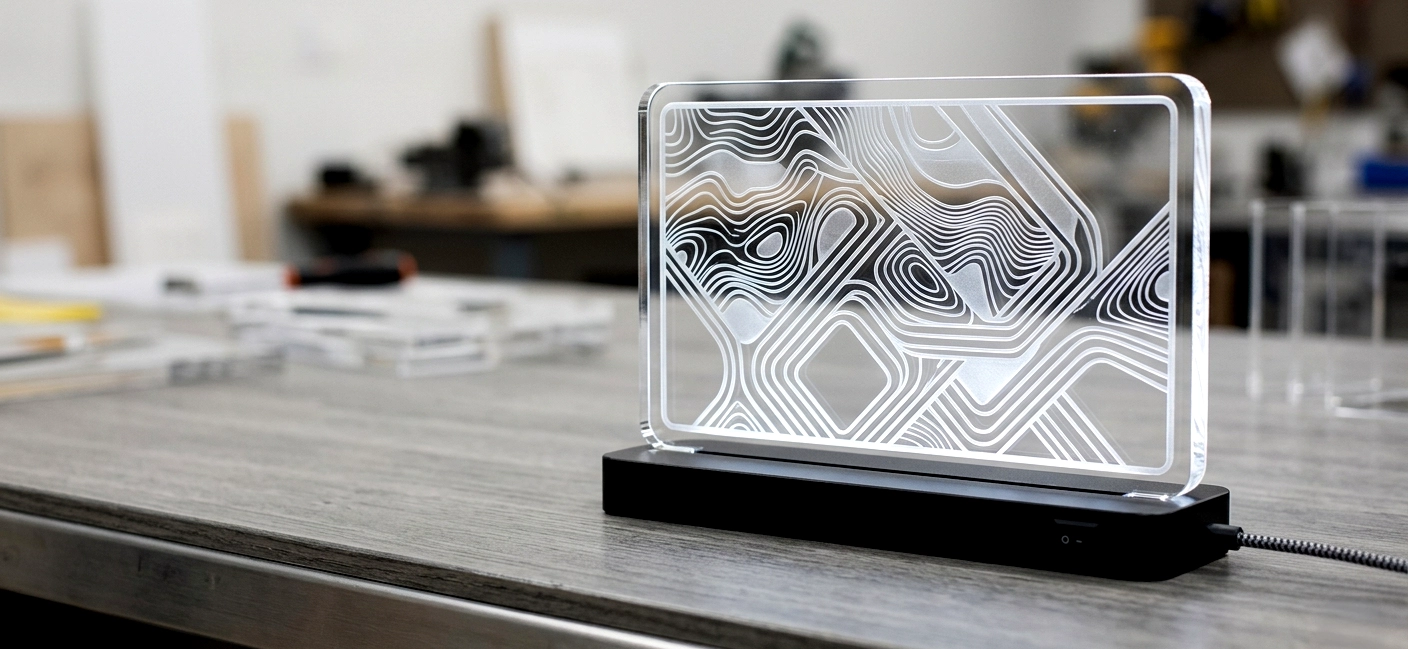
Clear cast acrylic is particularly popular because the bright frosted engraving contrasts beautifully against the transparent material, creating an elegant and professional appearance.

Popular applications include:

  • Wedding invitations, table numbers, welcome signs, seating charts and cake toppers
  • Corporate awards, office door signs, reception signage and desk name plates
  • LED edge-lit signs, retail point-of-sale displays, business logos and acrylic calendars
  • Personalised key holders, personalised gifts and memorial plaques
  • Decorative wall art, checkers and chess boards, and children’s educational products

Explore acrylic business signs, acrylic wall art, laser engraved wood and laser engraved MDF for further project ideas. Because acrylic is available in a wide range of colours, thicknesses and finishes, the same techniques can be adapted to countless products without investing in additional equipment.

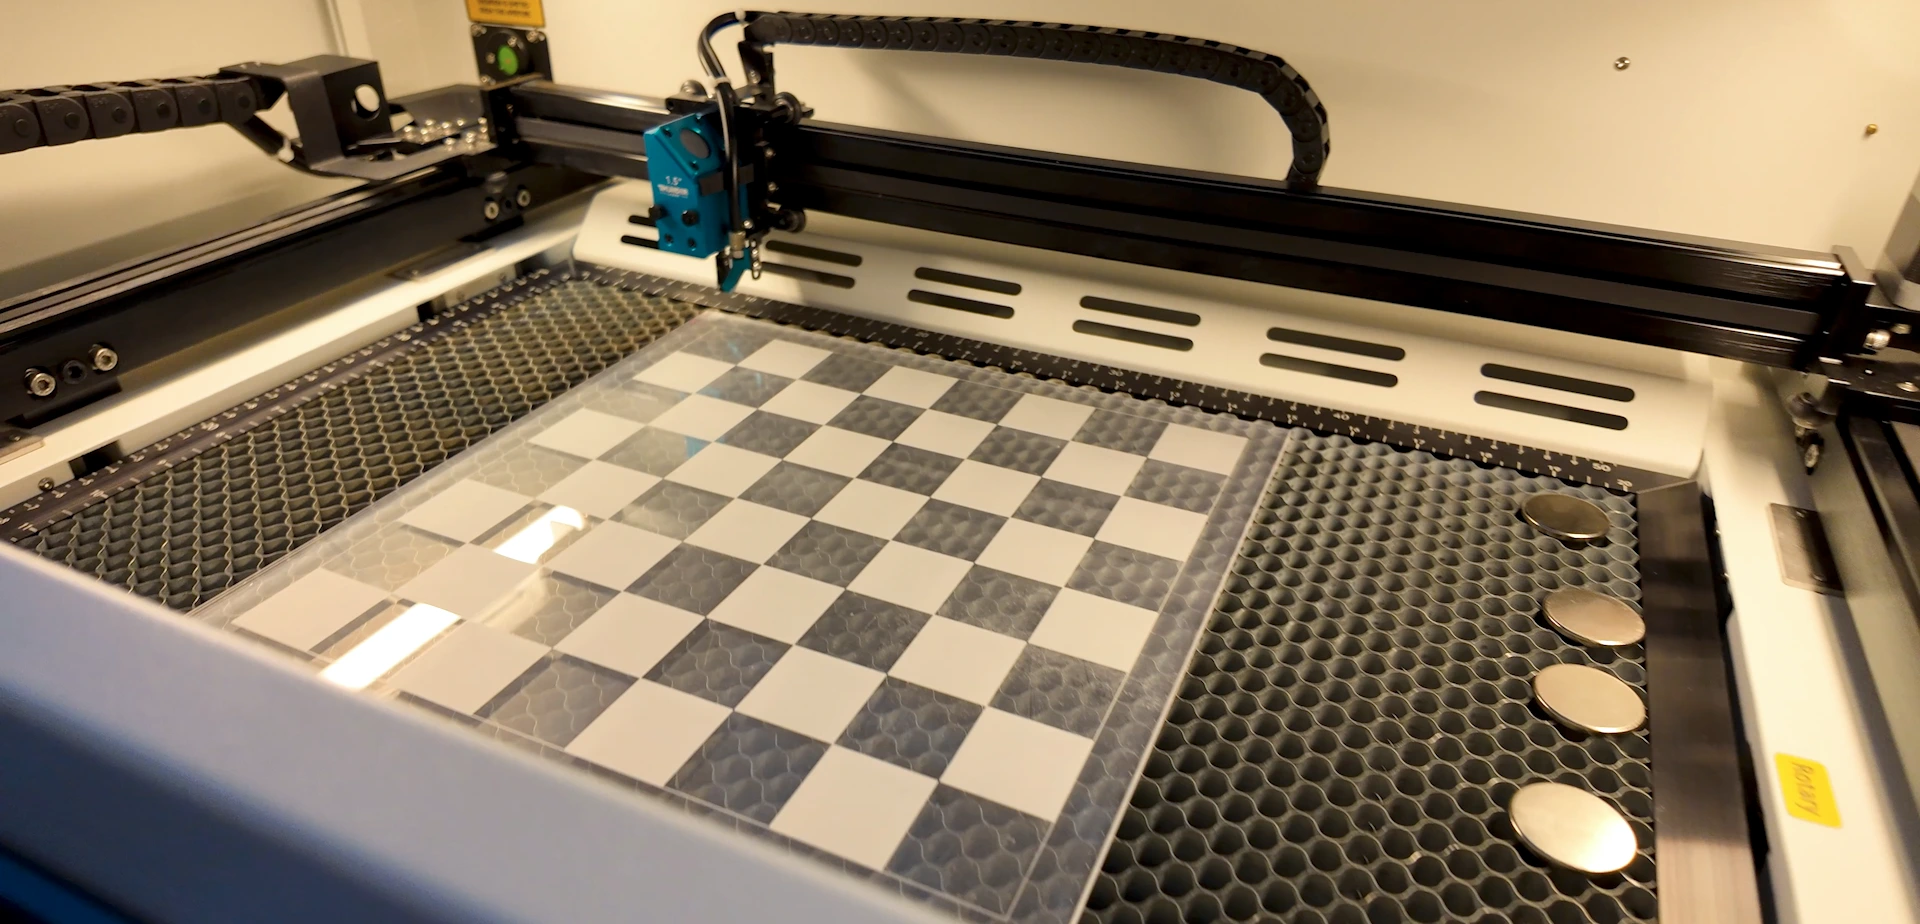
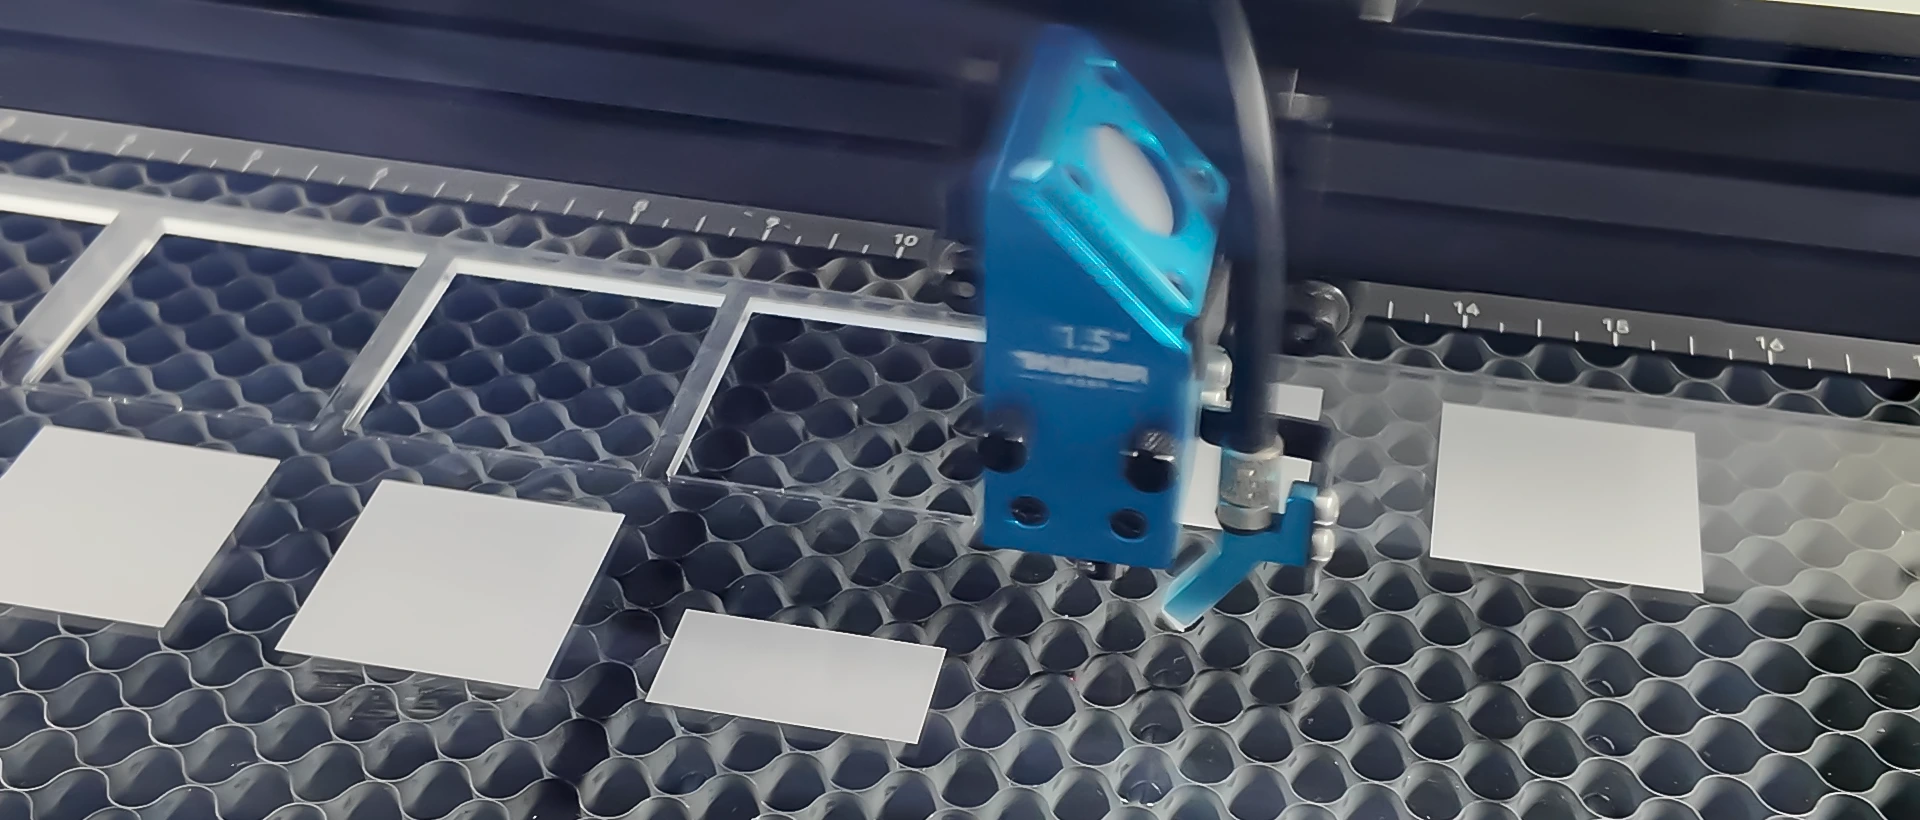
Acrylic checkers board being engraved inside a Thunder Bolt laser machine

Our Goal During This Workshop Test

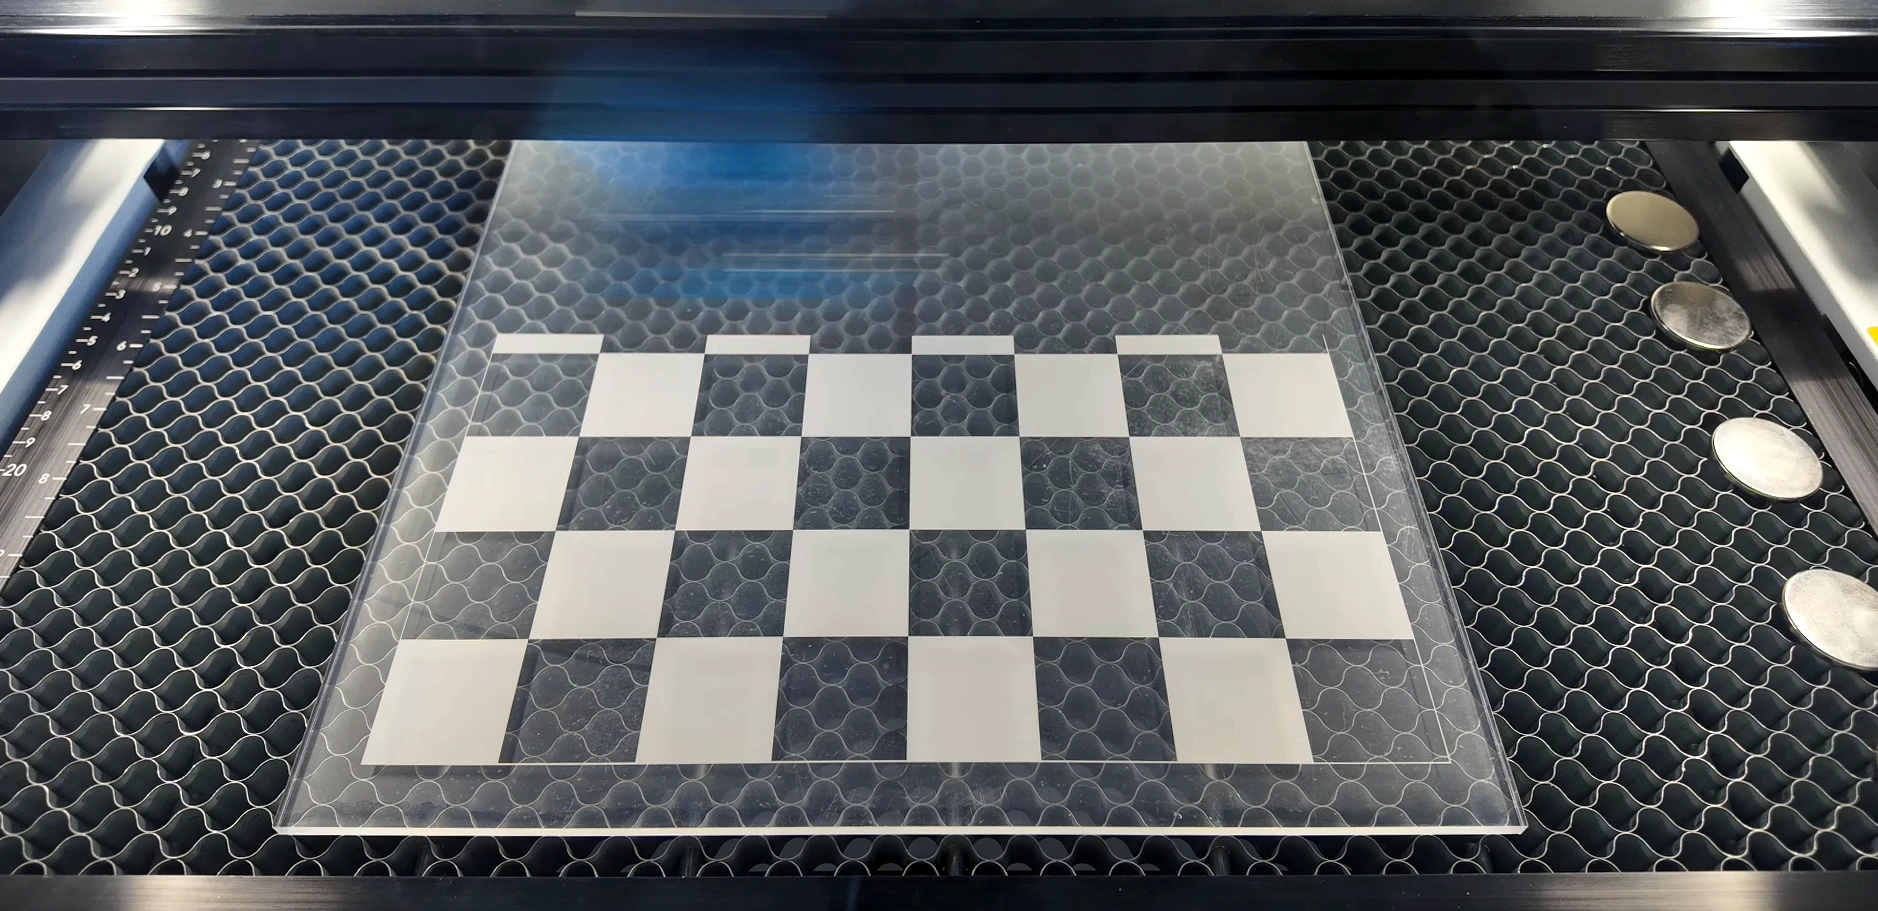
Rather than simply engraving a logo or a few lines of text, we wanted to push the material further. Our objective was to produce a perfectly smooth white frosted finish across large engraved areas, without visible scan lines or uneven engraving. To do this, we designed and engraved a full acrylic checkers board, which made it much easier to identify even the smallest imperfections.

Large solid engraved blocks expose inconsistencies far more easily than fine text or detailed graphics. If we could achieve a clean, even finish on the checkers board, we knew the same techniques would work exceptionally well for signage, awards and other acrylic products.

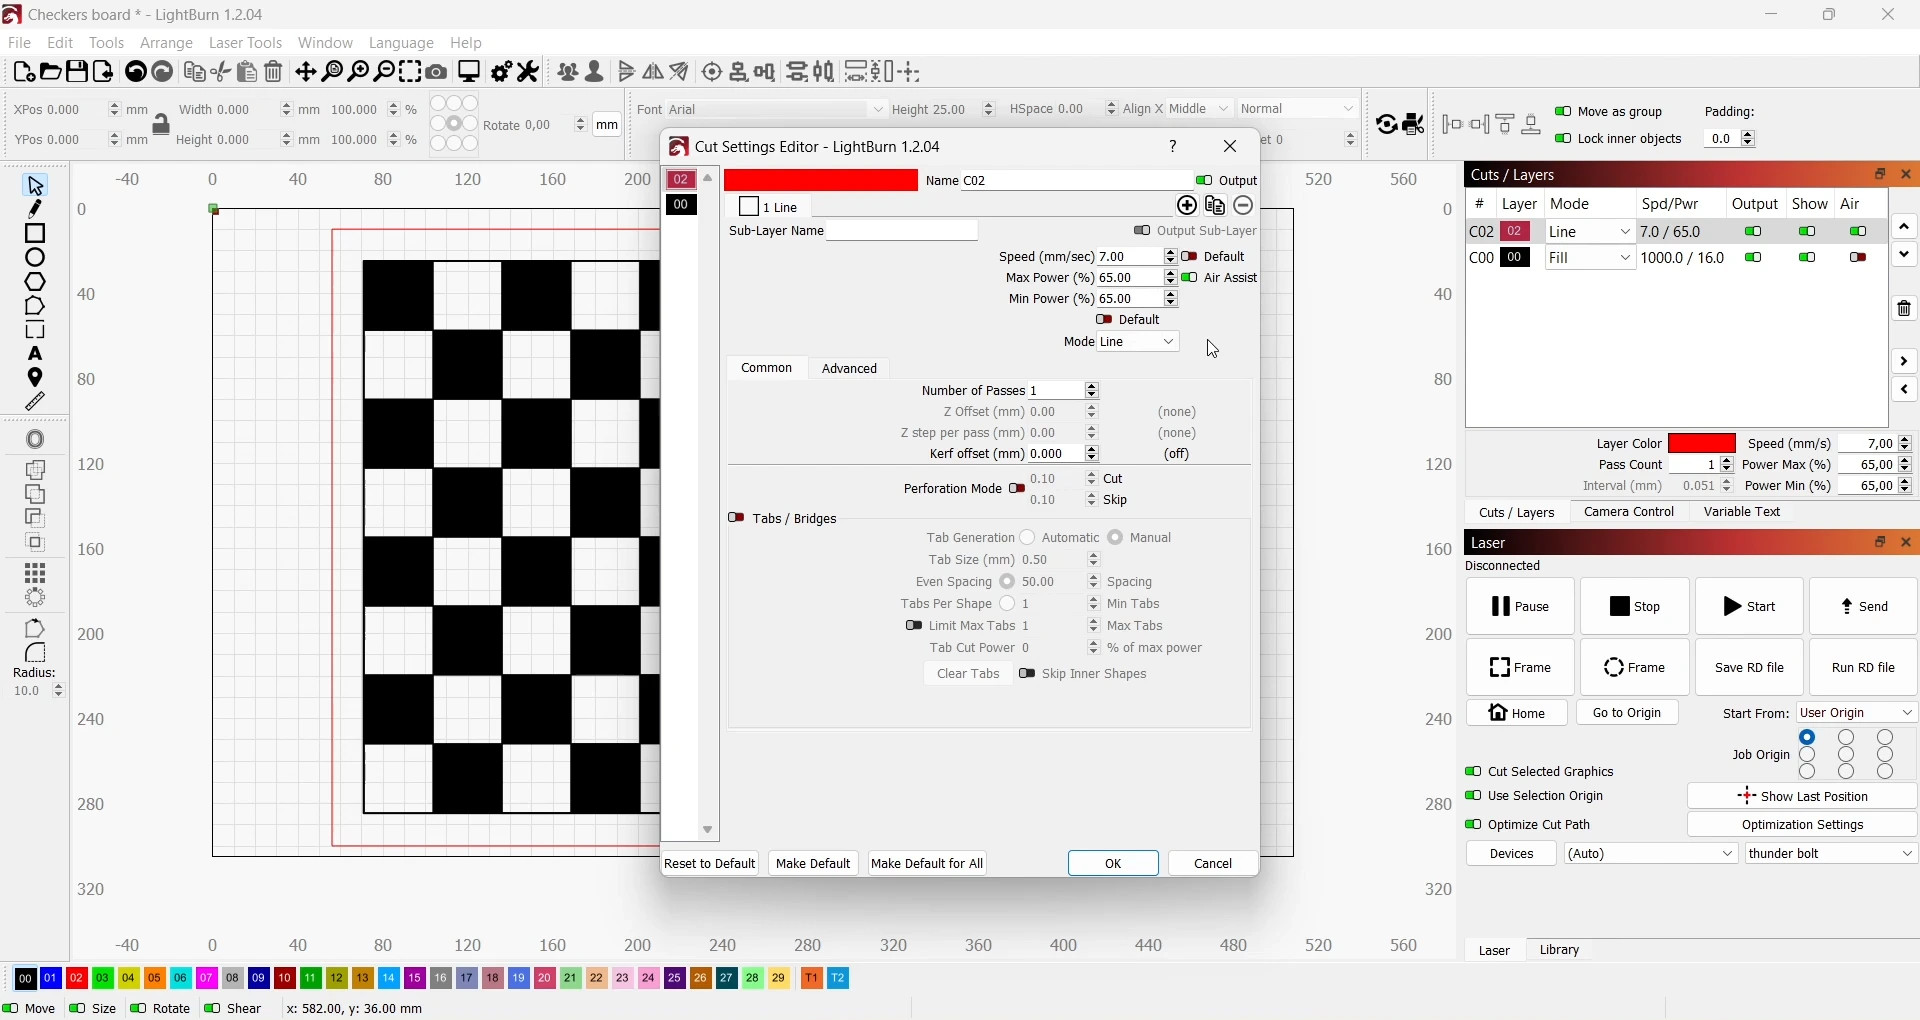
LightBurn cut settings for an acrylic checkers board showing speed, power and layer controls

Why We Didn’t Accept the Default Settings

One of the biggest lessons from this project was that factory autofocus settings are only a starting point. Many users assume that once the machine has completed its autofocus routine, they’re ready to engrave. In reality, different materials—and even different finishes on the same material—often benefit from further fine-tuning.

Instead of accepting the default settings, we tested multiple focus positions, engraving resolutions and air assist configurations to see how each adjustment affected the final appearance. That extra testing allowed us to reduce visible banding, improve the frosted effect and achieve a much cleaner finish than we obtained with the initial settings.

Our Hands-On Test: Finding the Frosted Finish

When we started this project, we thought laser engraving clear cast acrylic would be relatively straightforward. Our goal was simple: produce a bright white, smooth frosted finish for a personalised acrylic checkers board.

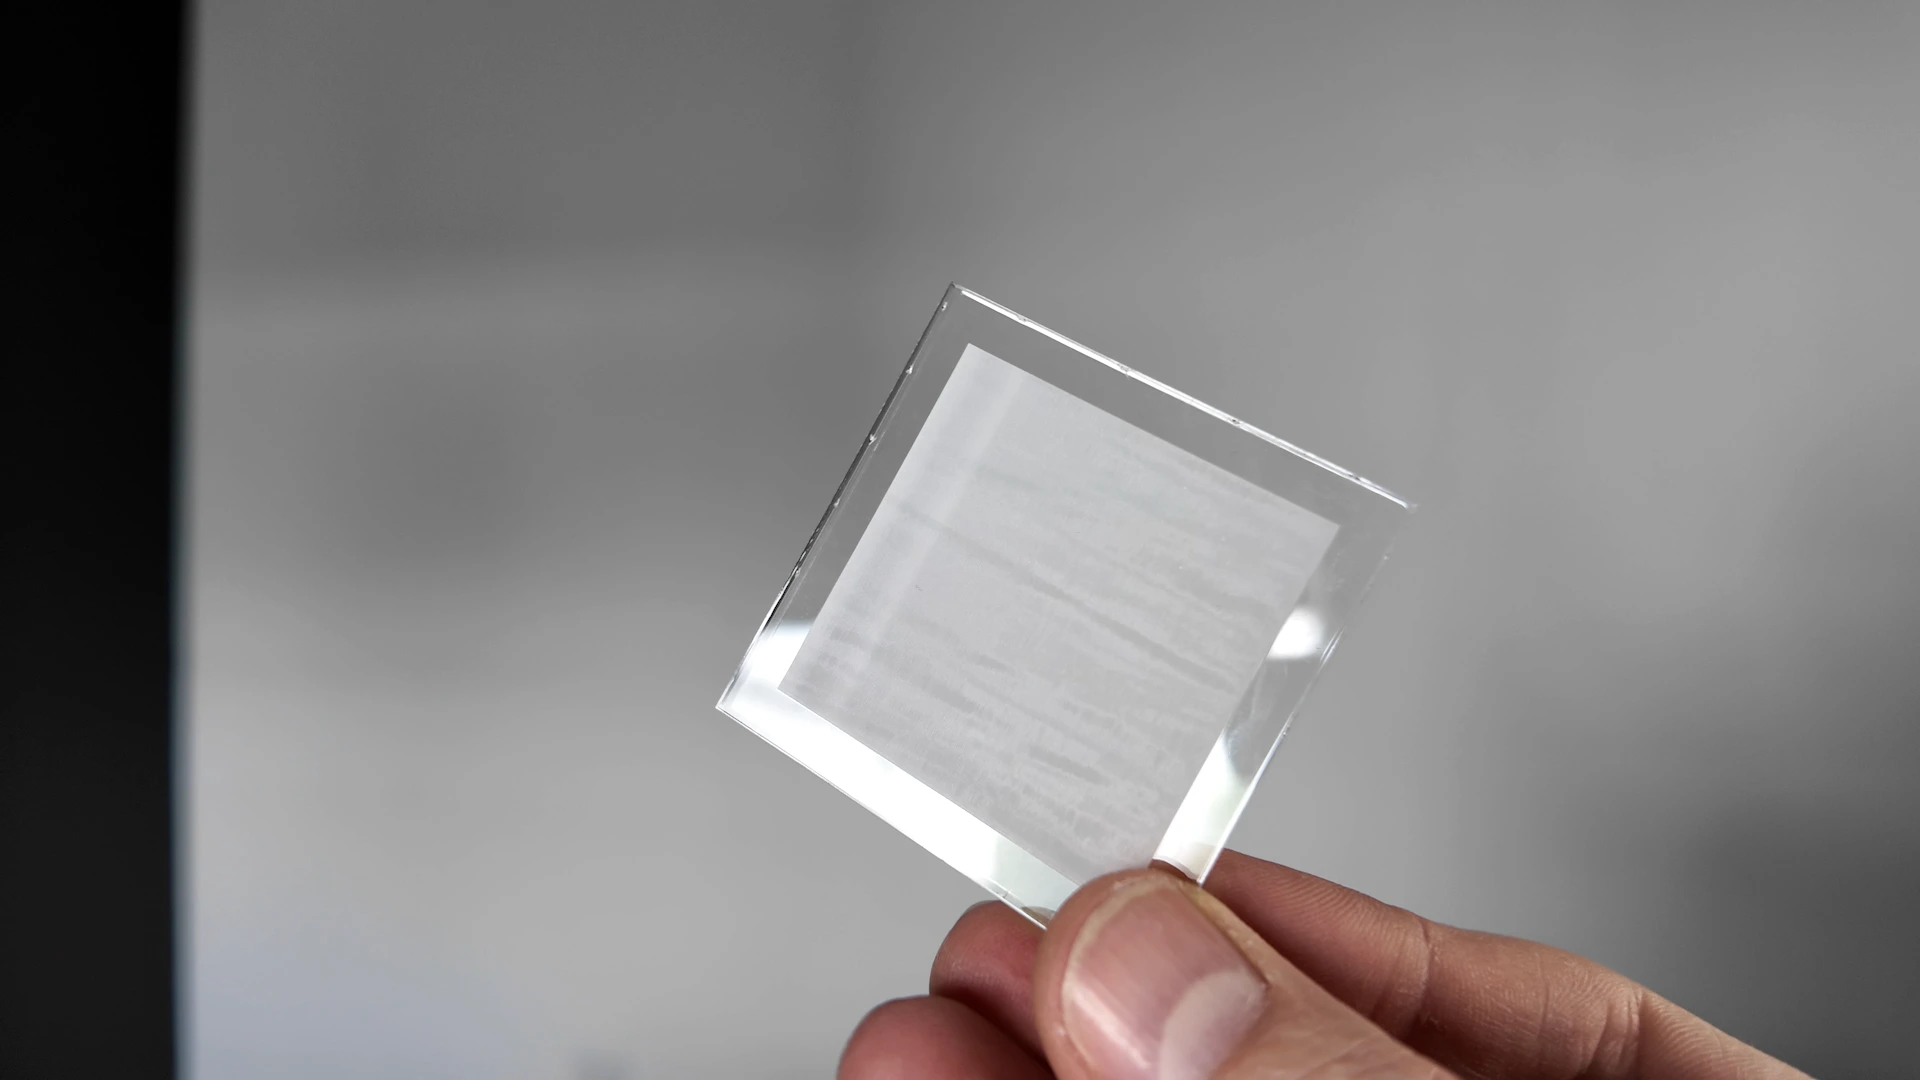
However, after the first few test engravings, we quickly realised that achieving a professional finish involved much more than simply pressing the autofocus button and starting the job. Although the engraving looked acceptable at first glance, the larger engraved squares revealed something we weren’t happy with—visible scan lines, sometimes referred to as banding.

From that point, we stopped trying to engrave the final product and instead focused on understanding why it was happening.

Clear acrylic test piece showing frosted engraving with visible horizontal scan lines
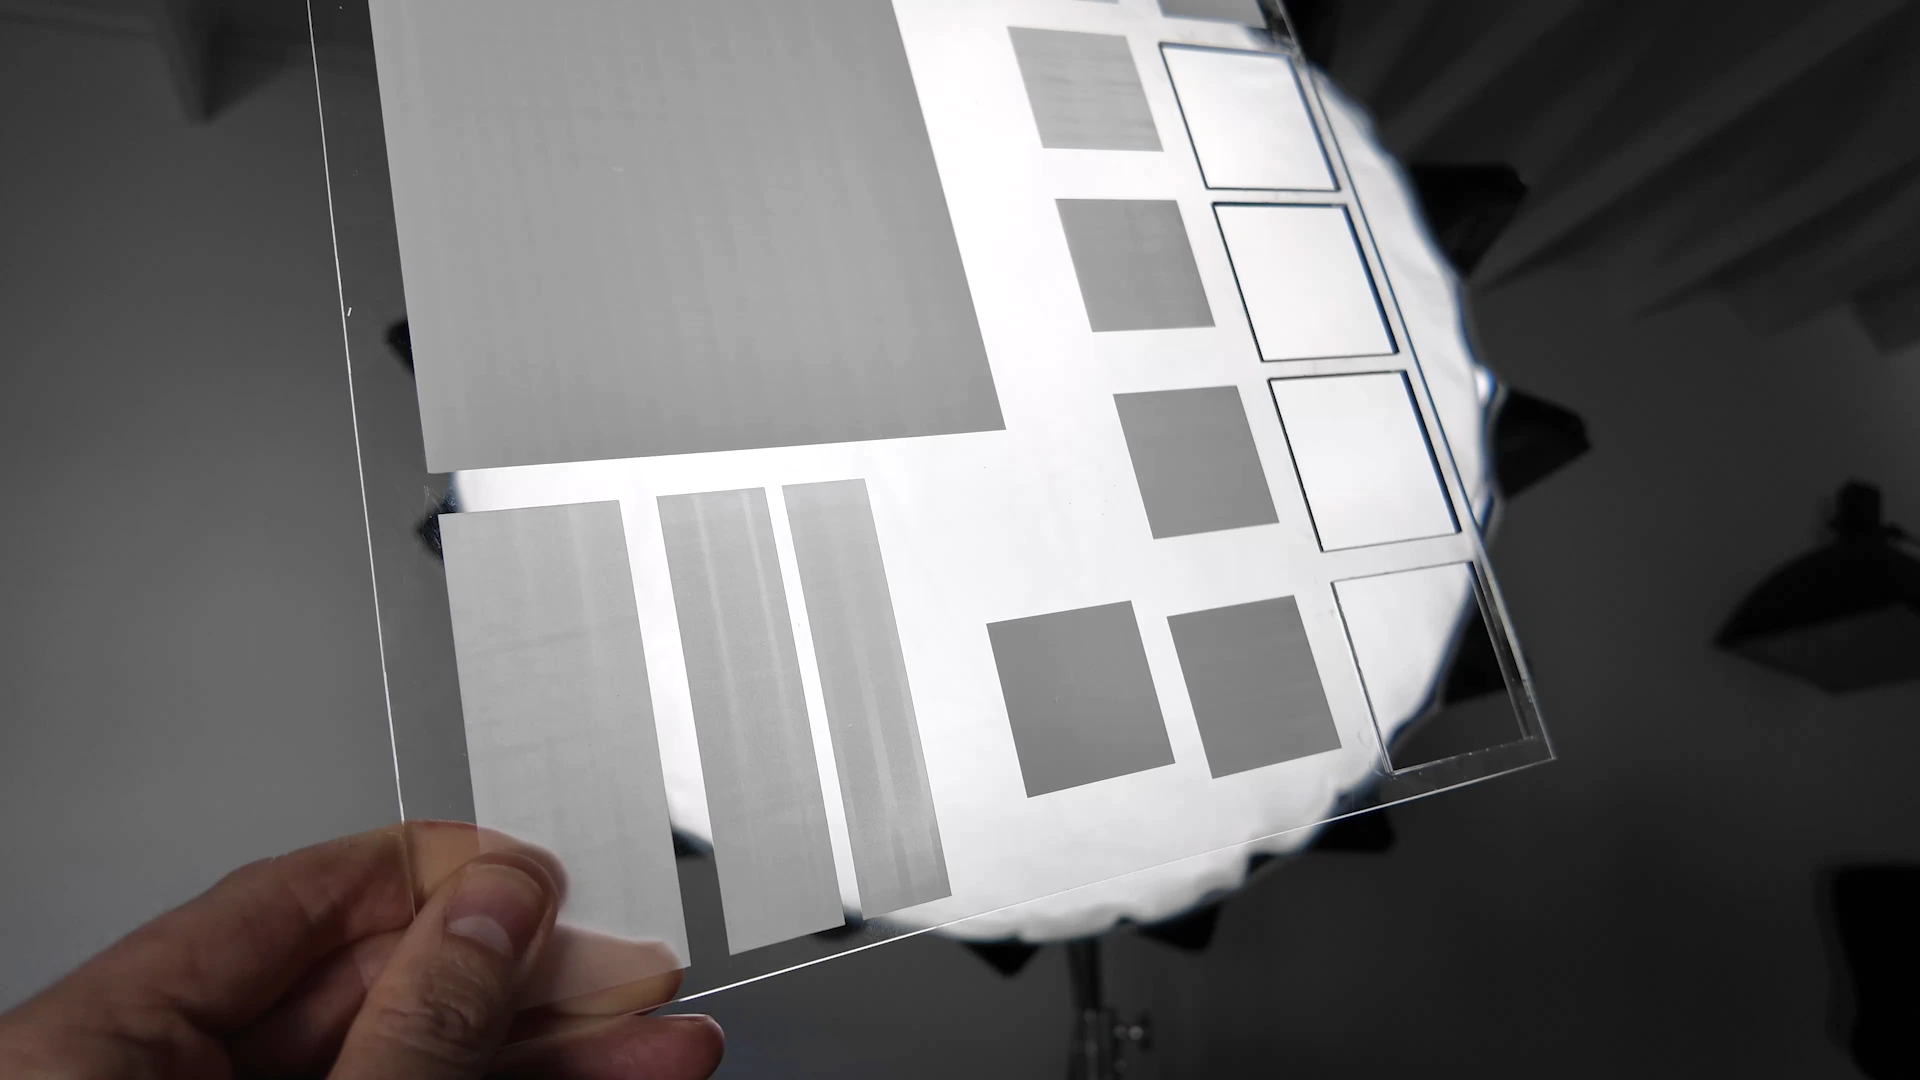
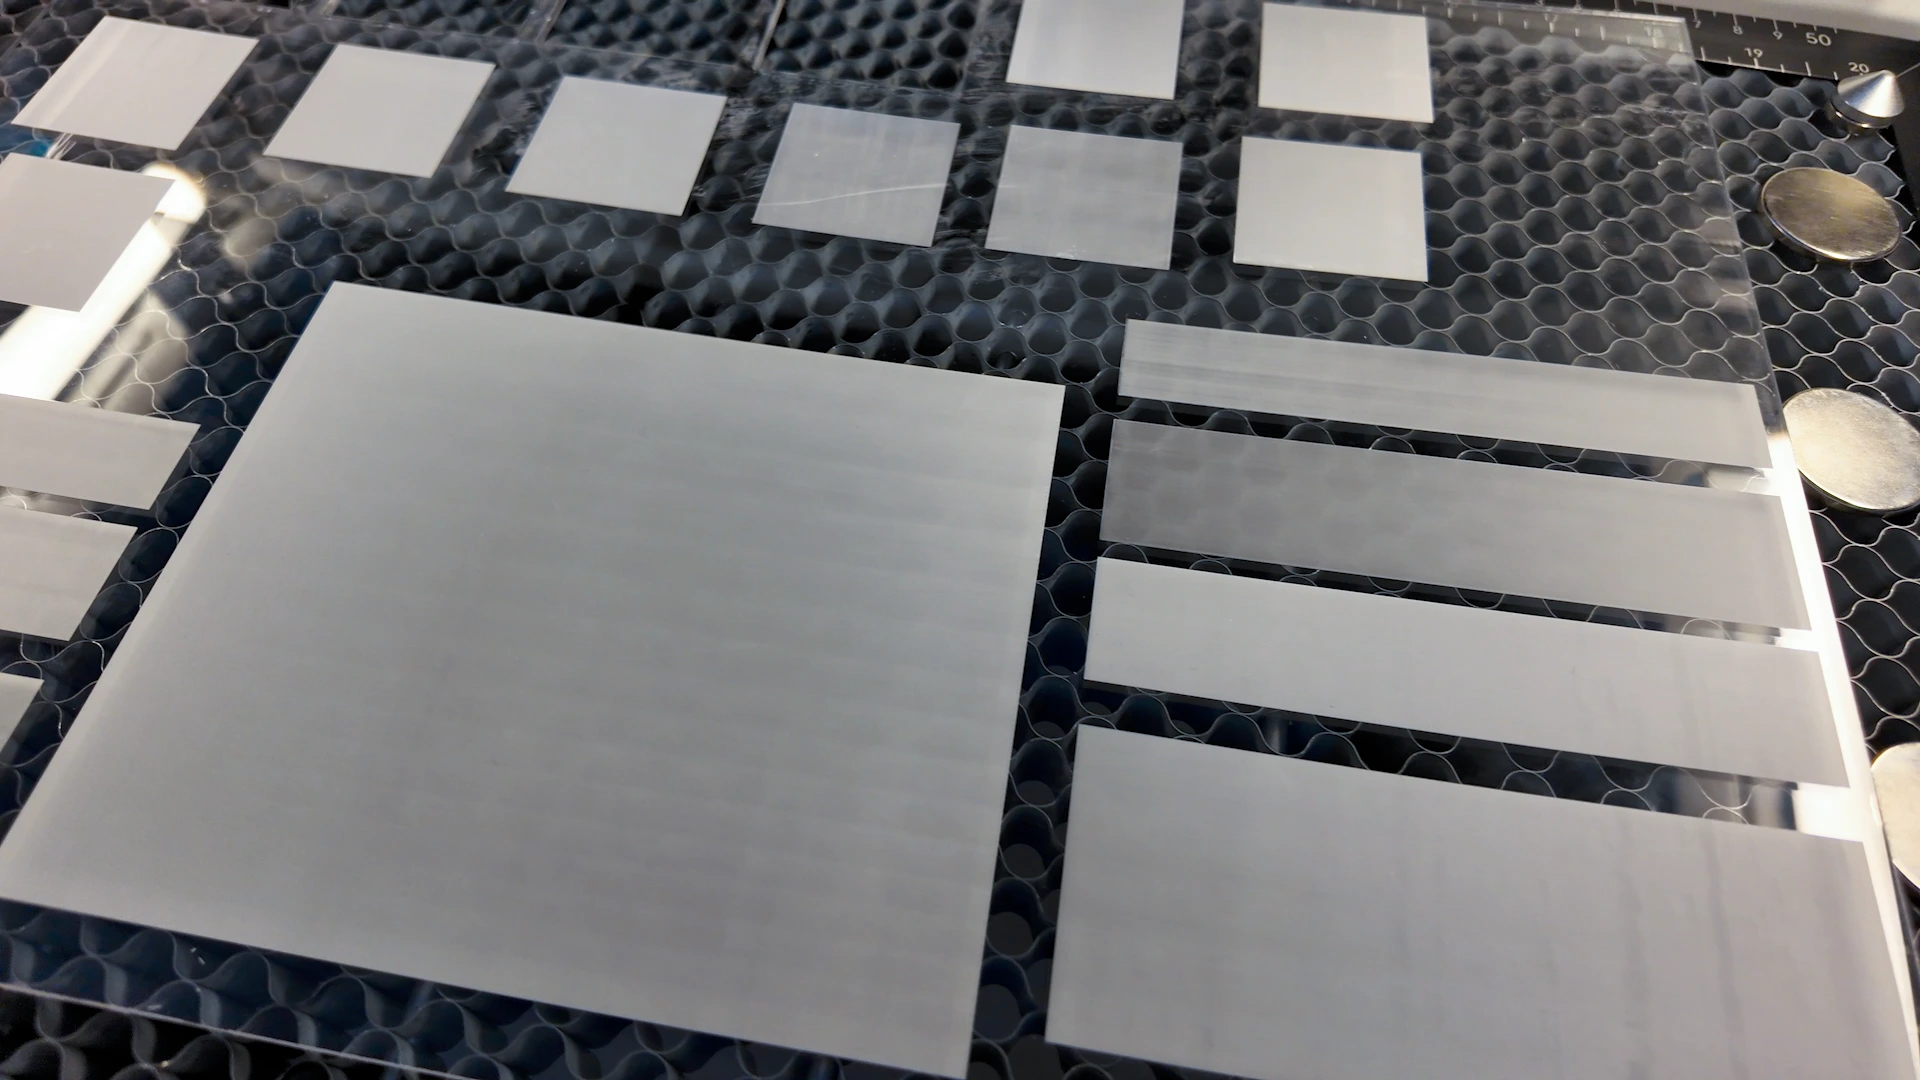
Clear acrylic sheet with engraved test blocks comparing frosting, scan lines and outline settings
Clear acrylic checkers board with evenly frosted engraved squares

Why We Used a Checkers Board for Testing

Many people test acrylic by engraving a logo or a few lines of text. The problem is that small engravings often hide imperfections.

A checkers board is completely different. Each square contains a large engraved area, making it much easier to see inconsistent engraving, visible scan lines or uneven frosting. If we could produce perfectly smooth squares, we knew those same settings would work beautifully for signs, awards, wedding stationery and many other acrylic products.

Clear acrylic checkers board with frosted squares positioned on a laser machine bed
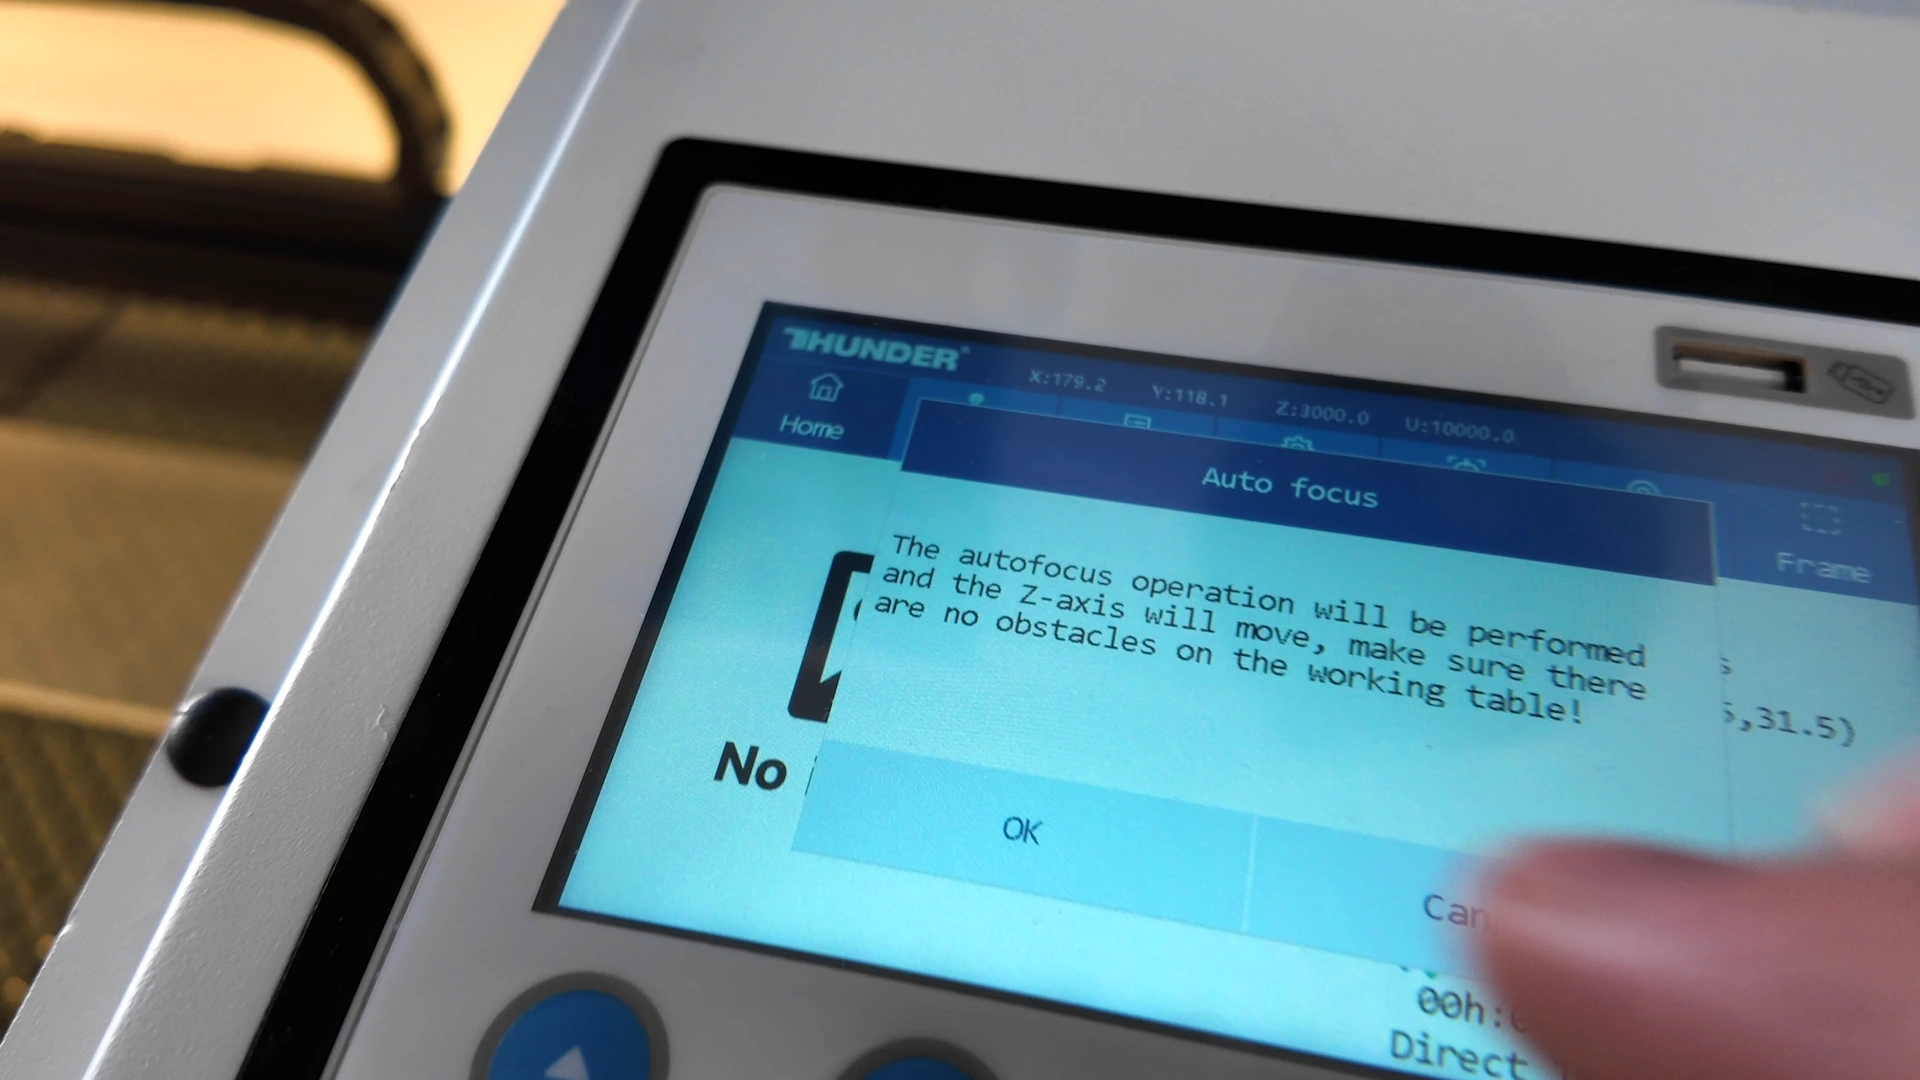
Thunder Bolt laser control screen showing the autofocus confirmation message

Autofocus Is Only a Starting Point

One of the biggest lessons from this project was learning that autofocus isn’t always the perfect setting. The Thunder Bolt completed its autofocus routine at a Z-axis position of approximately 2.3 mm.

Instead of accepting that as the final setting, we began experimenting. We adjusted the Z-axis in small increments, moving the acrylic both slightly further away from the laser head and slightly closer. Every adjustment changed the way the laser interacted with the acrylic surface.

That simple testing process completely changed the quality of the engraving.

Finished clear acrylic checkers board with frosted squares and stacked black and white pieces

Understanding the Desired Finish

One of the biggest misconceptions about laser engraving is that removing more material automatically produces a better engraving. In reality, the finish you’re trying to achieve determines how the laser should interact with the material.

For this project, our goal wasn’t deep engraving. We wanted a smooth white frosted finish. During testing, we found that moving the acrylic slightly closer to the laser head changed how the laser energy was distributed across the surface. Instead of aggressively vaporising the acrylic, the laser produced a smoother frosted appearance with far less visible banding.

Rather than creating a deeply engraved texture, the surface appeared cleaner, brighter and more consistent.

Clear acrylic sheet with frosted test blocks comparing engraving settings and scan line visibility

Finding the Sweet Spot

Rather than changing multiple settings at once, we tested one variable at a time. Our testing included normal autofocus, manual Z-axis adjustments, air assist on, air assist off, and 400, 500 and 600 DPI.

Changing only one setting at a time allowed us to clearly see which adjustment improved the engraving. Eventually, we found the combination that consistently produced the best result.

Laser head engraving frosted test blocks on a clear acrylic sheet

Air Assist Can Change the Finish

We also experimented with the air assist settings.

Initially, we engraved with the air assist turned on because previous projects had produced excellent results.

However, during this project we found that turning the air assist off produced a cleaner frosted appearance on this particular sheet of clear cast acrylic.

This doesn’t mean air assist should always be switched off.

Instead, it demonstrates why testing is so important. Small changes in airflow can influence how the material reacts during engraving.

Clear acrylic sheet with engraved test blocks comparing frosting, scan lines and outline settings

Why 500 DPI Produced the Best Result

Resolution was another setting we wanted to evaluate. We compared 400 DPI, 500 DPI and 600 DPI.

After examining each sample under good lighting, we found that 500 DPI produced the best balance between engraving quality, consistency and the smooth frosted finish we were aiming for. Higher resolution didn’t noticeably improve the appearance, while lower resolution made the larger engraved areas appear less uniform.

Workshop Settings Used

Setting

Workshop result

Machine

Thunder Bolt RF CO₂ laser

Material

5 mm clear cast acrylic

Speed

1,000 mm/s

Power

18%

Resolution

500 DPI

Air assist

Off

Focus comparison

Approx. 2.3 mm autofocus to 1.6 mm manual Z-axis position

Result

Brighter, smoother frosted engraving with fewer visible scan lines

Please note: These settings worked exceptionally well on the material we tested. Different acrylic brands, thicknesses, lenses and machine calibrations may require slight adjustments, so always perform a small test before engraving your final product.

The Biggest Lesson We Learned

Perhaps the biggest takeaway from this entire project wasn’t a particular speed or power setting. It was learning that successful laser engraving comes from understanding the material—not simply copying settings from the internet.

Every laser machine, every lens, every acrylic manufacturer and every workshop environment is slightly different. The most effective approach is to develop a simple testing process:

  • Start with the manufacturer’s recommended settings.
  • Change only one variable at a time.
  • Compare the results carefully.
  • Keep detailed notes.
  • Use those observations to refine your process.

That approach helped us transform an acceptable engraving into one we were genuinely proud of. A regular laser machine maintenance routine also helps keep a tested workflow repeatable.


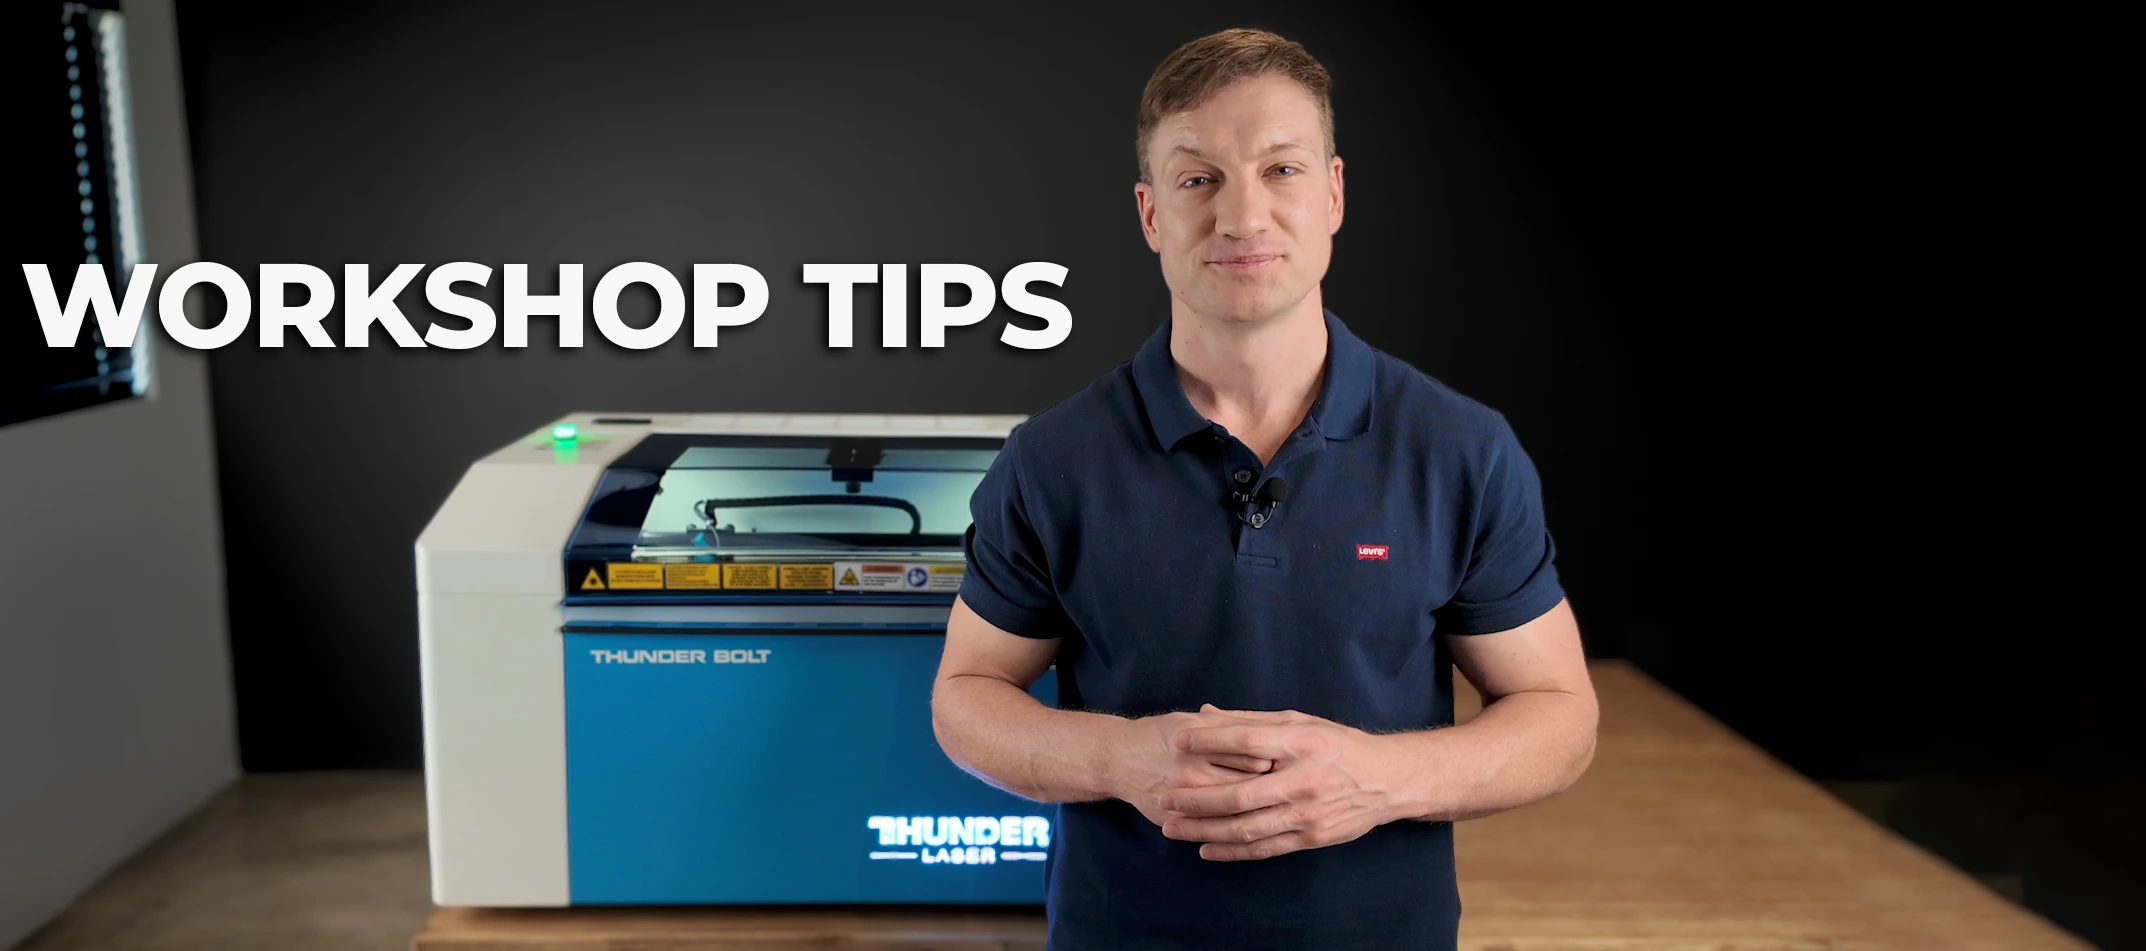
Workshop Tips from Allan

Presenter sharing workshop tips beside a Thunder Bolt laser engraving machine

Workshop Tip #1

Autofocus is a guideline, not a rule. If you’re chasing the best possible finish, don’t be afraid to experiment with small focus adjustments.

Workshop Tip #2

Large engraved shapes expose imperfections much faster than small text. If you’re calibrating acrylic settings, test using solid filled areas.

Workshop Tip #3

Don’t chase the perfect settings—understand why the settings work. Once you understand how focus, airflow and DPI affect the material, you’ll be able to dial in excellent results on almost any acrylic project.

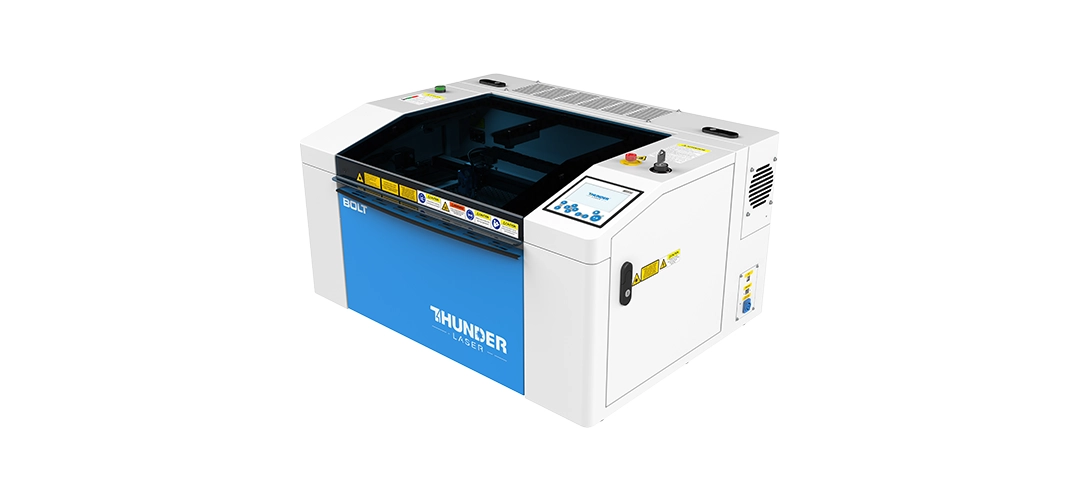
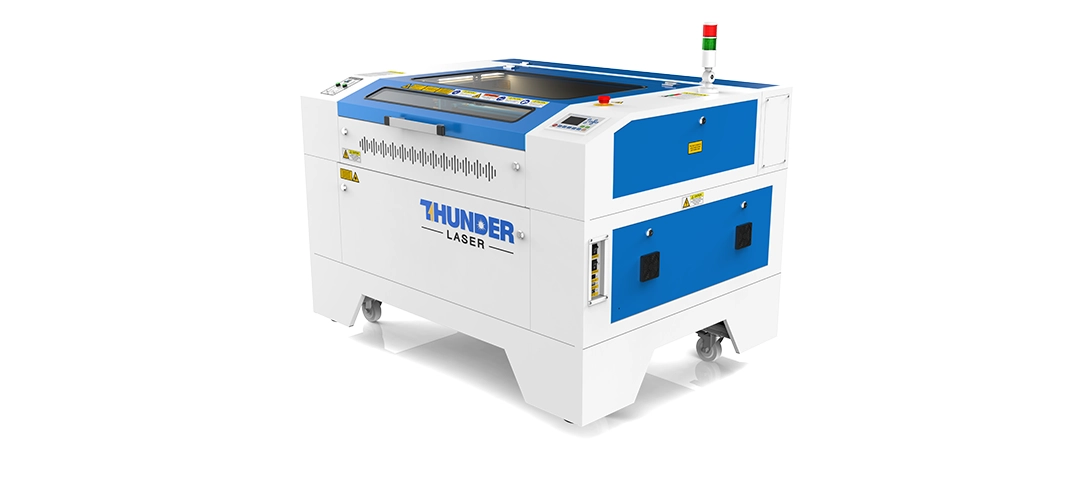
Thunder Bolt Product shot: Thunder Bolt CO2 laser cutting and engraving machine

Why the Thunder Bolt Excels at Laser Engraving Acrylic

Although many CO₂ laser engraving machines are capable of engraving acrylic, our testing showed why the Thunder Bolt performs particularly well for detailed engraving work.

Its RF metal laser tube produces an exceptionally fine laser beam, allowing intricate detail while maintaining excellent consistency across large engraved areas.

During our workshop testing, we also appreciated fast engraving speeds, excellent beam quality, highly accurate autofocus, easy manual Z-axis adjustment for testing, a red light pointer for precise alignment, LightBurn compatibility, and a compact footprint for home businesses and professional workshops.

One feature that proved particularly useful during this project was the red light pointer. After cutting the acrylic sheet, we were able to accurately realign the material by referencing the edge of the acrylic before engraving the checkerboard pattern. This made positioning quick, repeatable and highly accurate.

Combined with the ability to manually fine-tune the focus position, the Thunder Bolt gave us the flexibility needed to dial in the perfect engraving finish.

Recommended machines for laser engraving acrylic

The quality of your acrylic engraving depends heavily on beam control, focus adjustment, airflow management, lens options and machine stability.

These CO2 laser machines are commonly used for:

• clear cast acrylic engraving
• acrylic awards and signage
• LED edge-lit panels
• personalised gifts and wedding products
• batch retail displays and branded products

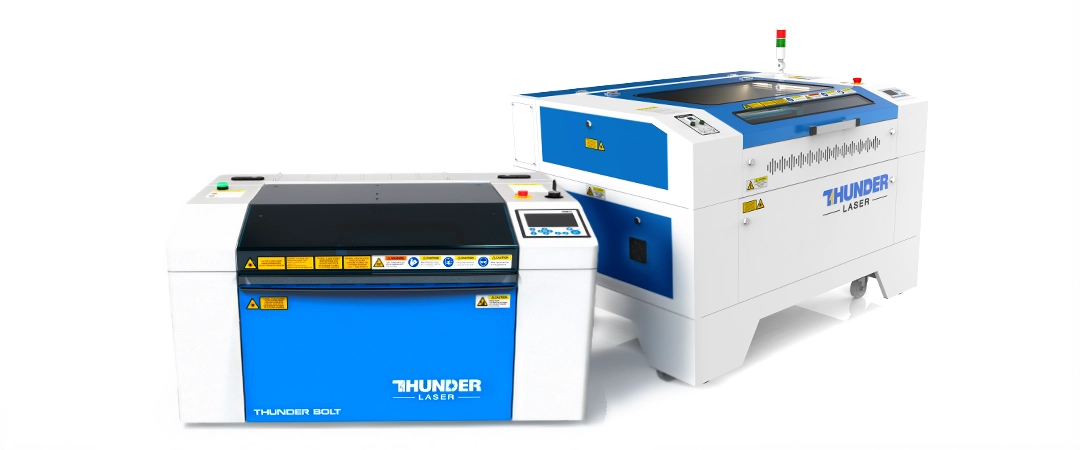
Thunder Nova Plus and Thunder Bolt laser machines
Thunder Bolt Product shot: Thunder Bolt CO2 laser cutting and engraving machine

Thunder Bolt

Acrylic engraving use: Detailed logos, wedding signage, personalised gifts, prototypes and small  acrylic products.

  • RF metal tube
  • Excellent for ultra-fine acrylic engraving
  • Strong fit for premium gifts, signage, awards and detailed artwork
  • Ideal for studios, home businesses and demonstration-led sales
View Thunder Bolt
Thunder Nova 35 CO2 laser cutting and engraving machine for signage and décor

Thunder Nova Plus 35

Acrylic engraving use: Retail products, acrylic decor, branded signage and repeat batch engraving.

  • RF metal tube
  • Production-focused platform
  • Better for larger acrylic jobs and repeat orders
  • Excellent balance between engraving detail and cutting capability
View Thunder Nova Plus 35

Have a look at our laser engraving machines below.

Laser Cutting & Engraving Machines

Why Buy Your Laser Engraving Machine from MaxLaser?

Purchasing a laser engraving machine is only the beginning. Learning how different materials respond to the laser is what ultimately determines the quality of your finished products.

At MaxLaser, we don’t simply sell machines—we help our customers understand how to get the very best results from them.

When you purchase from MaxLaser, you benefit from professional installation and setup, hands-on operator training, lifetime technical support, access to MaxLaser Academy, local stock of spare parts and consumables, practical advice gained through real workshop testing, and ongoing product demonstrations and educational content.

Our goal is to help you build confidence with your machine so you can spend less time troubleshooting and more time creating profitable products.

Maxlaser installation and training

Delivery & Remote Training

Lifetime technical support
Lifetime Technical Support

Maxlaser Local South African Support, Stock & Spares

Local South African Stock & Spares


Maxlaser support: hands-on demo facility in Johannesburg

Hands-On Demo Facility

Maxlaser's real business setup guidance

Real Business Setup Guidance

MaxLaser warranty and after-sales

Warranty & After-Sales Backup

Frequently Asked Questions About Laser Engraving Acrylic

Yes. Clear cast acrylic is one of the most popular materials for CO₂ laser engraving because it produces a bright white frosted finish with excellent contrast. Test your exact sheet before a final job.

Cast acrylic generally produces a cleaner, brighter frosted appearance, making it the preferred choice for signage, awards and decorative products. In this workshop it produced a more visible frosted result than the extruded comparison; test both materials for your project.

Visible scan lines are often caused by a combination of focus position, engraving resolution, power settings and the type of acrylic being used. During our testing, small adjustments to the focus position significantly reduced these lines. Use a large filled test area and change one variable at a time.

Using extruded acrylic, incorrect focus settings or unsuitable engraving parameters can all reduce the frosted appearance. The workshop found that clear cast acrylic and careful focus adjustment produced the brightest result on its sample.

Autofocus provides an excellent starting point, but it isn’t always the setting that produces the best finish. During our workshop testing, manually adjusting the focus produced a smoother and more consistent frosted appearance. Compare a small controlled adjustment on an offcut if you are refining the finish.

Clear-acrylic results depend on laser wavelength and machine configuration. Confirm suitability with the machine manufacturer and test the exact material; this guide documents a CO₂-laser workshop.

Yes, provided you prepare the image, choose a suitable resolution and test the settings. See examples and preparation context in the personalised gifts guide.

Masking is not always necessary, but it can protect a surface from handling marks or residue. Test with the protective film on and off for the material and finish you want.

Common thicknesses such as 3 mm and 5 mm clear cast acrylic are popular for signs, gifts and decorative products. Thicker sheets are often chosen for premium awards, architectural signage and display pieces. Choose thickness for the application and test it.

Yes. One of the most popular applications for clear engraved acrylic is LED edge-lit signage, where the engraved areas illuminate brightly when light is introduced through the edge of the acrylic. Test the engraving, acrylic and lighting together for the intended product.

Ready to Start Laser Engraving Acrylic?

Whether you’re creating wedding signage, personalised gifts, corporate awards or decorative products, choosing the right laser engraving machine makes all the difference.

Book a live demonstration with the MaxLaser team and see how the Thunder Bolt produces clean, professional engravings on clear cast acrylic. We’ll guide you through the machine, explain the settings, answer your questions and help you choose the right solution for your business.

Book a Live Demonstration View Our Laser Engraving Machines