Laser Cutting Machines, Laser Engraving Machines
Laser Cut Acrylic Wall Art: From AI Design To Finished Product
Jun
Whilst browsing AI-generated artwork, we came across a Panther wall art design that immediately grabbed our attention. It was bold, modern and looked like the perfect project to test on a laser cutting machine.
That raised an interesting question. Could we take an AI-inspired concept, transform it into a production-ready design and create a premium wall art product using acrylic and laser technology?
In this project, we show the entire process from design development in CorelDRAW through to laser cutting, assembly and the finished result. Along the way, we will also explore why laser cut acrylic wall art has become one of the most profitable and popular product categories for laser businesses around the world.
View Laser Cutting MachinesIf you’re new to acrylic processing, our guide on Laser Cutting Acrylic explains the materials, settings and techniques used to achieve clean professional results.
What Is Laser Cut Acrylic Wall Art?
Laser cut acrylic wall art is decorative artwork created by cutting acrylic sheets using a CO2 laser machine. These designs can range from wildlife artwork and family name signs to business branding and modern interior decor. Acrylic wall art is popular because it offers a premium appearance, excellent durability and strong profit potential for businesses and hobbyists alike.
Watch The Panther Wall Art Project
Before we dive into the details, watch the complete project from concept to completion.
Project Summary
Design Type: Material: Layers: | Software: Machine: Difficulty: |
From AI Inspiration To Finished Wall Art
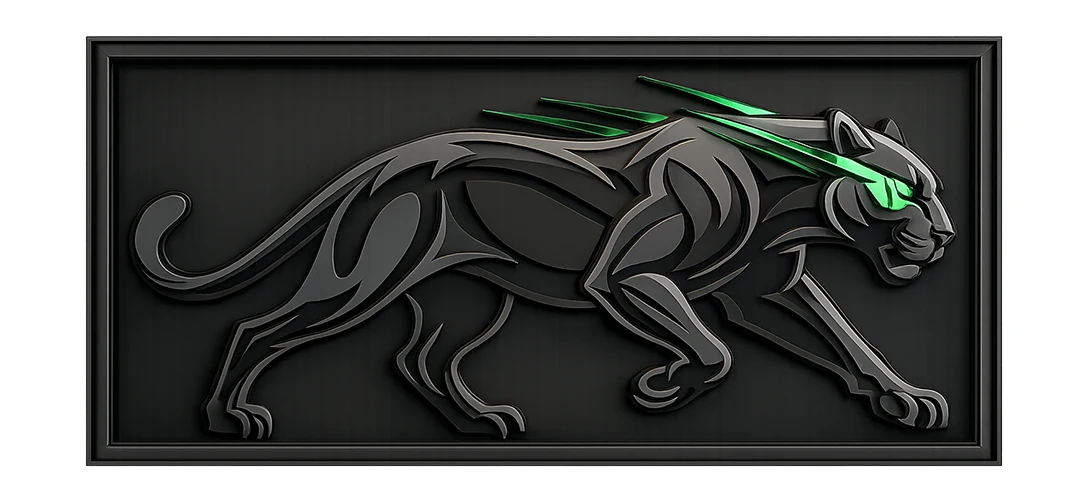
AI Inspiration
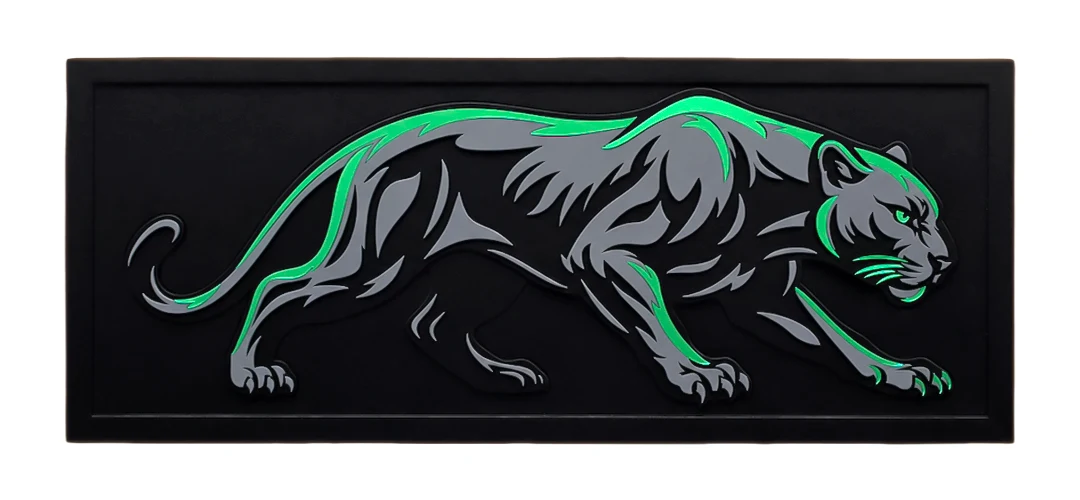
Finished Wall Art
Like many creative projects, this one started with inspiration.
While browsing AI-generated artwork, we discovered a Panther design that stood out from hundreds of other concepts. The design had strong lines, good contrast and the layered appearance that works exceptionally well for laser-cut acrylic projects.
However, creating a product is very different from creating an image.
Before any cutting could begin, the design needed to be rebuilt and refined into a format suitable for laser production.
This is where design skills become critical.
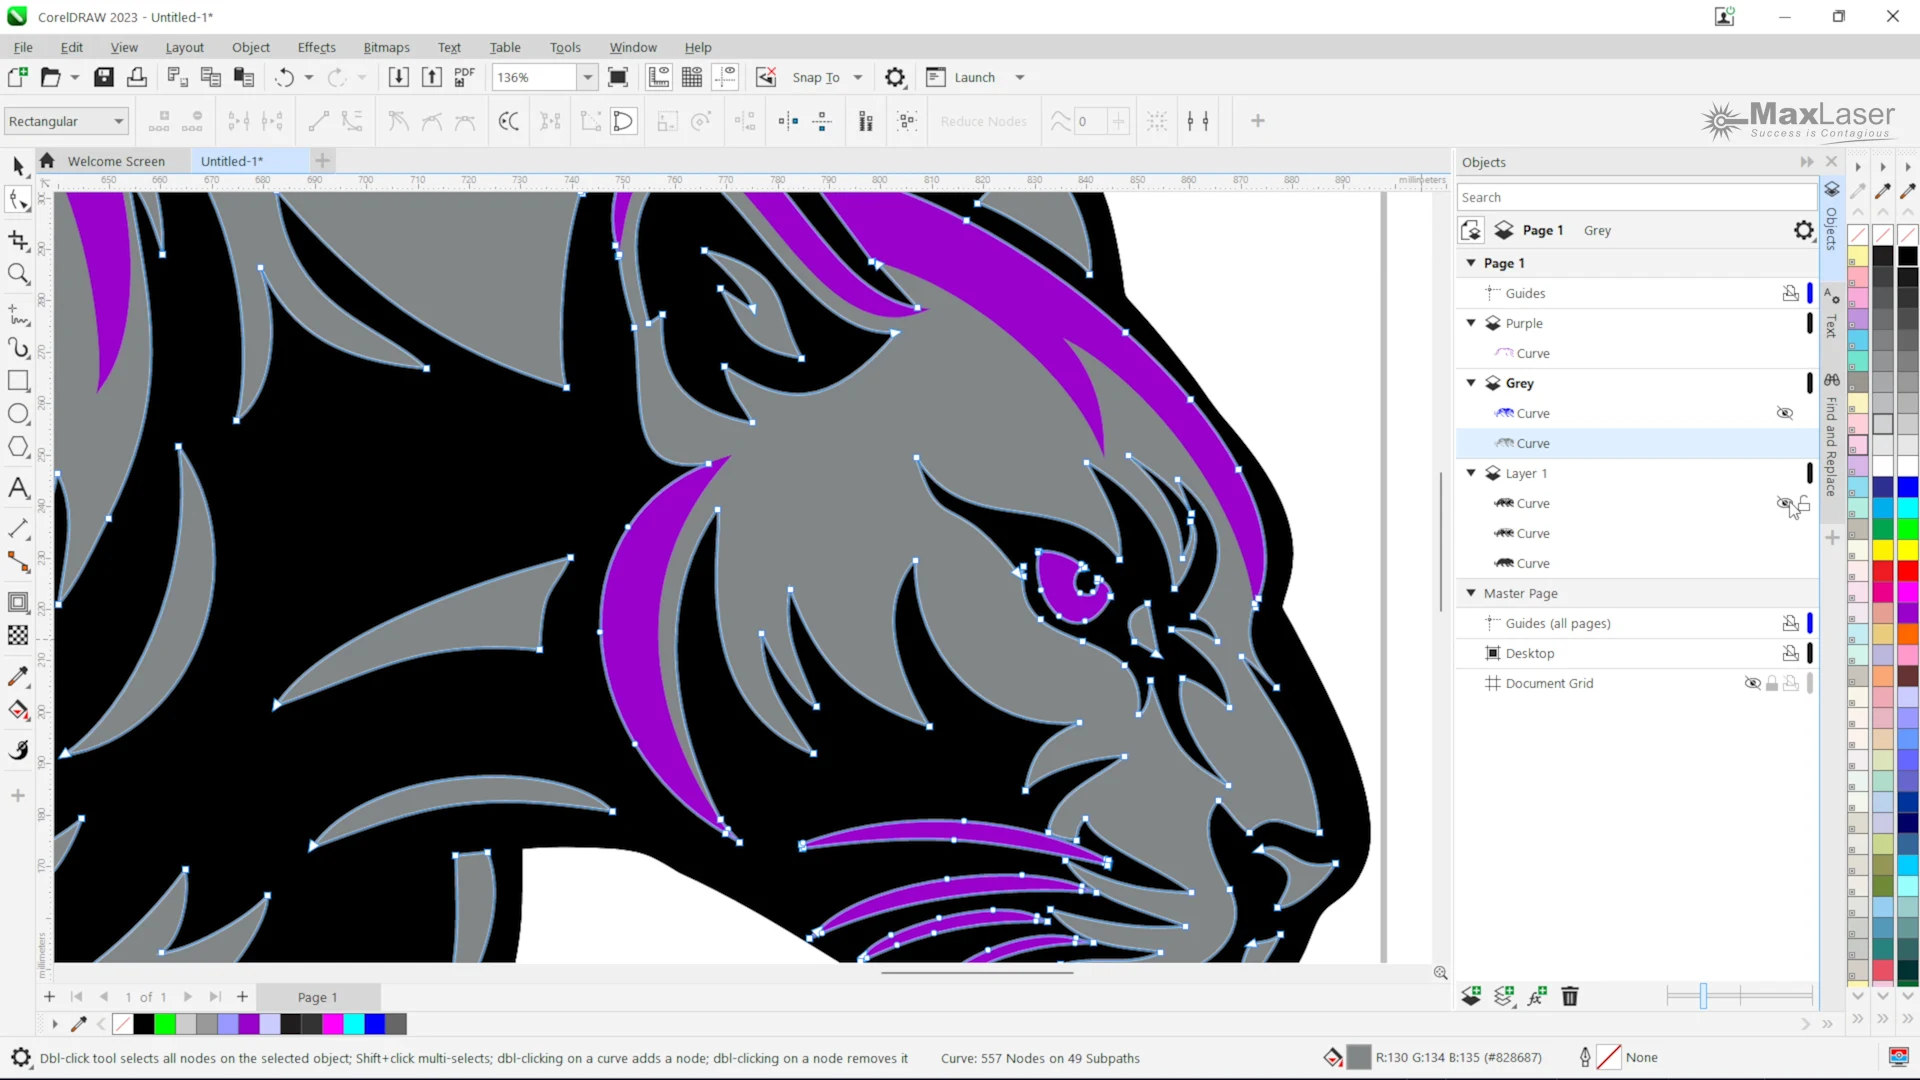
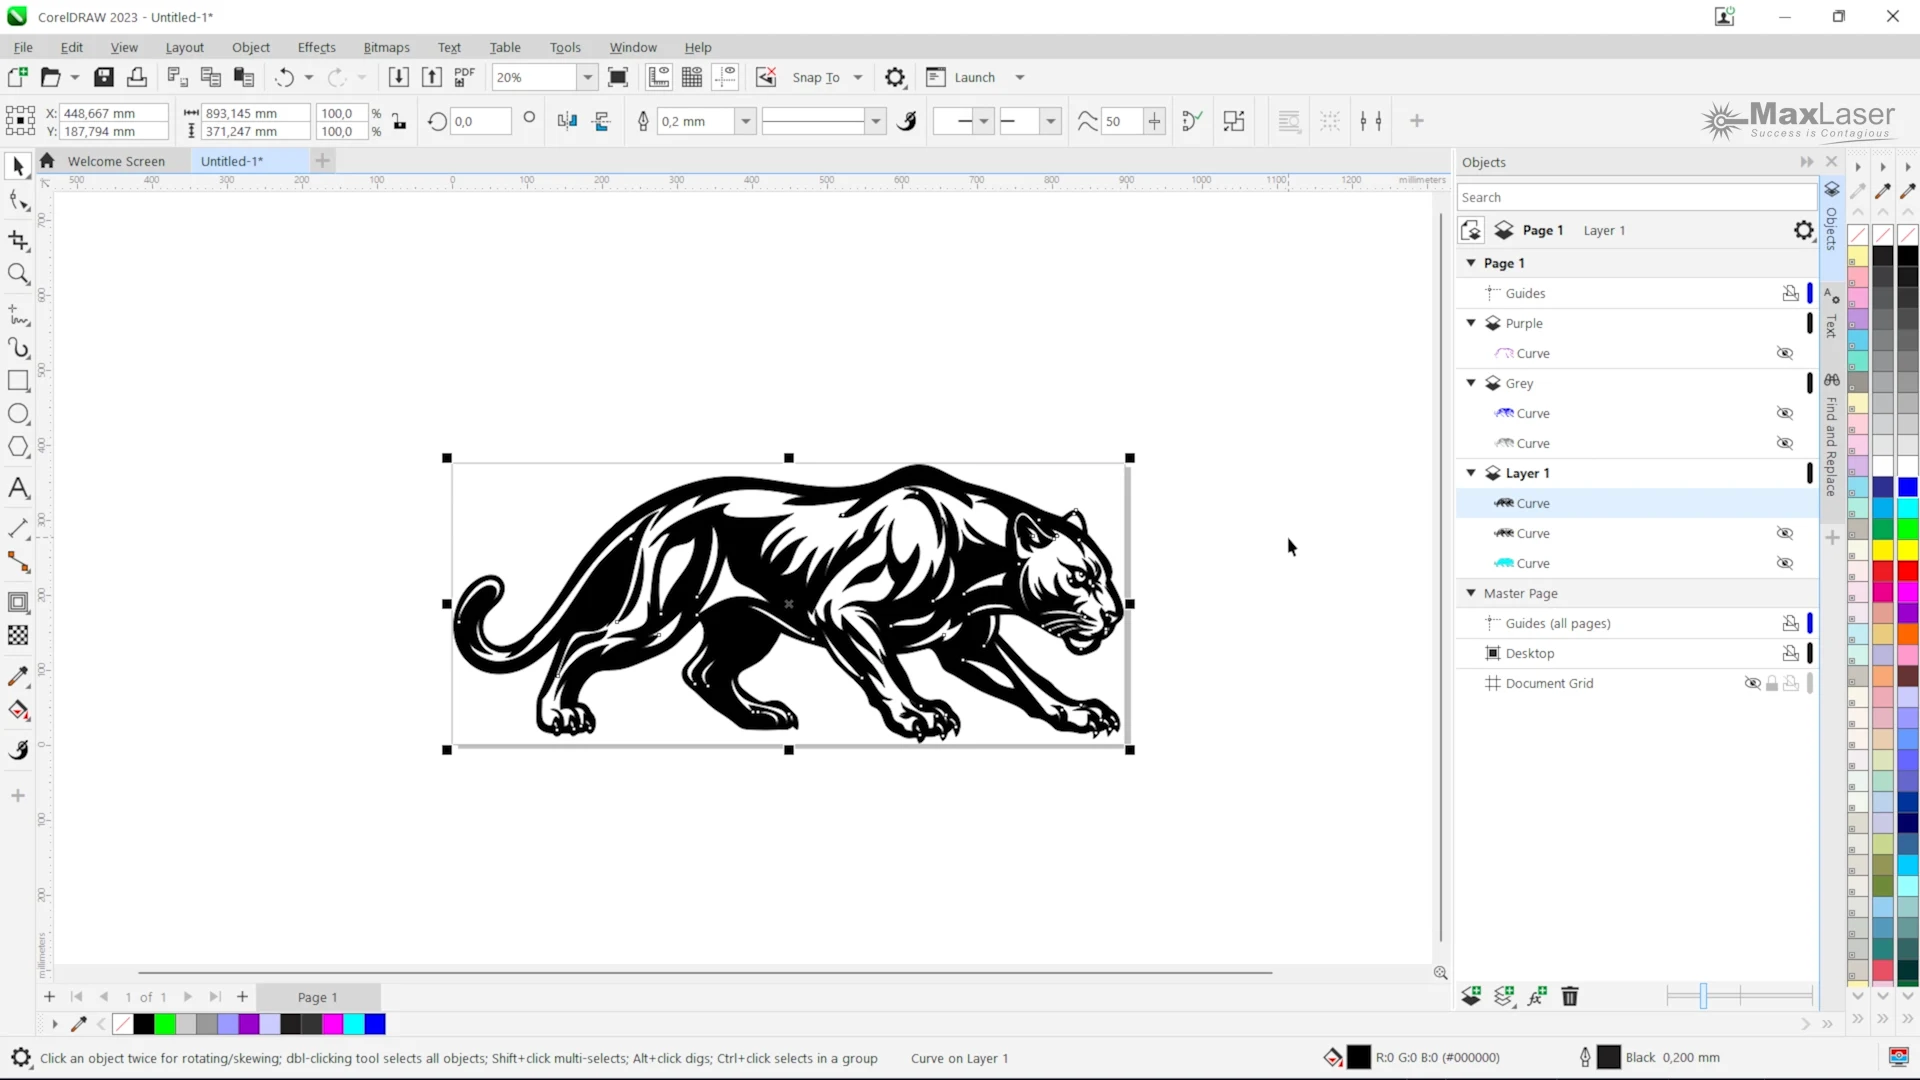
Designing The Artwork In CorelDRAW
The design phase is often where the quality of the final product is determined. A clean design produces clean cuts, faster production and a better finished product.
Working With Nodes
A large portion of the design process involved adjusting nodes and refining curves. Small imperfections that may not be visible on-screen can become noticeable once cut from acrylic.
By carefully refining the curves and transitions, smoother cut paths and cleaner results were achieved.
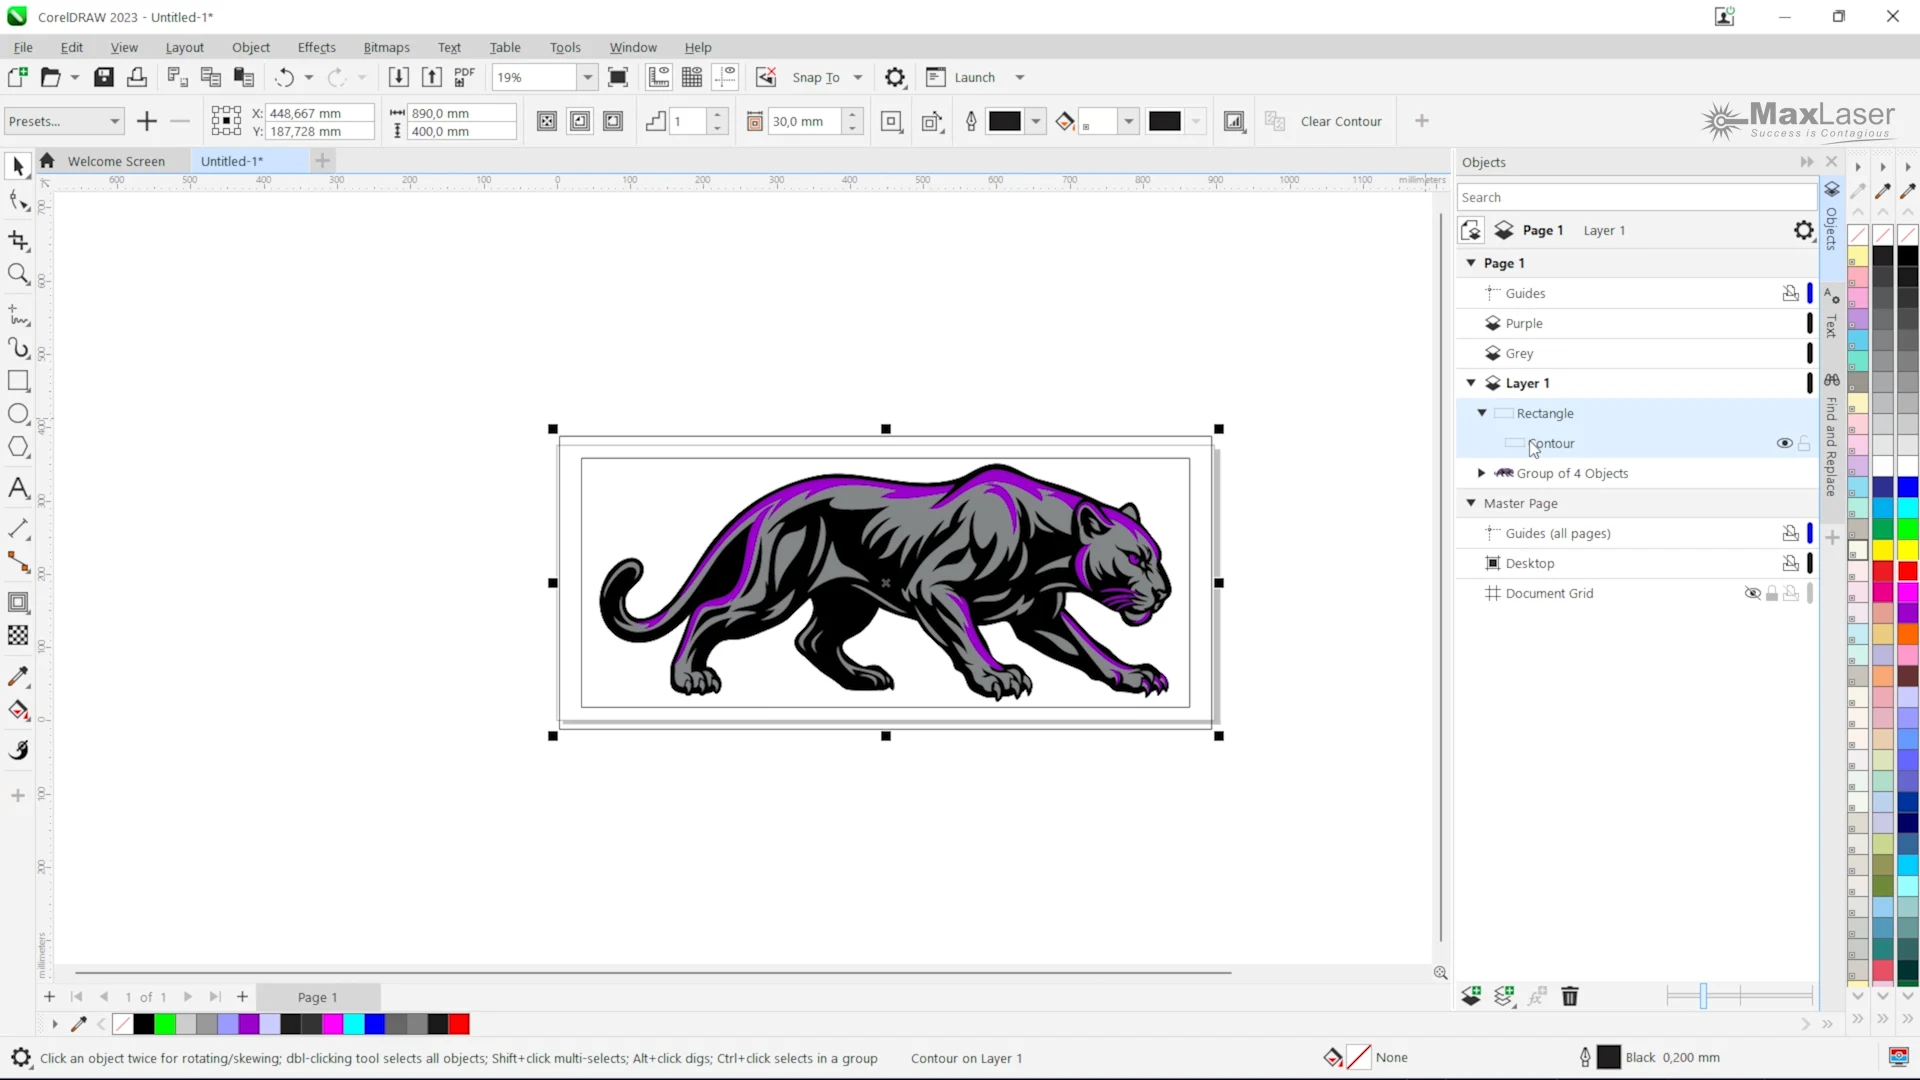
Using Trim And Weld Tools
Trim and weld tools were used extensively throughout the design process.
These tools help:
- Combine shapes
- Remove unwanted areas
- Create cleaner artwork
- Prepare files for production
Using Guidelines For Accuracy
Guidelines were used to ensure all elements remained aligned and balanced throughout the design process.
This helps create a professional-looking final product and ensures consistency between layers.
How Design Skills Make Better Products
One of the interesting aspects of this project is that the Leigh, the content creator for MaxLaser originally had very little design experience.
Through the MaxLaser Academy training and practical experience, she developed the skills needed to create production-ready artwork and confidently use tools such as CorelDRAW and LightBurn.
This highlights an important reality in the laser industry.
Owning a machine is only one part of the equation. Learning how to create and prepare designs is often what separates successful businesses from those that struggle.
Tools Used to Create Laser Cut Acrylic Wall Art
Software Used
- Google Gemini
- CorelDRAW
- LightBurn
Materials Used
- 3mm Matte Black Acrylic
- 3mm Grey Frosted Acrylic
- 2mm Green Mirror Acrylic
Machine Used
By combining different colours and finishes, the artwork achieved a premium layered appearance that would not be possible using a single sheet.

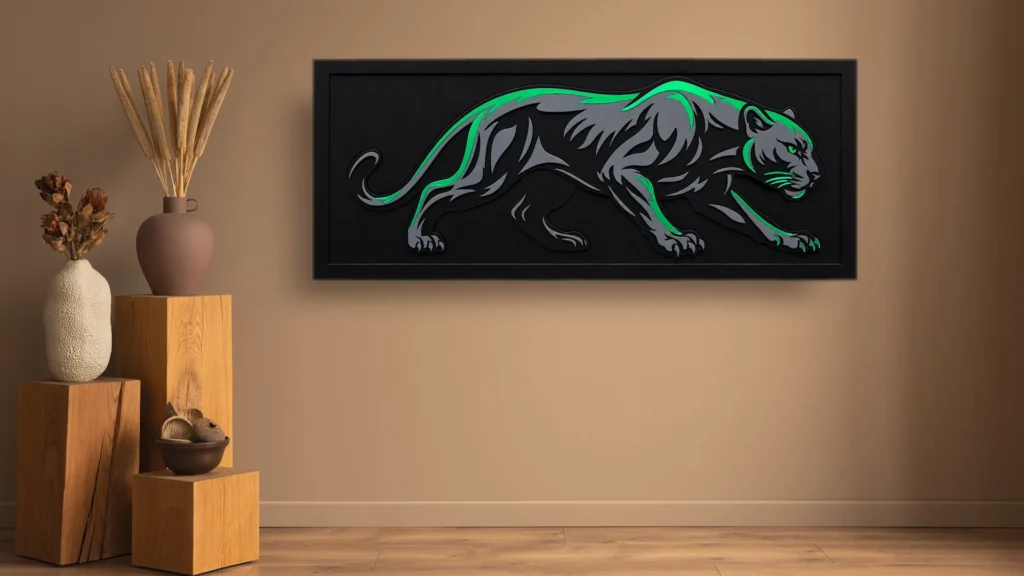
The Finished Panther Wall Art
After assembling all layers, the final artwork delivered a modern, premium appearance with excellent depth and contrast.
The combination of matte, frosted and mirror acrylic created visual interest from different viewing angles and demonstrated how laser technology can transform simple sheet materials into striking decorative products.
Behind The Scenes: Production Details
Finished Product Specifications
- Width: 900mm
- Height: 450mm
- Thickness: 6mm layered acrylic
- Weight: Approx. 2 kg
Materials Used
- 3mm Matte Black Acrylic
- 3mm Grey Frosted Acrylic
- 2mm Green Mirror Acrylic
Laser Cutting The Acrylic Layers
Once the design was completed, the artwork was imported into LightBurn and prepared for production.
Each acrylic layer was processed separately to ensure accuracy and alignment.
Laser Settings
Material | Thickness | Speed | Power | Air Assist |
Matte Black Acrylic | 3mm | 20 mm/s | 75% | Off |
Grey Frosted Acrylic | 3mm | 20 mm/s | 75% | On |
Green Mirror Acrylic | 2mm | 25 mm/s | 75% | Off |
Why Air Assist Was Used On The Frosted Acrylic
The frosted acrylic featured a paper masking rather than a plastic protective film.
By enabling air assist, airflow reduced the possibility of scorching and helped minimise the risk of ignition during cutting.
How long does it take to make laser cut acrylic wall art?
Production Time:
- Design: 90 minutes
- Laser Cutting: 40 minutes
- Assembly: 30 minutes
Total Project Time: approximately 160 minutes
Example Profit Calculation
Materials Cost:
- 2 x 3mm Matte Black Acrylic = ± R800
- 3mm Grey Frosted Acrylic = ± R250
- 3mm Green Mirror Acrylic = ± R145
Total Material Cost:
± R1195
Selling Price:
± R2800
Lessons Learned During This Project
- Mirror acrylic scratches easily
- Alignment is critical
- Layered designs command higher prices
- AI artwork requires redesign before production
- Good design work reduces production time
Why Laser Cut Acrylic Wall Art Is A Profitable Product
Acrylic wall art continues to grow in popularity because it combines premium aesthetics with relatively low material costs.
Benefits include:
- Modern appearance
- Lightweight construction
- High perceived value
- Customisable designs
- Strong profit margins
- Suitable for homes and businesses
Popular applications include:
- Wildlife artwork
- Office decor
- Reception signage
- Family name signs
- Inspirational quotes
- Restaurant decor
- Retail displays
Which Laser Machine Is Best For Acrylic Wall Art?
Financing options are available for qualifying South African businesses, making it easier to start producing custom acrylic wall art without a large upfront investment.
Hobby Users
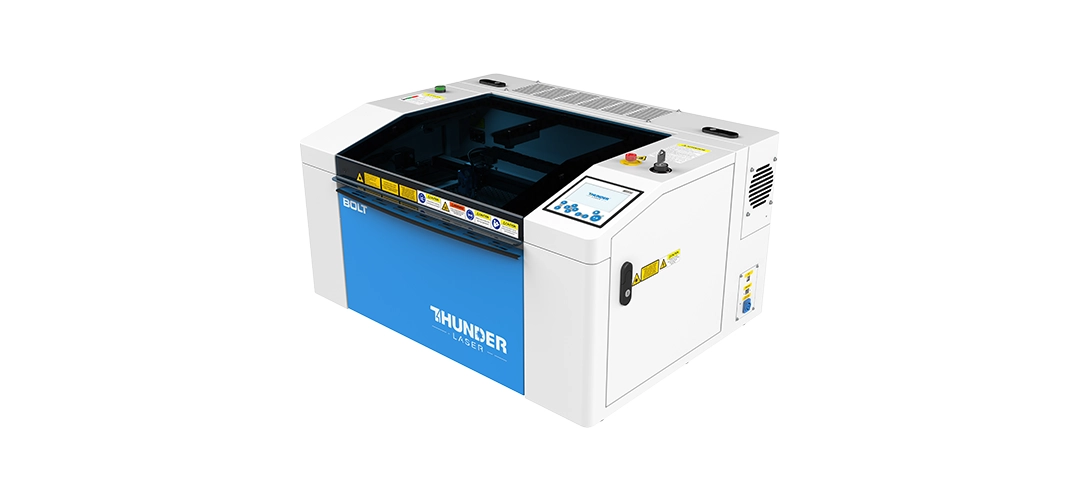
Thunder Bolt
Single-pass acrylic cutting: Up to 10mm
Best for: Startups, signage samples, gifting, arts & craft and light production.
Small Business
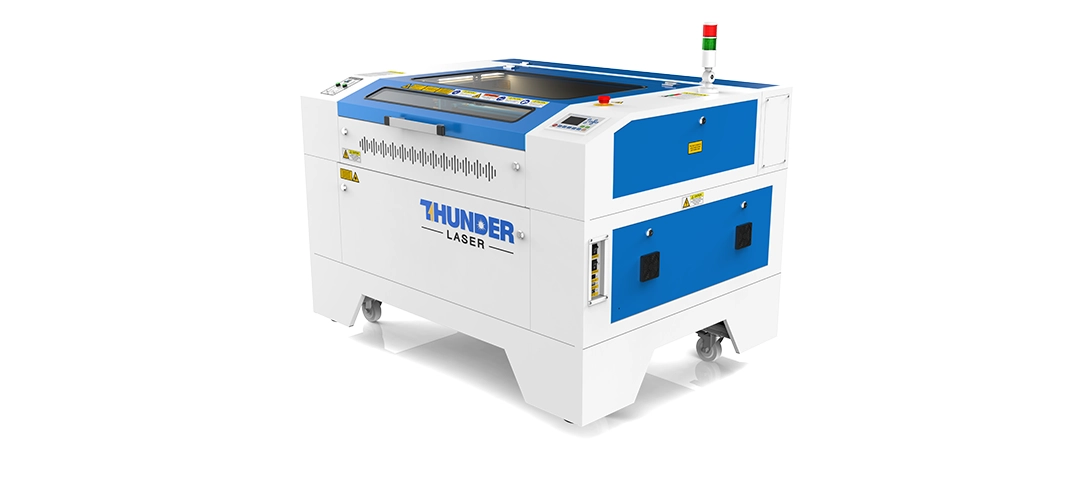
Thunder Nova Plus 35
Single-pass acrylic cutting: Up to 12mm
Best for: Small to Medium businesses, signage shops, and retail products
Production Businesses
Thunder Nova 51
Single-pass acrylic cutting: Up to 16mm
Best for: Growing production shops, larger signs, and batch acrylic work
Industrial Businesses

Thunder Nova 63
Single-pass acrylic cutting: Up to 20mm
Best for: Higher-volume production, larger sheet work, and commercial signage
Learn More About Laser Machines & Acrylic
Modern Acrylic House Number Sign
Learn how to make a modern acrylic house number sign, from CorelDRAW and LightBurn setup to laser cutting, assembly, installation, and pricing.
Read GuideBest Acrylic Sheets For Laser Cutting
Compare acrylic sheet types, finishes and use cases for laser projects.
Read GuideLaser Cutting Acrylic
Understand how acrylic behaves under a CO2 laser and what affects cut quality.
Read GuideLaser Engraving Acrylic
Learn how engraving changes the look, texture and finish of acrylic products.
Read GuideLaser Cutting Machines
Explore laser machines for hobby use, small business production and scaling workshops.
View MachinesHow To Start A Laser Business
See how creative products can become repeatable revenue streams with the right machine and training.
Read GuideFrequently Asked Questions About Laser Cut Acrylic Wall Art
Cast acrylic is commonly preferred for premium laser projects because it cuts cleanly and is available in many colours and finishes. The best option depends on the look, layer structure and mounting method.
Acrylic can be suitable for outdoor display, but outdoor use depends on the specific acrylic, colour, adhesive, mounting hardware and exposure conditions. Full sunlight exposure it not ideal, the acrylic will start to weather after a few years.
3mm acrylic is a practical choice for many layered wall art designs because it is light, easy to cut and suitable for detailed shapes. Larger pieces may need thicker material or additional support.
Acrylic wall art can be mounted with standoffs, adhesive systems, hanging hardware or layered backing boards. The right method depends on the size, weight and wall surface.
Yes, AI artwork can be used as inspiration, but it usually needs to be rebuilt or traced into clean vector artwork before it is suitable for laser cutting.
Acrylic wall art can be profitable because it combines a premium appearance with manageable material costs, especially when designs are personalised or produced in repeatable batches.
The best machine depends on the size and volume of the work. Hobby users may start with a compact laser, while production businesses usually benefit from larger CO2 machines with more bed space and workflow capacity.
Some hobby machines can produce professional-looking acrylic projects when used within their size and power limits. For consistent business production, workflow, support and machine capacity become more important.
Acrylic wall art can last for years when made from suitable material and mounted correctly. Longevity depends on handling, cleaning, sunlight exposure and installation conditions.
Yes. Layered acrylic designs usually create more depth, contrast and perceived value, which can help justify higher selling prices than simple single-layer designs.
Ready To Create Products Like This?
Whether you are starting a side hustle, expanding your product range or looking for a professional laser cutting machine, MaxLaser can help.
We provide machine demonstrations, installation, training and lifetime support to help you turn creative ideas into profitable products.
Book A Live Demonstration View Laser Cutting Machines