Heat Press Machines
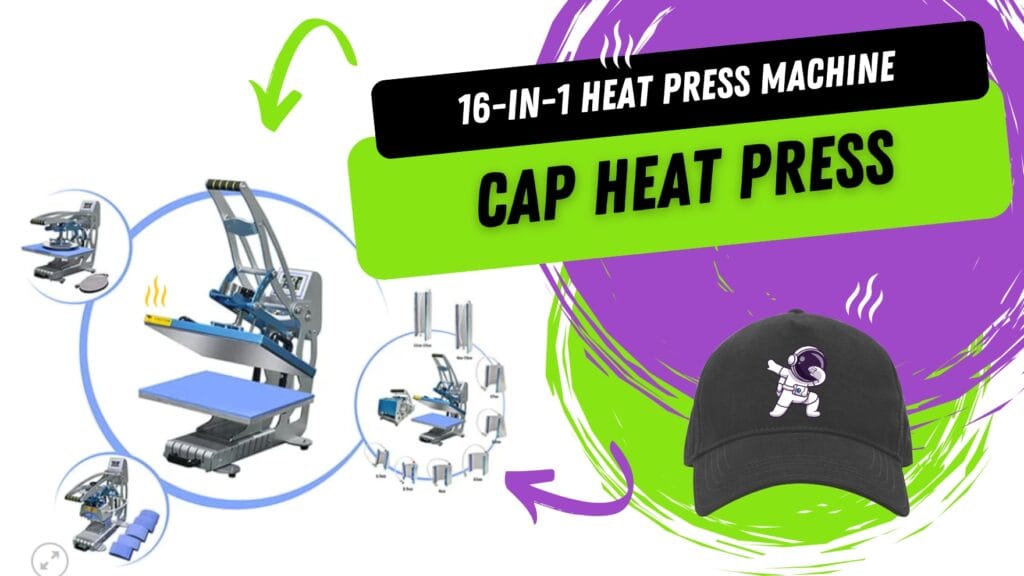
How to Use the Cap Press on the 16-in-1 Heat Press Machine
May
Cap Press Heat Press Machine Guide – How to Print Custom Caps | MaxLaser
At MaxLaser, we’re passionate about helping our customers get the most out of their printing equipment. In this blog, we’re showing you exactly how to use a cap press heat press machine — specifically the cap press attachment on our powerful 16-in-1 heat press.
Whether you’re launching a product line, building a custom apparel business, or simply want to personalise headwear for gifts or events, this guide will walk you through each step. It’s simple, professional, and effective.
Why Use a Cap Press Heat Press Machine?
Custom caps are a great way to promote your brand, create team gear, or add a stylish product to your printing business. Using a cap press heat press machine gives you the ability to apply vibrant, long-lasting designs with ease.
We used the 16-in-1 heat press machine in our tutorial, which includes multiple attachments — not just for caps, but for t-shirts, mugs, plates, and more. Today, we’re focusing on just the cap press feature.
Step 1: Set Up the Cap Press Attachment
First, make sure you have the correct attachments ready. The cap press includes a curved heating element on top and a firm base below. This setup helps to stretch your cap across the surface, ensuring a smooth print.
Before turning the machine on, align all the parts carefully and place a non-stick Teflon sheet over the base to protect your cap. Next, attach the power cable.
Important safety note: The sides of the heating element can get very hot. Therefore, we recommend wearing heat-resistant gloves to avoid burns.
Step 2: Adjust the Heat and Pressure Settings
Once you’re ready, switch on the heat press and set the right temperature and time. For most caps and standard heat transfer paper, we suggest:
Temperature: 160–190°C
Time: 60–110 seconds
Pressure: Medium
These settings help the design stick properly without burning the fabric. Always test on a spare cap first to fine-tune your results if needed.
Step 3: Prepare Your Cap and Design
Now, let’s get your cap ready. We used a standard blank cap and a printed design on heat transfer paper.
First, place your cap on the base and smooth it out. Then, position your printed design on the front panel. Use heat-resistant tape to hold it in place — this prevents shifting during pressing, which is key for a clean result.
Step 4: Press the Design
Next, press the cap by lowering the handle firmly until it locks. Our heat press uses a magnetic lock that ensures even pressure during the countdown.
After about 60 seconds, the machine will automatically lift the heating element. This hands-free process gives you consistent results every time.
Step 5: Reveal Your Finished Cap
Now comes the exciting part — the reveal! Gently peel back the heat transfer paper and check out your custom-printed cap. The design should be bold, detailed, and fully bonded to the fabric.
It’s a professional-grade result made with a machine that fits right on your workbench.
Why Our Customers Love the 16-in-1 Heat Press
This machine is one of our bestsellers for good reason. It’s:
Versatile – Handles caps, shirts, mugs, plates, and more
Compact – Fits neatly into your workspace
Efficient – Quick heating, easy pressing, consistent quality
Perfect for small businesses and creators
If you want to offer custom caps to your customers or expand your product line, this tool gives you everything you need in one box.
Ready to Start Printing?
👉 Browse the 16-in-1 heat press machine and other printing tools at Maxlaser-HeatPress
SHOP NOW: Heat Press Shop
🧢 Start creating stunning caps and branded gear today.