Laser Cutting Acrylic Guide: Clean Edges & Perfect Results

Flame-Polished Edge

Production-Ready Results

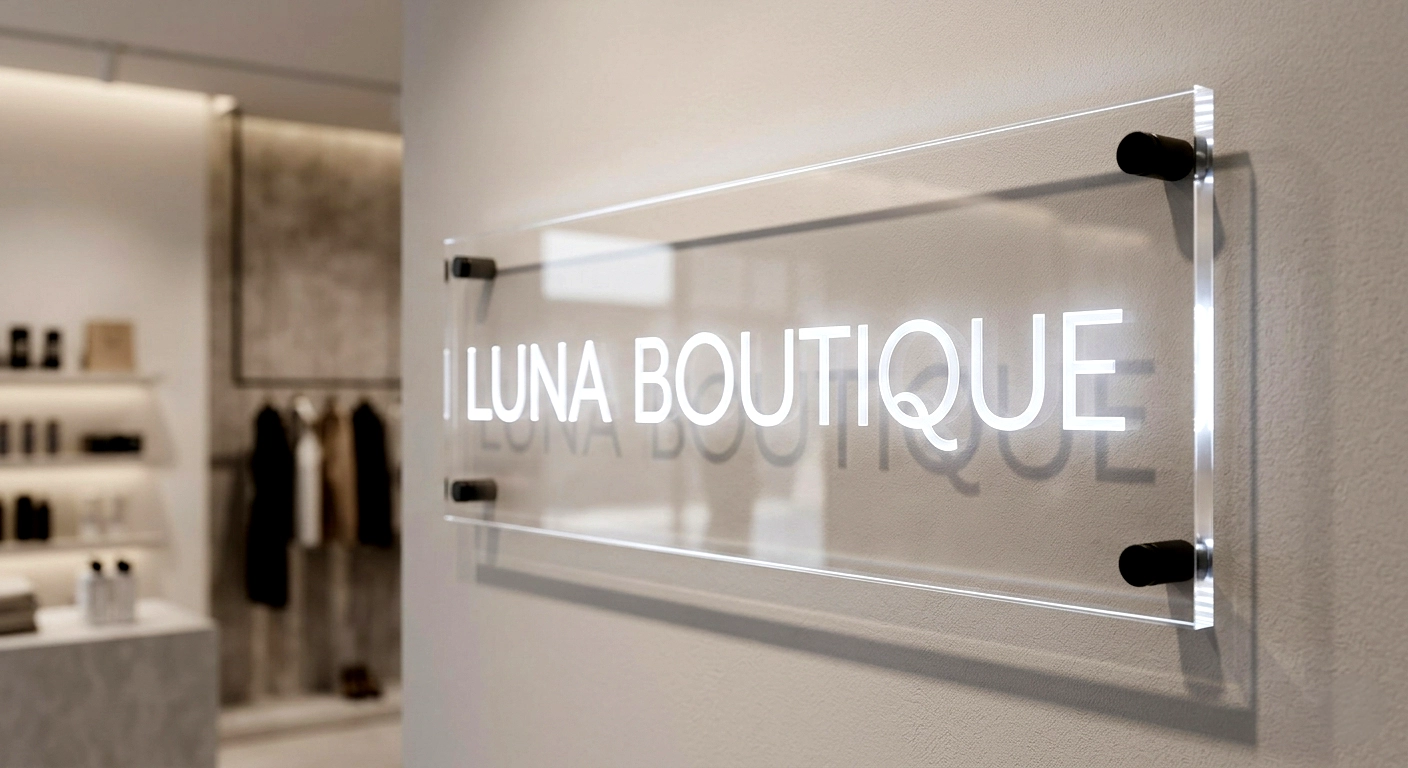
Ideal for Signage & Retail
Laser cutting acrylic is one of the most effective ways to produce clean, professional, high-value products using a CO₂ laser machine.
Unlike materials such as MDF, which often require sanding, sealing, or painting after cutting, acrylic produces a polished, glass-like edge directly from the laser. This means you can move from cutting to the final product with minimal post-processing.
Because of this, acrylic is widely used in industries such as signage, retail, corporate branding, and interior décor — where appearance matters just as much as accuracy.
In this guide, we’ll cover everything you need to know about laser cutting acrylic, including:
How Acrylic Is Made (And Why It Affects Cutting Quality)
One of the most important things to understand about acrylic is that not all sheets behave the same, even if they look identical. The difference comes down to how the material is manufactured.
Understanding how acrylic is made helps explain why cast acrylic performs better than extruded acrylic when laser cutting.
Even though both materials may look the same, the internal structure is very different.
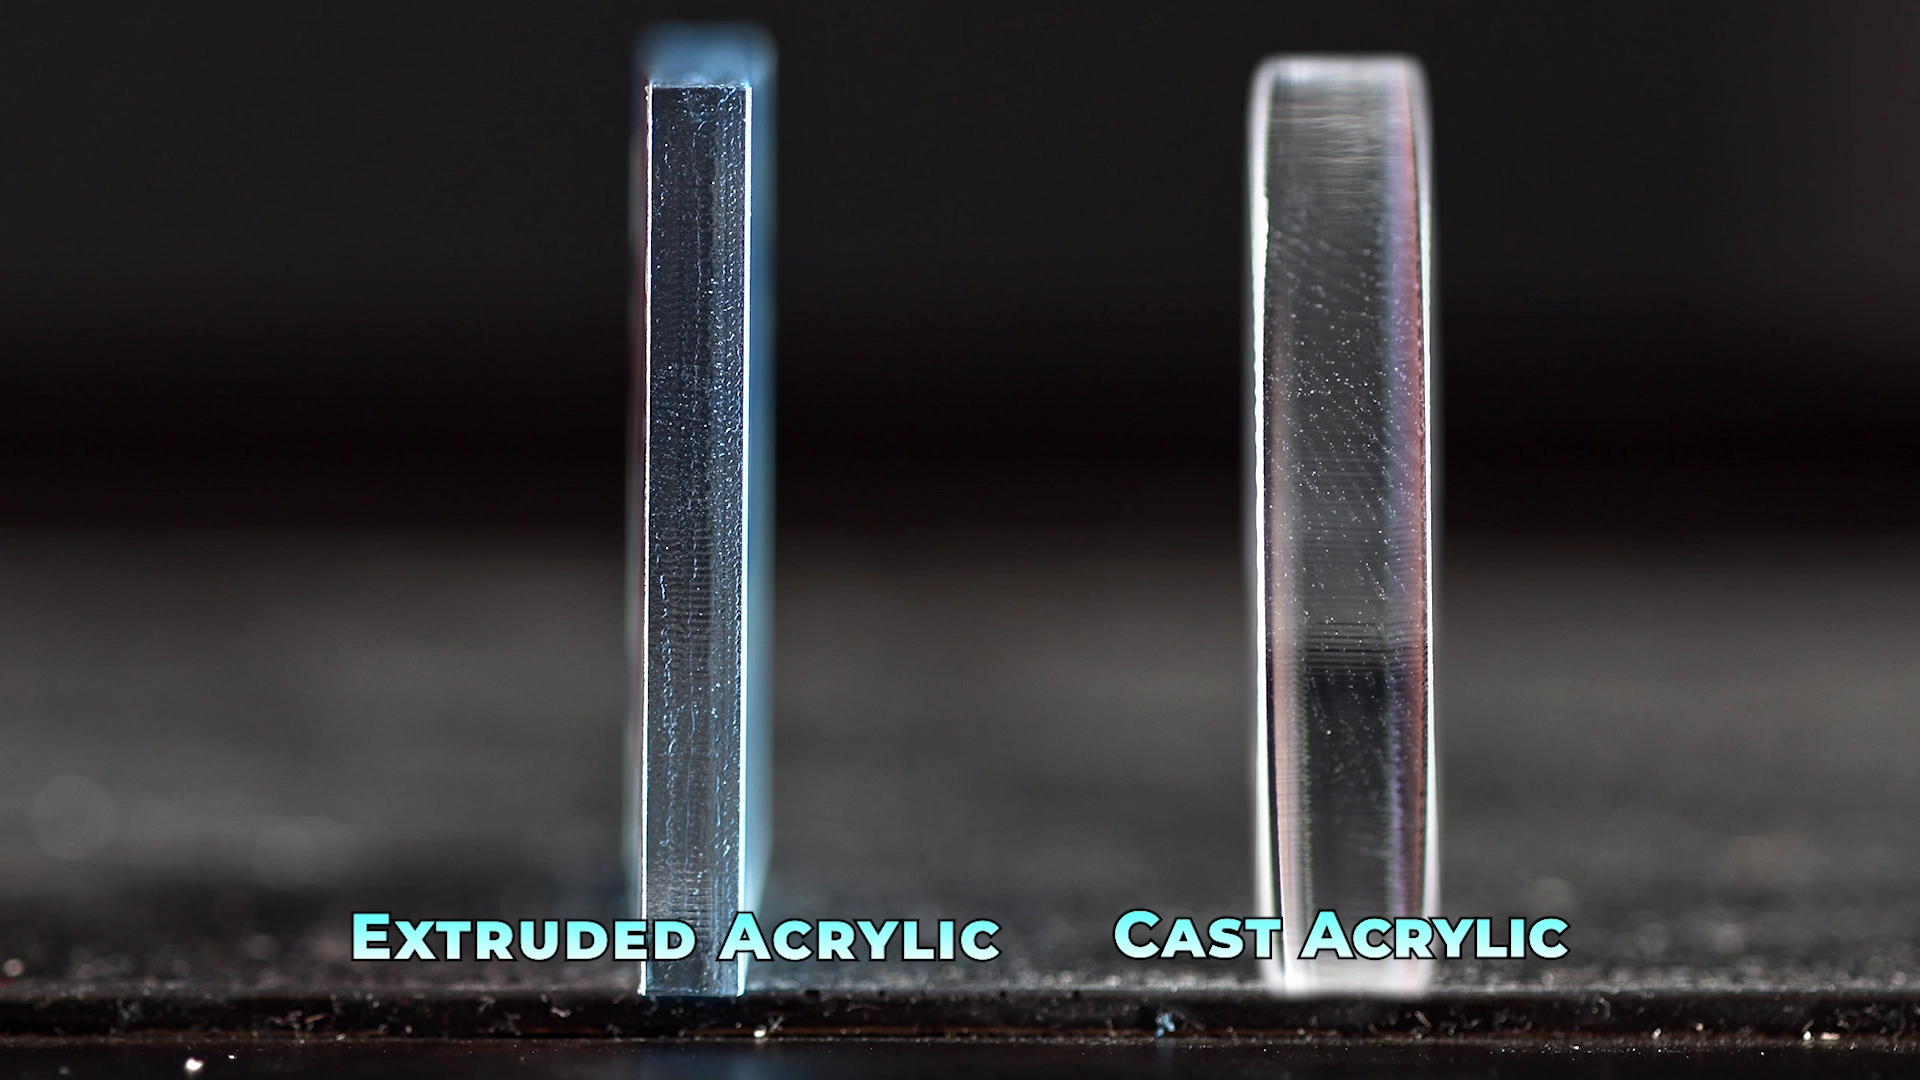
How Cast Acrylic Is Made
Cast acrylic is made by pouring liquid acrylic into moulds and allowing it to cure slowly.
Process:
- Liquid acrylic is poured between two surfaces (often glass)
- It cures naturally over time
- The material forms without pressure
What this means:
Because the material is formed slowly:
- The internal structure is more stable
- It reacts evenly to heat
- It produces clean, flame-polished edges
- It is engraved with a frosted, high-contrast finish
👉 This is why cast acrylic is the preferred choice for laser cutting.
How Extruded Acrylic Is Made
Extruded acrylic is manufactured by forcing melted plastic through rollers.
Process:
- Acrylic pellets are heated and melted
- The material is pushed through an extrusion machine
- It is quickly shaped into sheets
What this means:
Because it is formed under pressure:
- The internal structure is more stressed
- It reacts differently to heat
- It can melt instead of cleanly cutting
- Engraving results are less defined
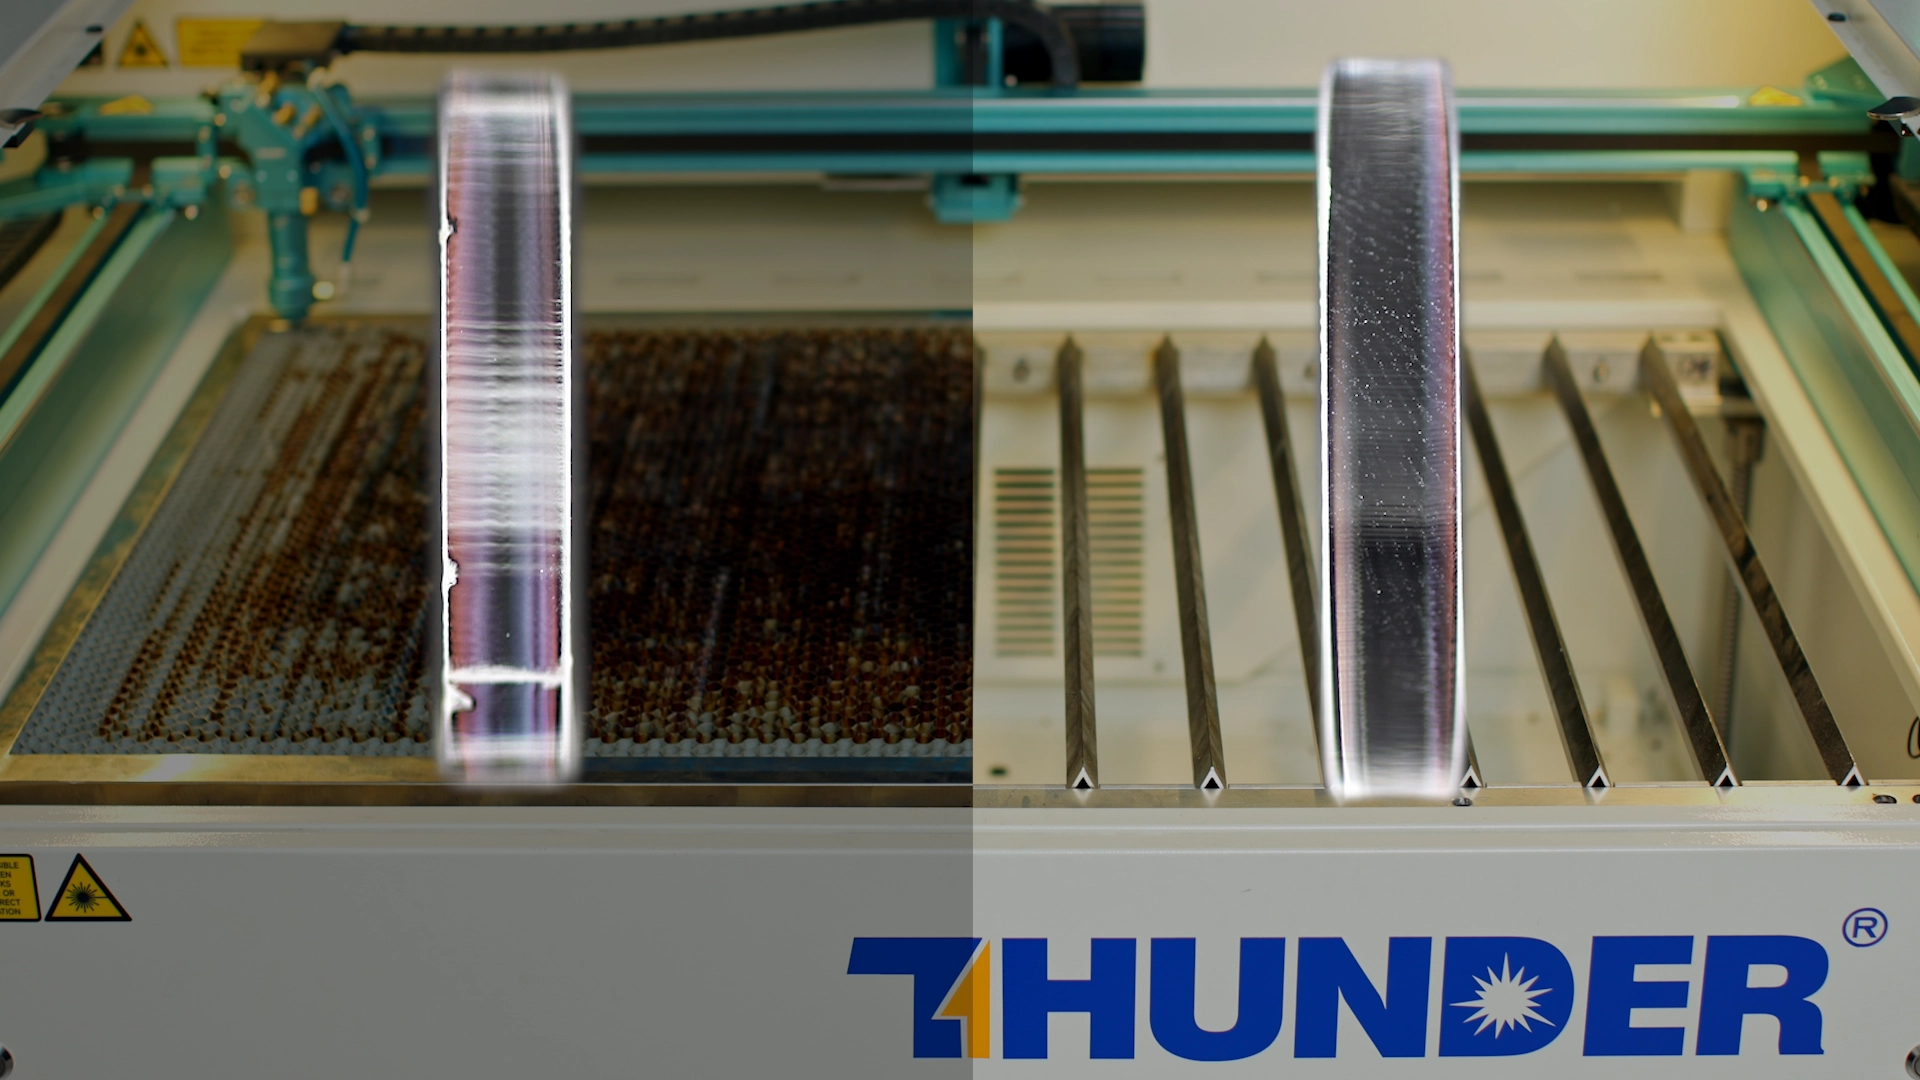
Why This Difference Matters
Even though both materials may look identical before cutting:
- Cast acrylic produces cleaner edges and better engraving
- Extruded acrylic produces less consistent results
👉 Rule: If you want a clear edge finish— use cast acrylic.
Why it matters
Clean, Polished Edges Straight Off the Machine
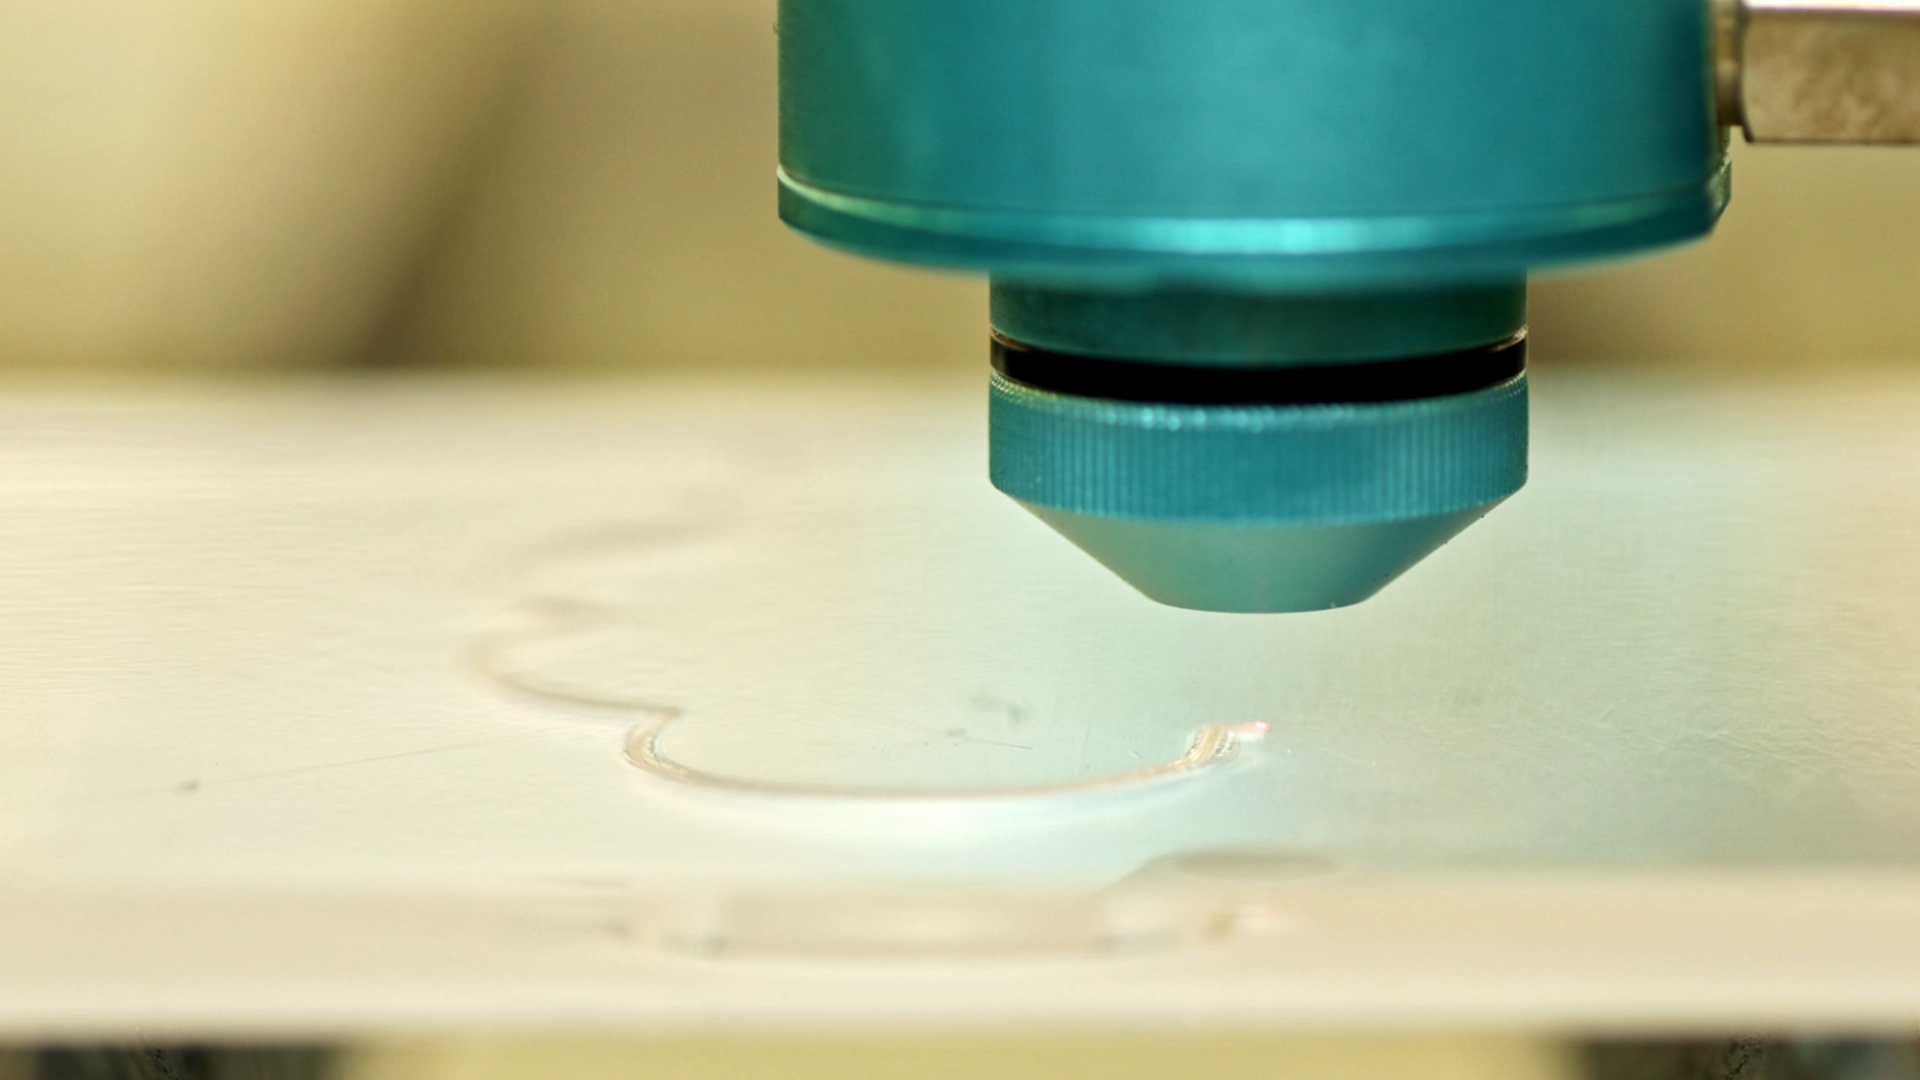
One of the biggest advantages of acrylic is that it produces a flame-polished edge during cutting.
This means:
- No sanding required
- No additional finishing
- A professional result immediately
In a production environment, this significantly reduces labour time.
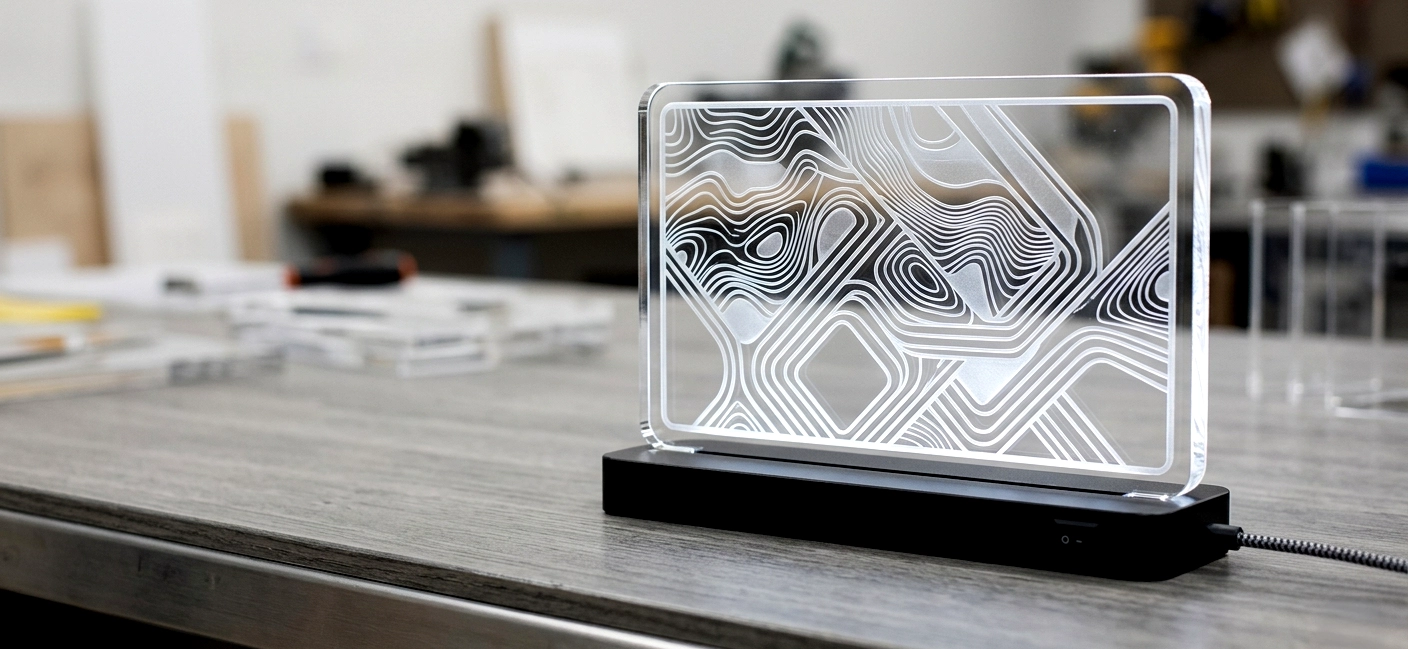
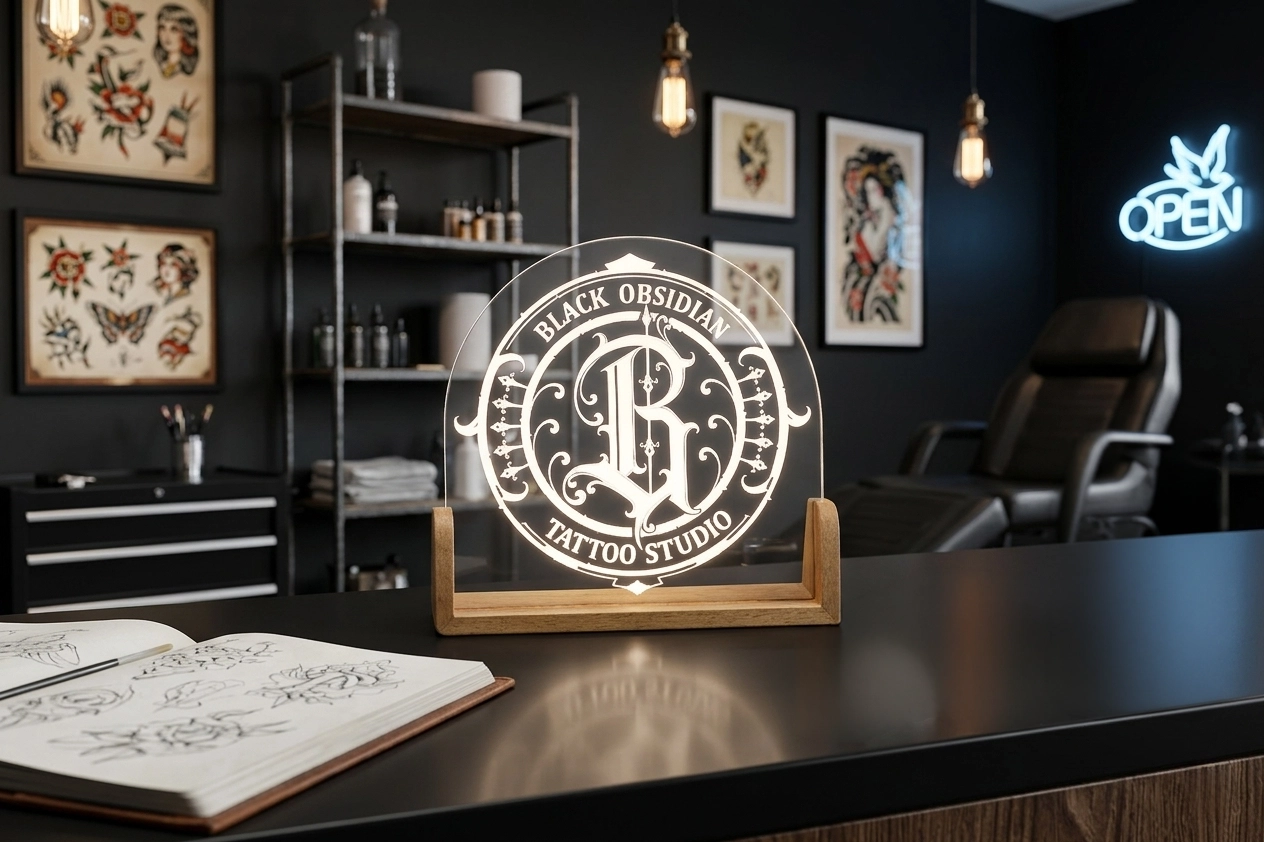
High-End, Premium Appearance
Acrylic has a natural gloss finish that mimics glass but without the fragility.
This allows you to:
- Position products at a higher price point
- Work with corporate clients
- Create modern, high-end designs
Faster Production Workflow
Because acrylic does not require finishing:
- Jobs move faster
- Throughput increases
- Turnaround times improve
This becomes critical when scaling a business.
Consistent Cutting Results
Unlike natural materials:
- Acrylic behaves predictably
- There is no grain direction
- Results are repeatable
This makes it ideal for batch production.
Strong Market Demand
Acrylic is used across multiple industries, meaning:
- Consistent demand
- Multiple revenue streams
- Easy product diversification
Advanced Acrylic Cutting Tips (Pro-Level)
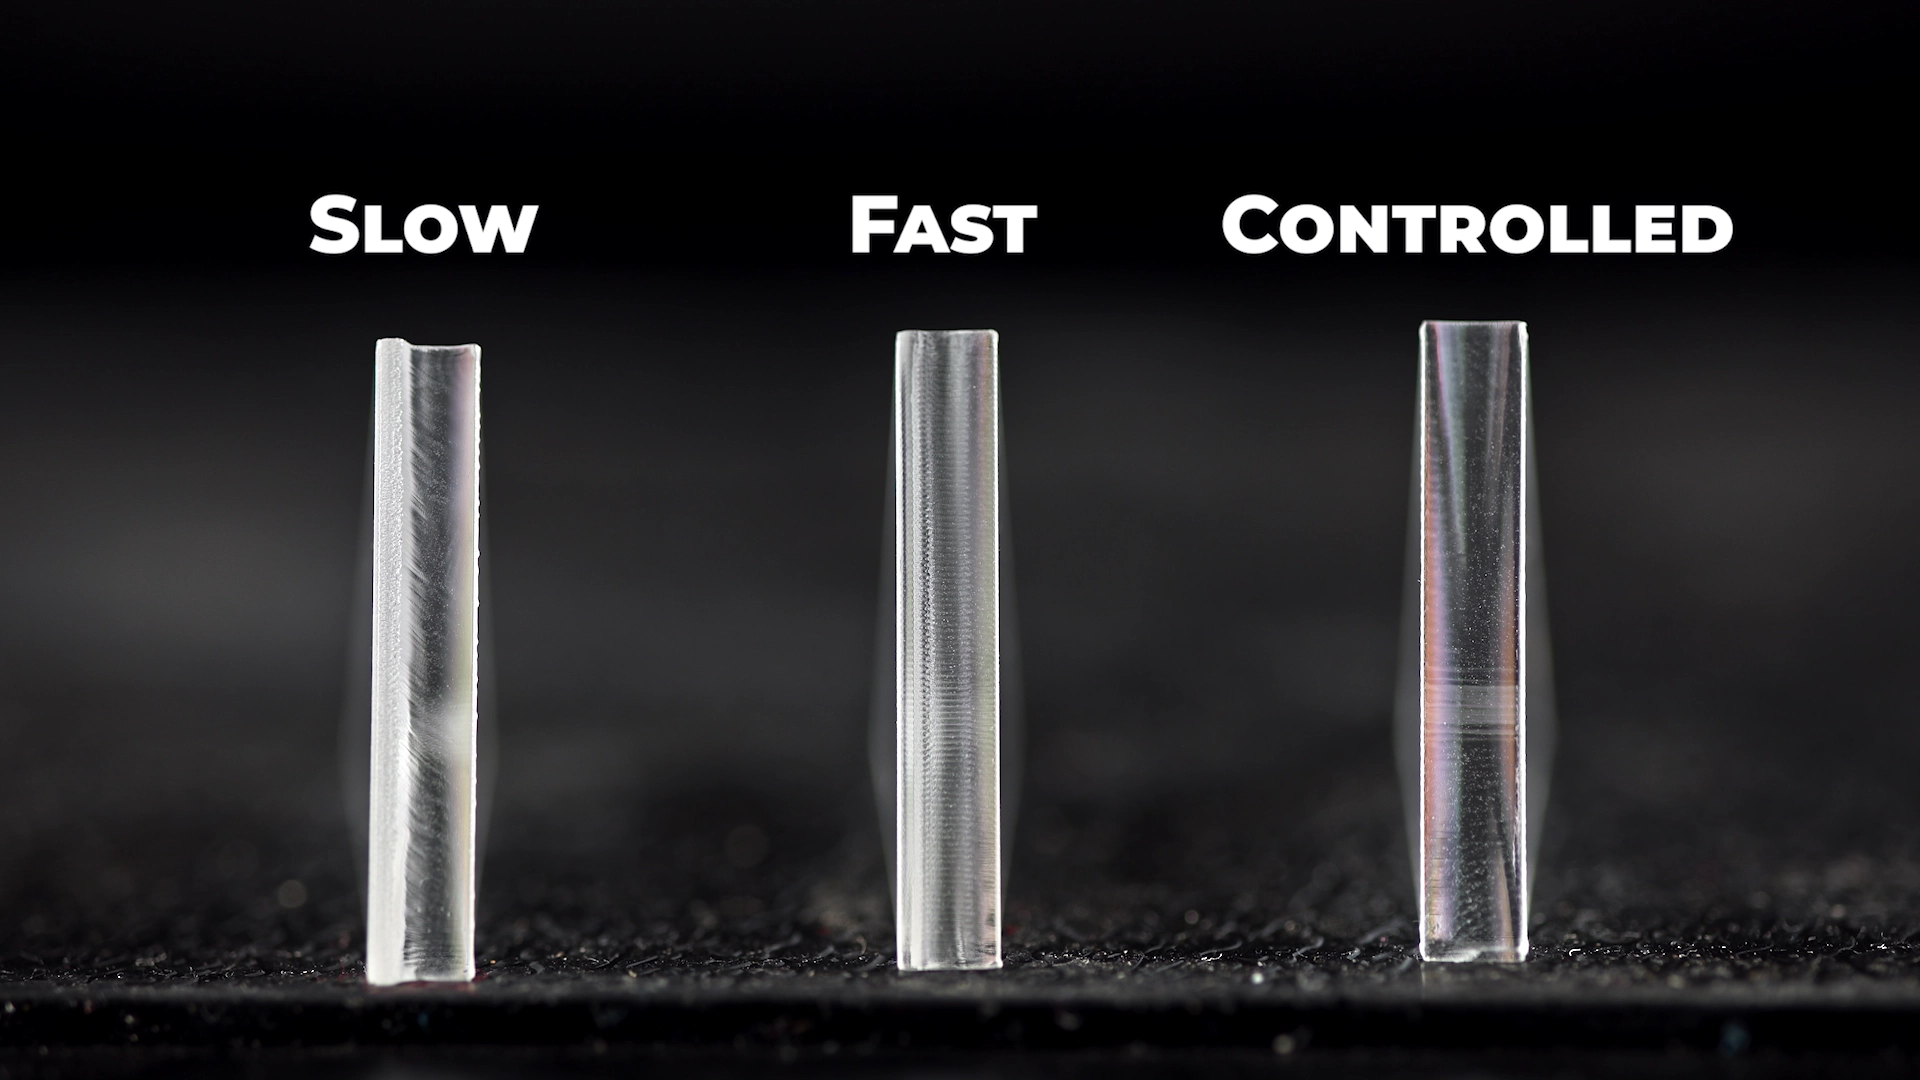
How to Improve Acrylic Edge Clarity
- Slightly reduce speed
- Avoid excessive airflow
Use Blade Table for Cleaner Underside
- Reduces reflection
- Improves bottom edge
Leave Space Between Parts
- Prevents heat accumulation
- Improves cut consistency
Why You Should Test Every New Acrylic Sheet
Different batches behave differently.
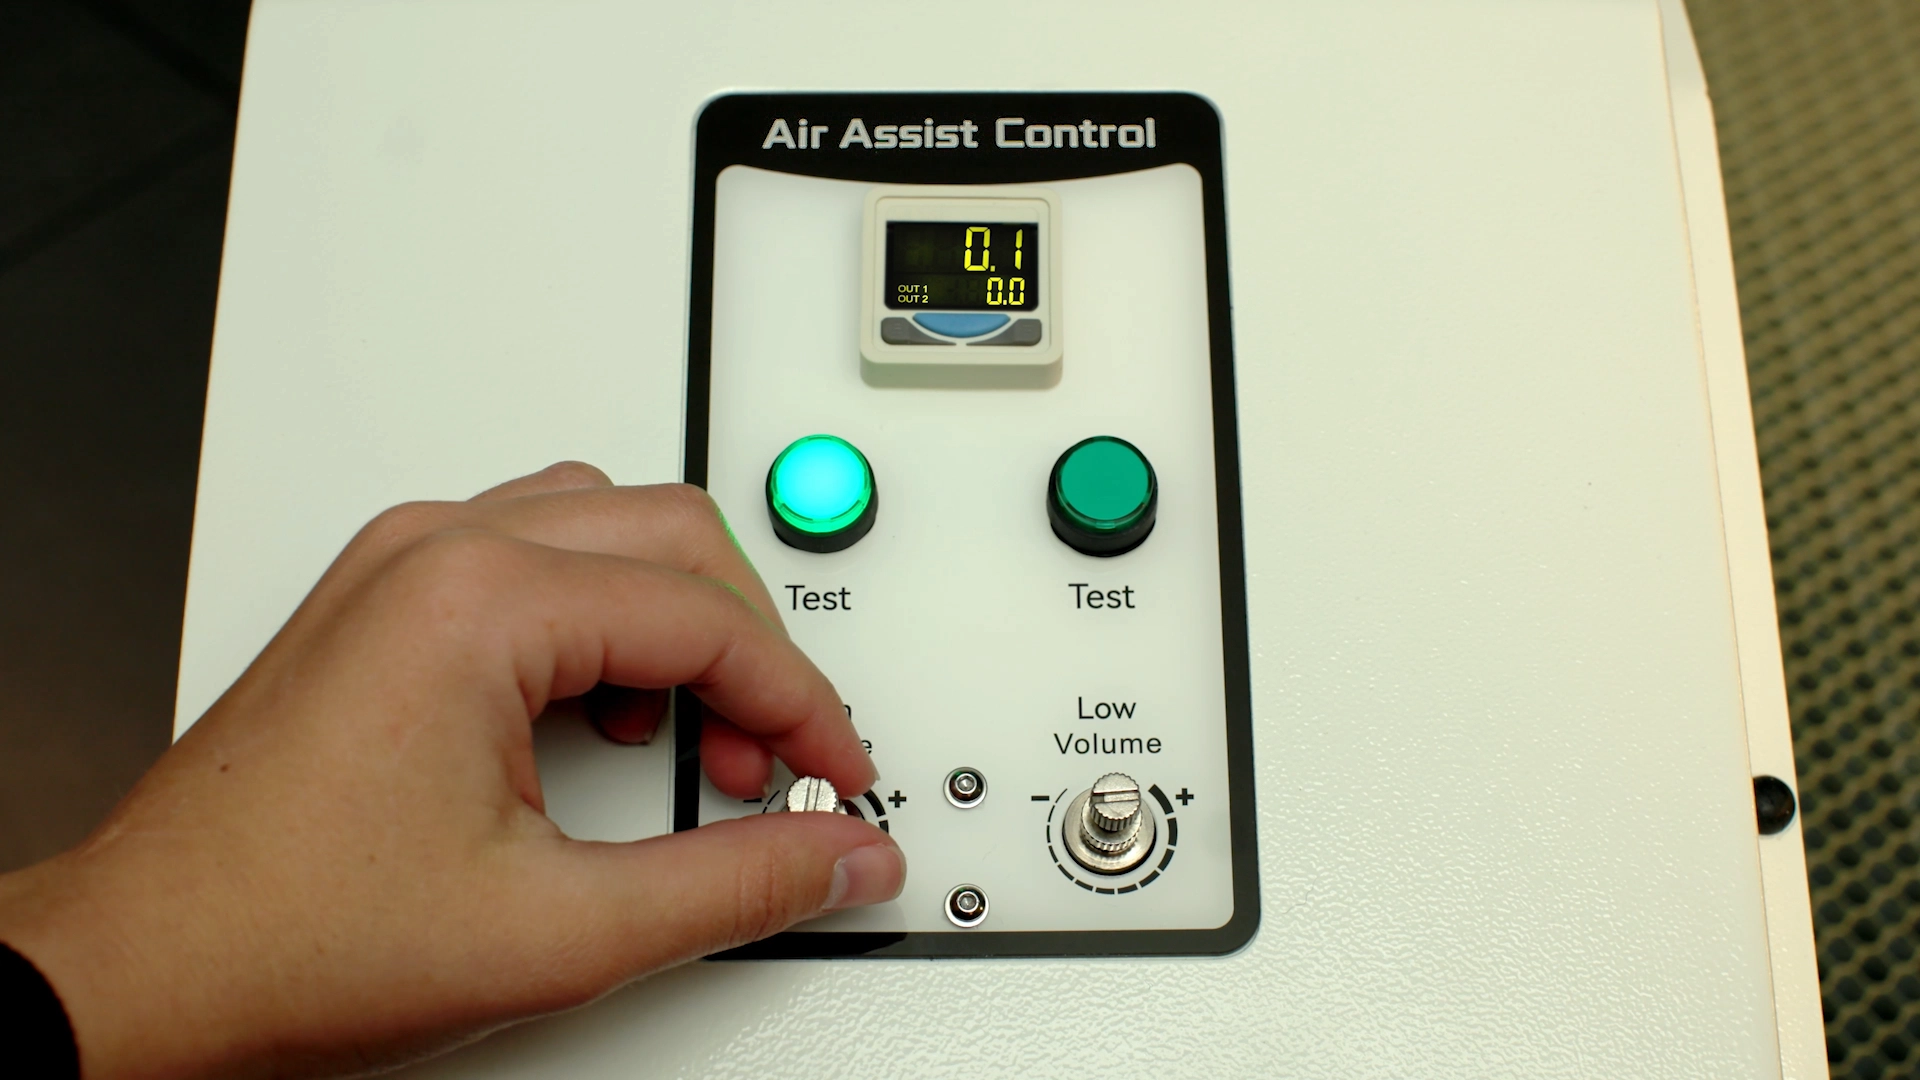
Use Proper Air Assist Settings
- Prevents burnt edges
- Keeps cuts clean
- Improves consistency
Common Acrylic Cutting Mistakes
What Causes Poor Acrylic Laser Cutting Results?
Most acrylic cutting problems come from poor heat control, incorrect material selection, excessive airflow, incorrect focus, or improper machine setup. Common mistakes include using extruded acrylic instead of cast acrylic, cutting with incorrect speed and power settings, removing the protective film too early, using multiple passes, cutting on honeycomb tables, and relying on diode lasers instead of CO₂ machines. Professional acrylic results depend on balanced heat, controlled airflow, correct focus, and proper machine configuration.
Practical Tips Used in Real Production Environments
Standardise Materials Wherever Possible
Test Settings Before Large Production Runs
- Edge quality
- Fitment
- Airflow balance
- Material behaviour
Optimise Workflow and Cut Order
- Cut inner details first
- Cut outer shapes last
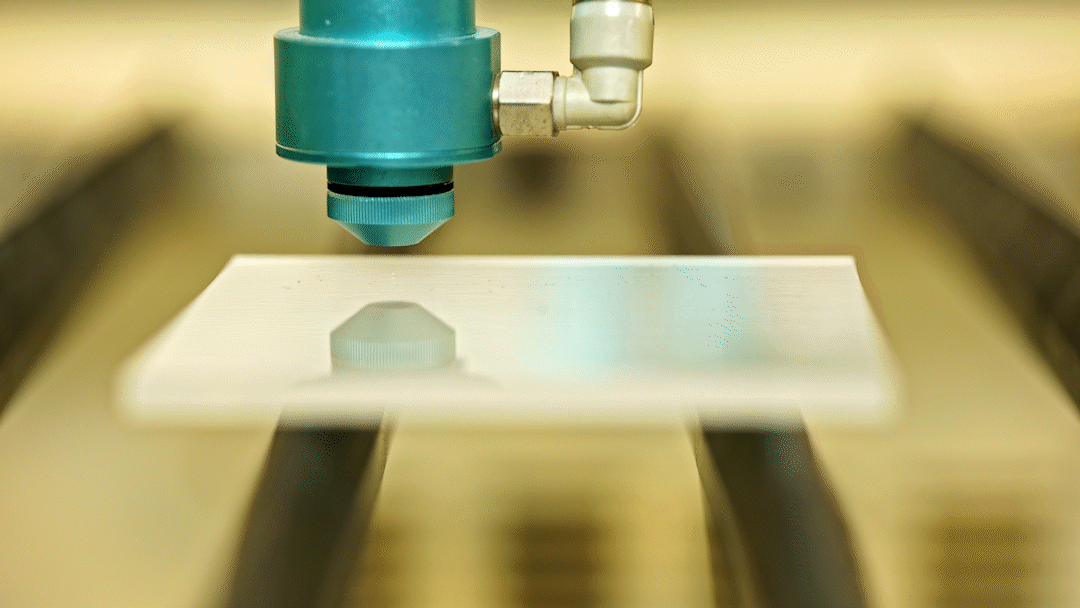
Use the Correct Table Setup for the Job
- Honeycomb tables
- Blade tables
Use Scoring and Light Marking for Assembly Work
- Acrylic letters
- Layered panels
- Assembly alignment
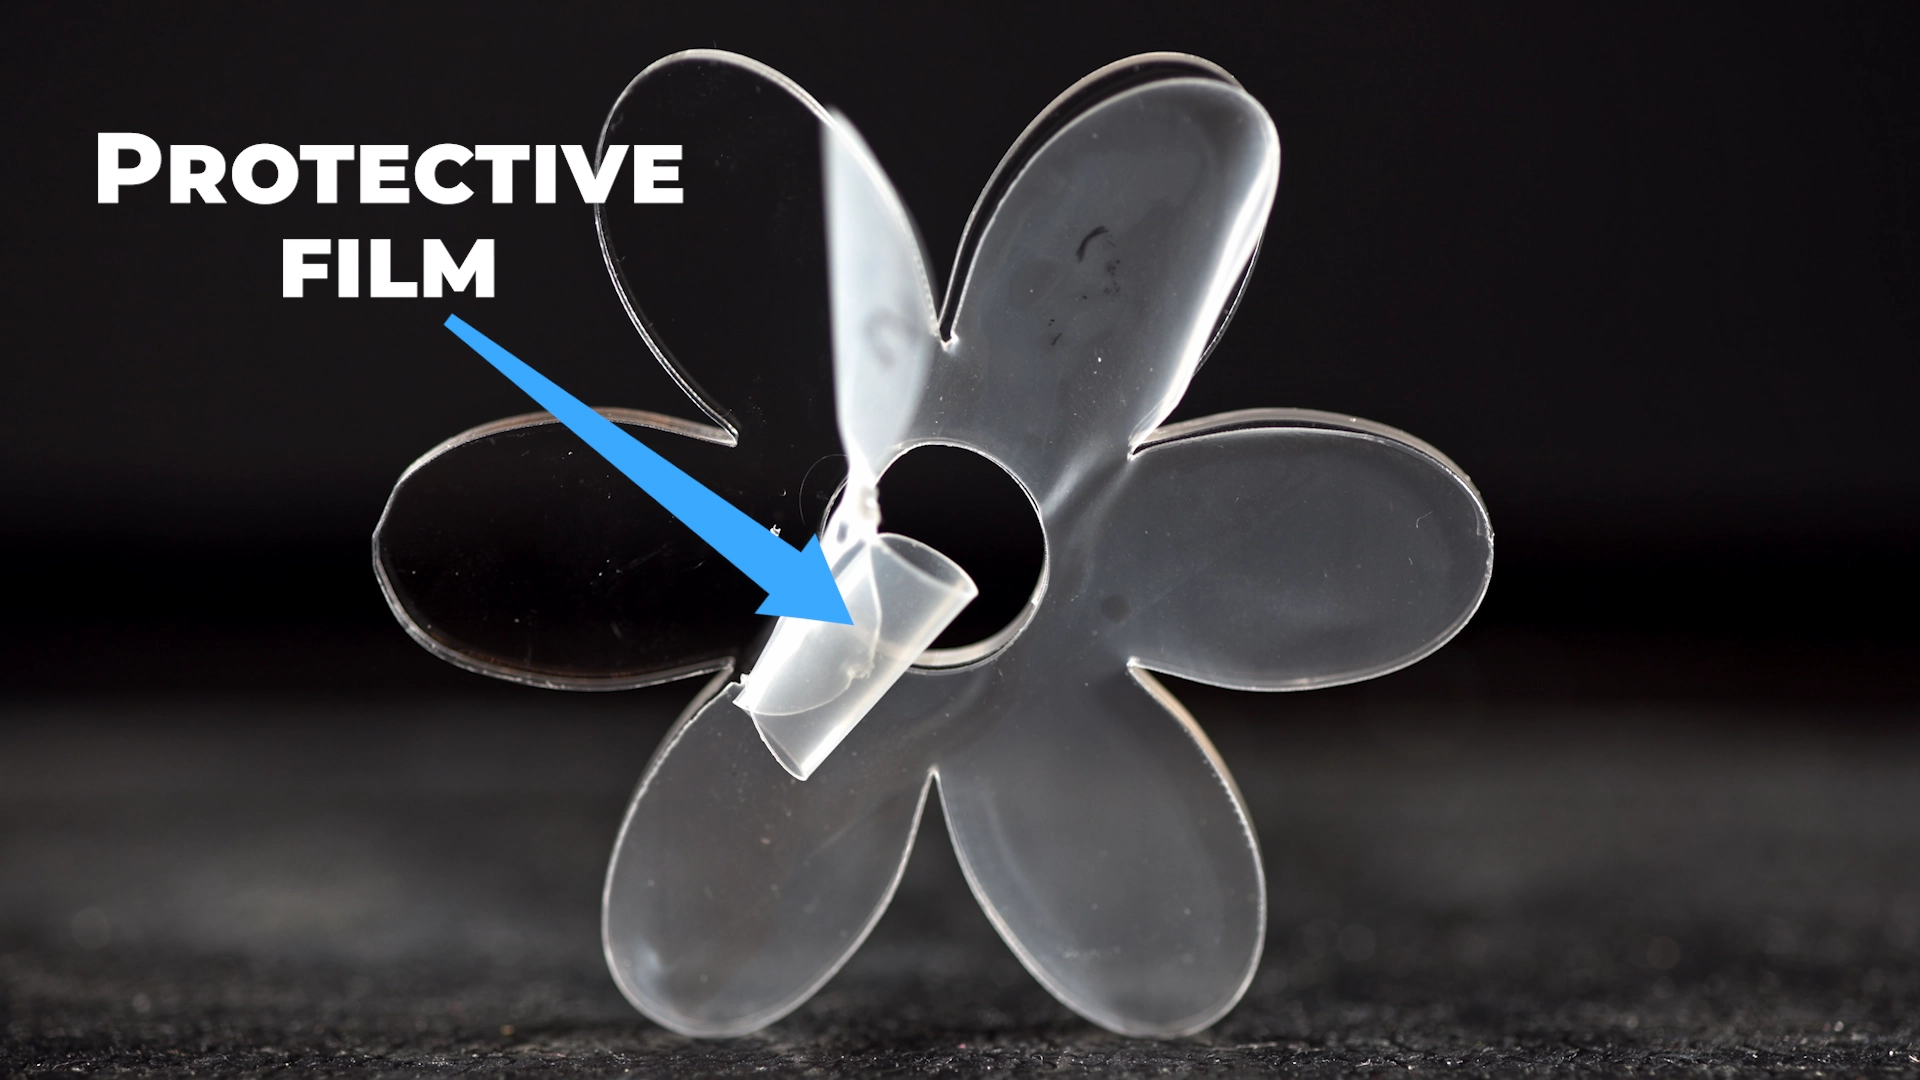
Keep Materials Clean During Production
- Keeping protective film on during cutting
- Cleaning products after production
- Handling acrylic carefully to avoid scratches
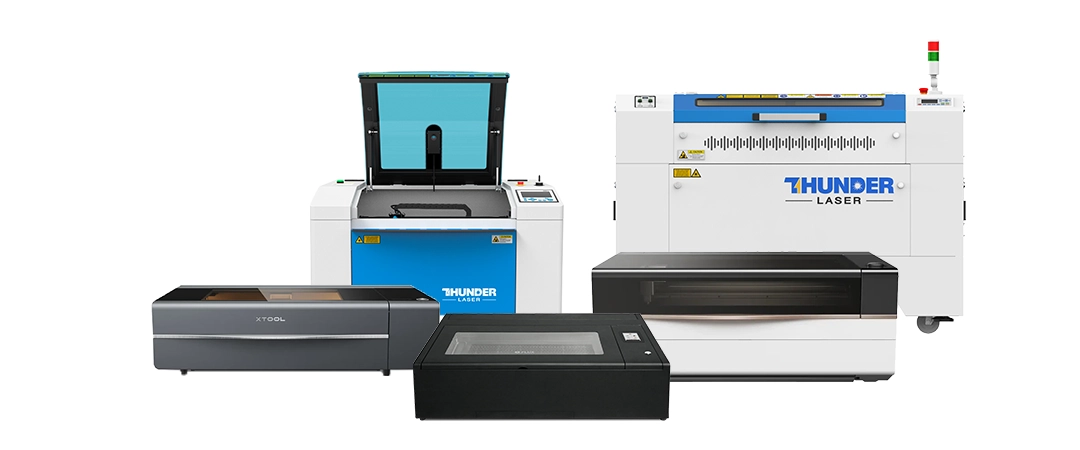
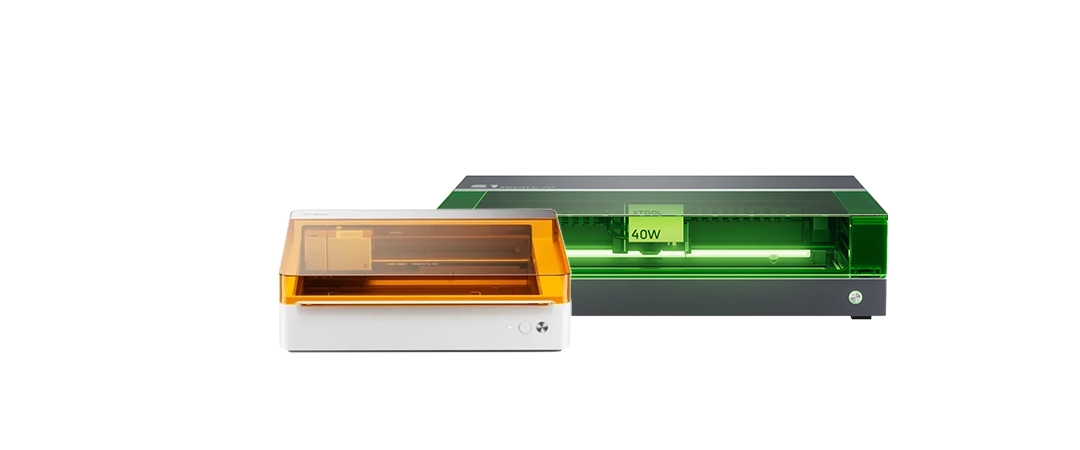
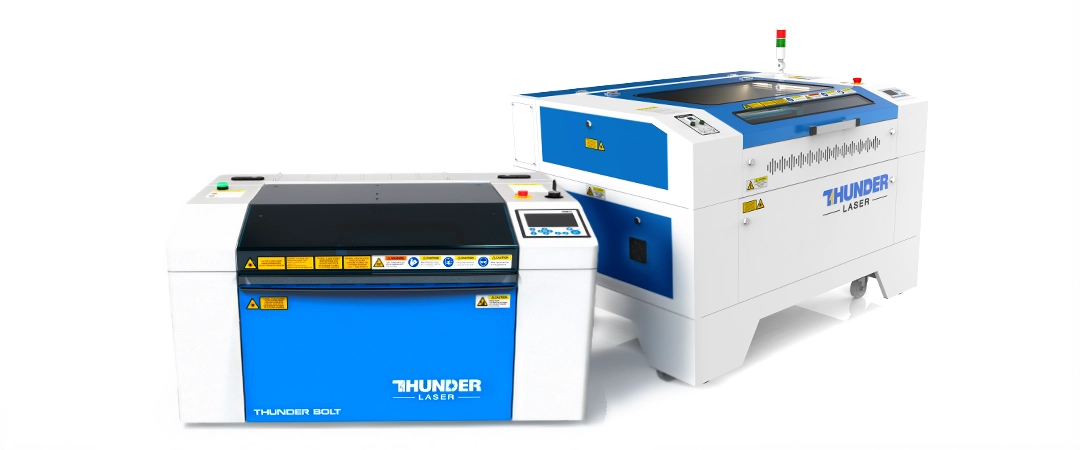
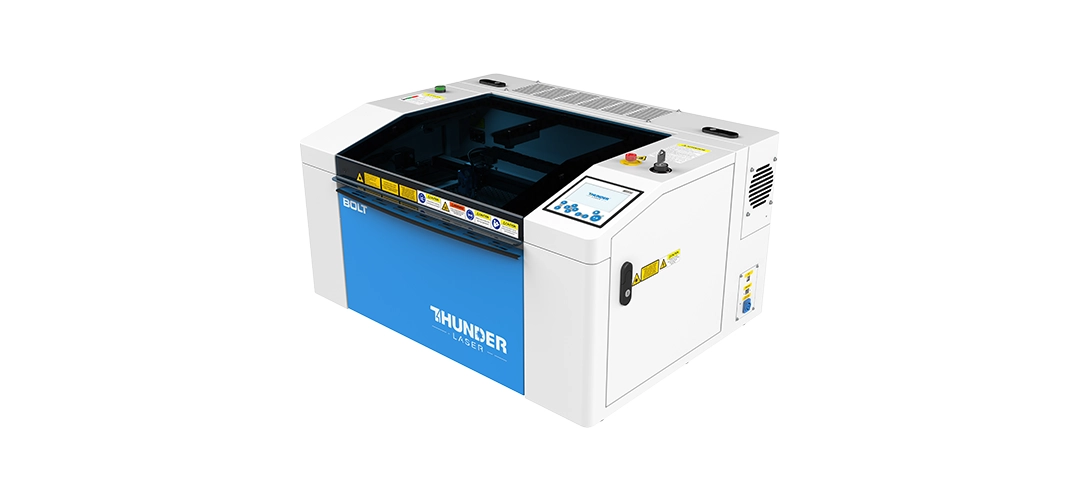
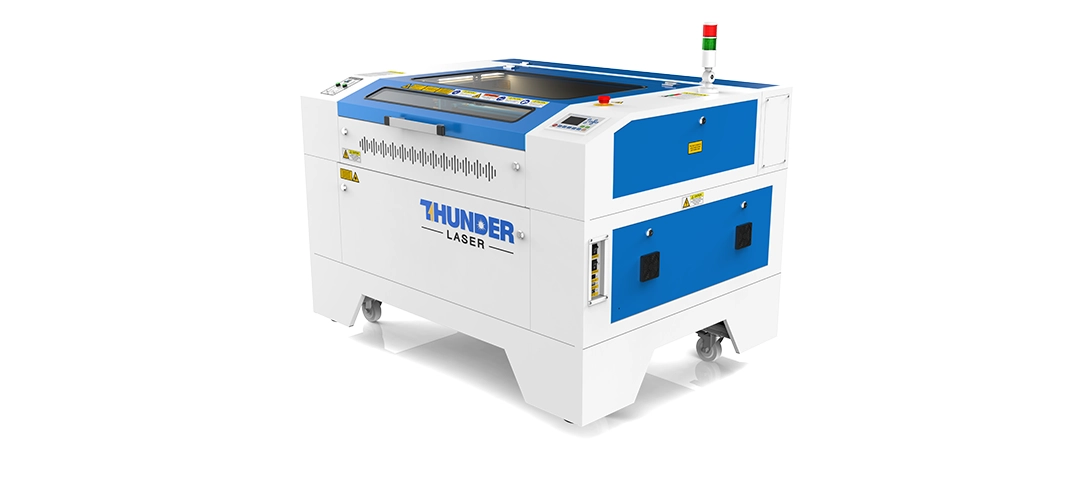
Best Acrylic Laser Cutting Machines (Why CO₂ Lasers Are the Right Choice)
When it comes to cutting acrylic cleanly and professionally, the type of laser machine you use matters just as much as your settings.
Not all laser machines are designed to handle acrylic properly — and choosing the wrong one can lead to poor edge quality, slow production, and inconsistent results.
How Businesses Make Money with Laser-Cut Acrylic
Laser-cut acrylic is not just about cutting material. It is about creating high-margin products that customers are willing to pay for.
With the right machine, businesses are producing and selling:
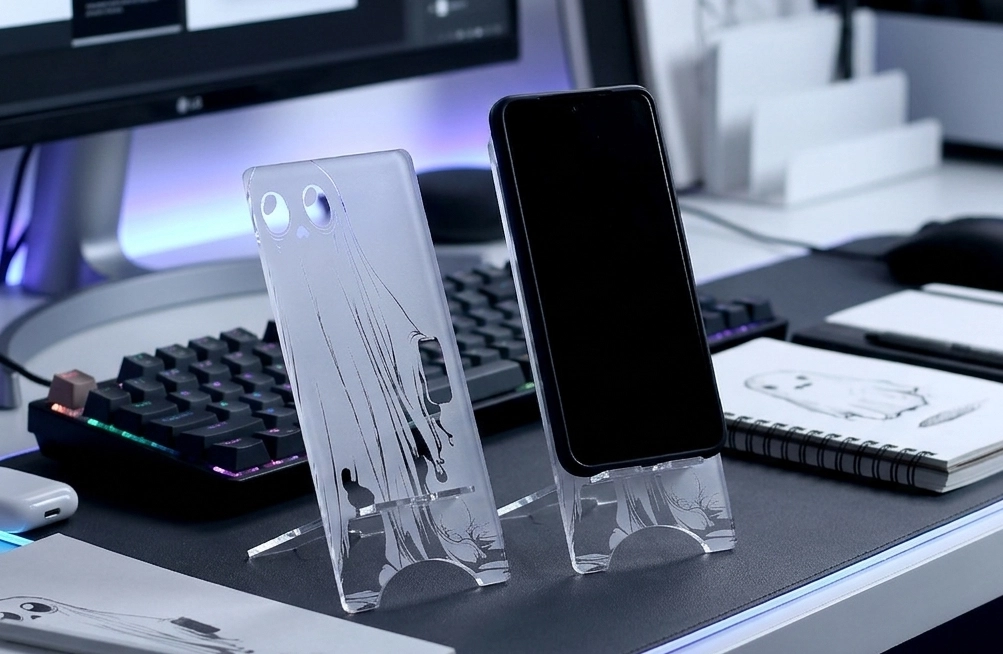
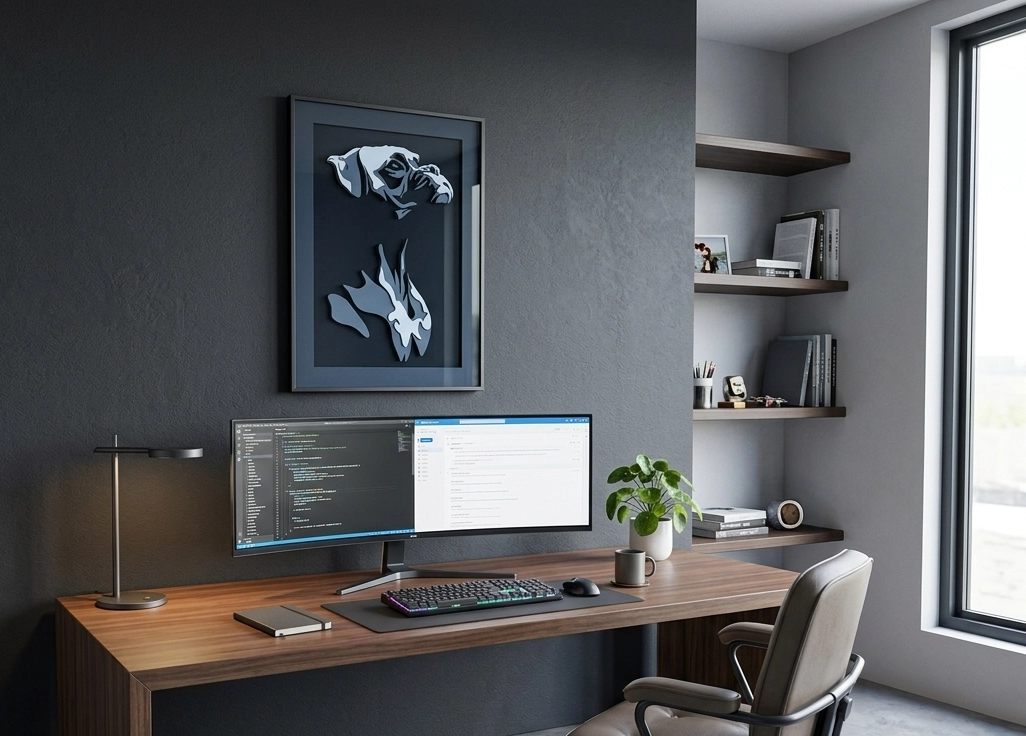
- LED edge-lit signage
- Retail display stands
- Office branding panels
- Wedding decor and gifts
- Custom name boards
These products require clean, polished edges, which is why CO2 laser machines are the industry standard.
Whether you’re just starting or refining your workflow, understanding acrylic properly will dramatically improve your results and profitability.